Hardwood flooring is without a doubt one of the best improvements anyone can put in their homes and still continue to reap benefits long after one has retired. If you intend to keep an ancestral home or at least live on that particular property for the next 10 years or more, then consider this little DIY project that will add significant value to your house and even more significant value to your relationships. Hardwood flooring is both durable and enduring. It can be re-sanded and refinished, at least once for engineered hardwood, and several times for solid hardwood flooring to make it appear as if its new. This saves the homeowners both money and wood resources making it an environmentally sound choice.
 The first key is of course get the right hardwood flooring material that would flatter your living space and at the same time meet your needs. Some quick tips to get the right amount of hardwood flooring you need: first, measure the length and width of the room and multiply both quantities to get the square footage and then add 10% to the resulting product to allow for errors, waste and future repair.
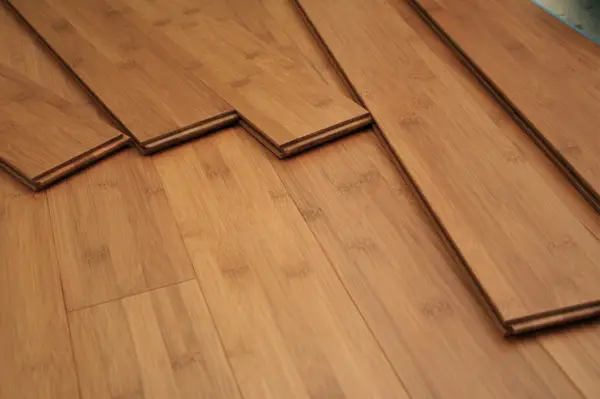 Keep in mind that when the hardwood flooring planks are delivered to you, you are not to install them the following day. Read on to see how to prepare the flooring material and the subfloor before installation and what skills and tools one would need to successfully execute a DIY hardwood flooring installation project.
Materials and Tools
After you’ve calculated the costs of your flooring materials, before placing your order make sure that you have enough to cover for the purchase and rental of tools and equipment for your installation project, otherwise should you opt for flooring professionals to do the job, be sure to do basic search to identify the skills and customer feedback for each to make sure you’ll get quality service as the project is costly.
However, if you think you are fairly skilled and experienced to pull this thing off, then read on to get some important insights.
Carefully read manufacturer’s instructions for more specific directions about the flooring product and be sure you comply with the building code in your respective area. Keep in mind that the instructions here are common practices only and might not meet the exact manufacturer requirements for specific flooring products.
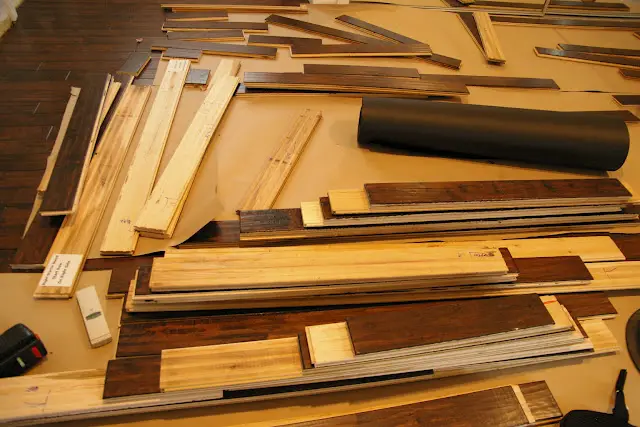
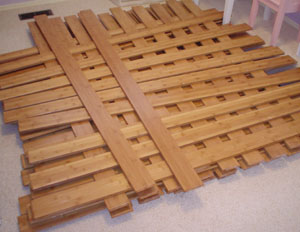 After the flooring products have been delivered, be sure to open the boxes and carefully examine each hardwood plank for any visual or material defect. Also it is very important to leave the hardwood planks in the room where it would be installed for at least 72 hours to let it acclimate to room’s natural humidity and temperature and give it time to naturally shrink or expand prior to installation.
Lastly, consider the mode of installation best suited for the flooring product of your choice – if it is glued application or a nailed-down installation as site preparation and tools needed might slightly vary depending on the manner of installation.
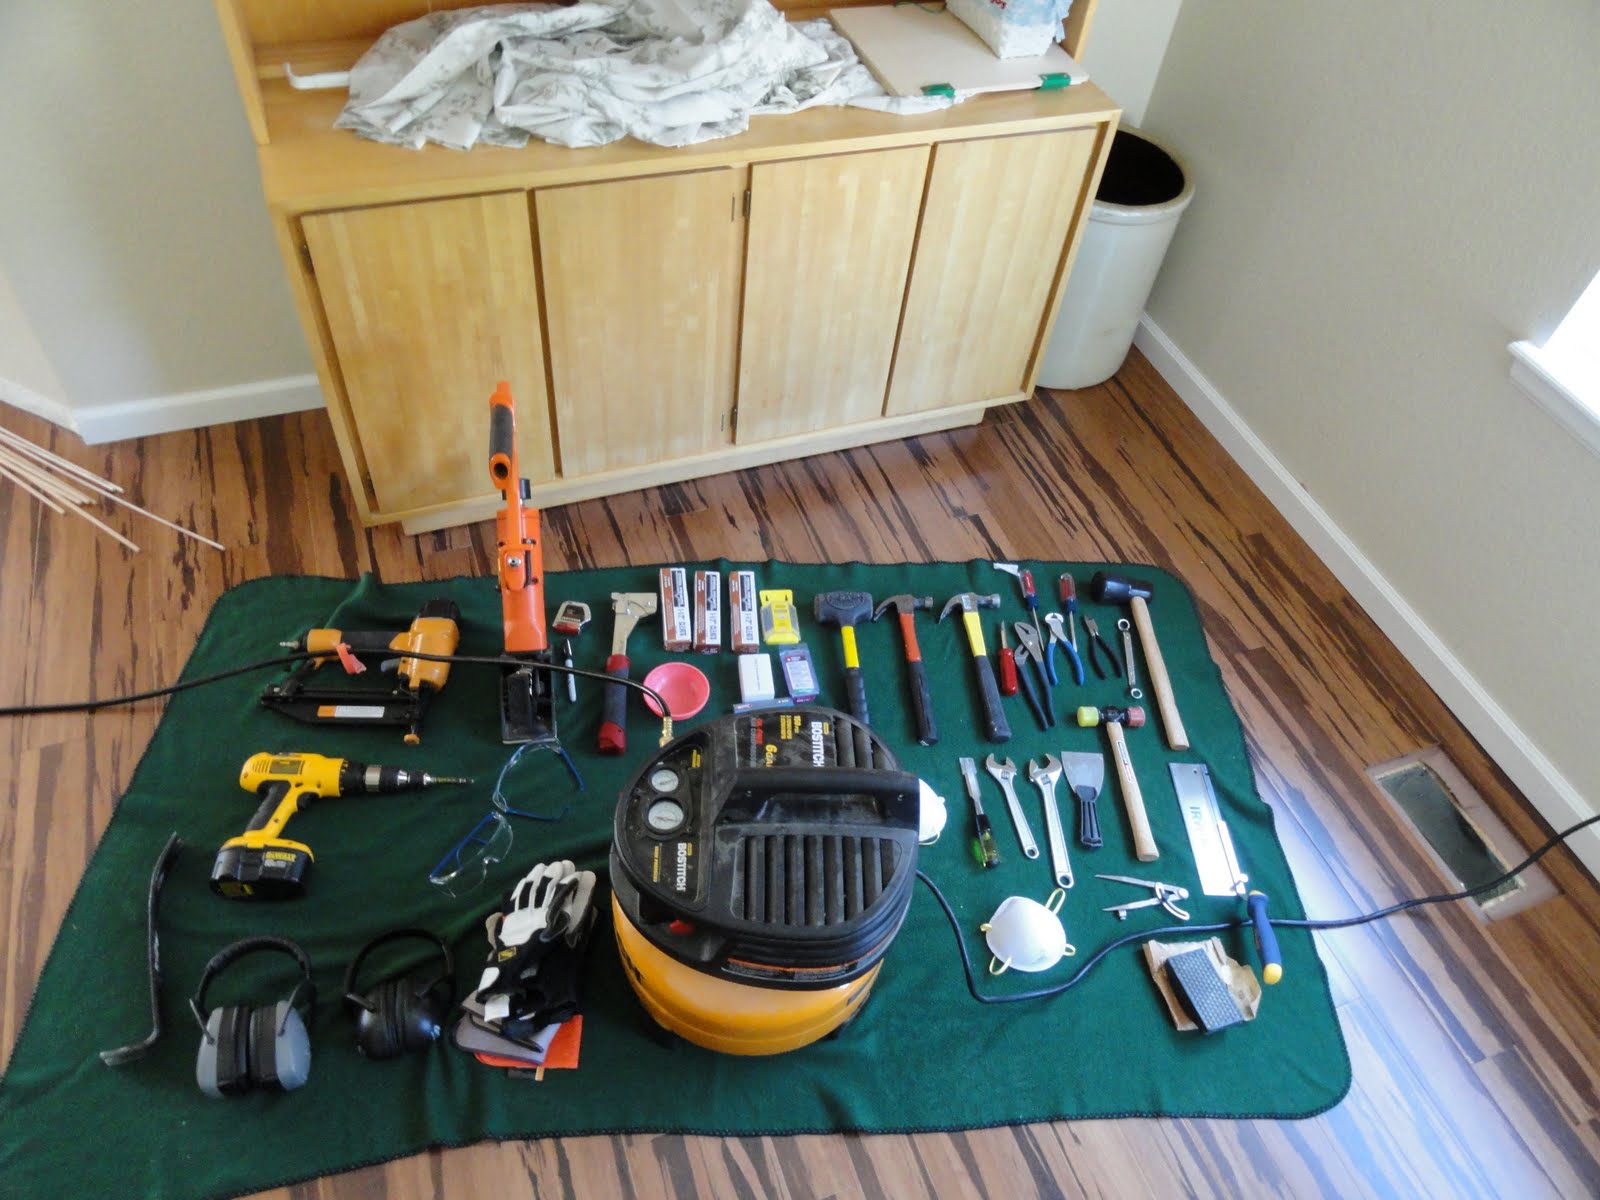 Common installation tools are:
- hardwood flooring planks
- underlay and vapor barrier (depends on product requirements)
- adhesive (as recommended by manufacturer, for glued-down installation)
- spacers
- pneumatic nailer (for nailed-down installation)
- drill and drill bits
- hammer
- nail set, nails and finish nails
- wood putty (same shade as the flooring planks, for nailed-down installation)
- saws – circular, mite, table or hand saw
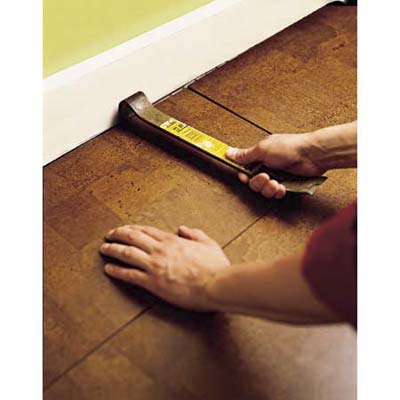
- prybar
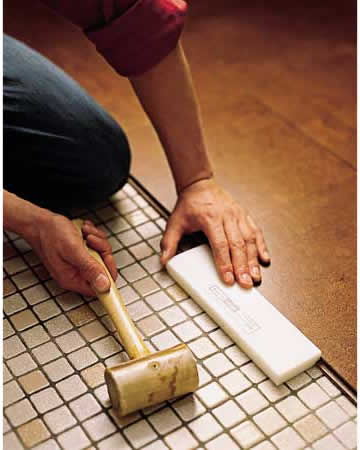
- dead blow hammer and tapping block
- pencil
- tape measure
- utility knife
- dust mask and knee pads


 Today, we continue with our DIY flooring installation series and we’ll give you some points to consider should you decide to go out, buy vinyl and make the installation a weekend project.
 To do this, get the length and the width of the room then multiply the same to get the area of the room. Be sure to add at least 10 percent extra to have allowance for errors.
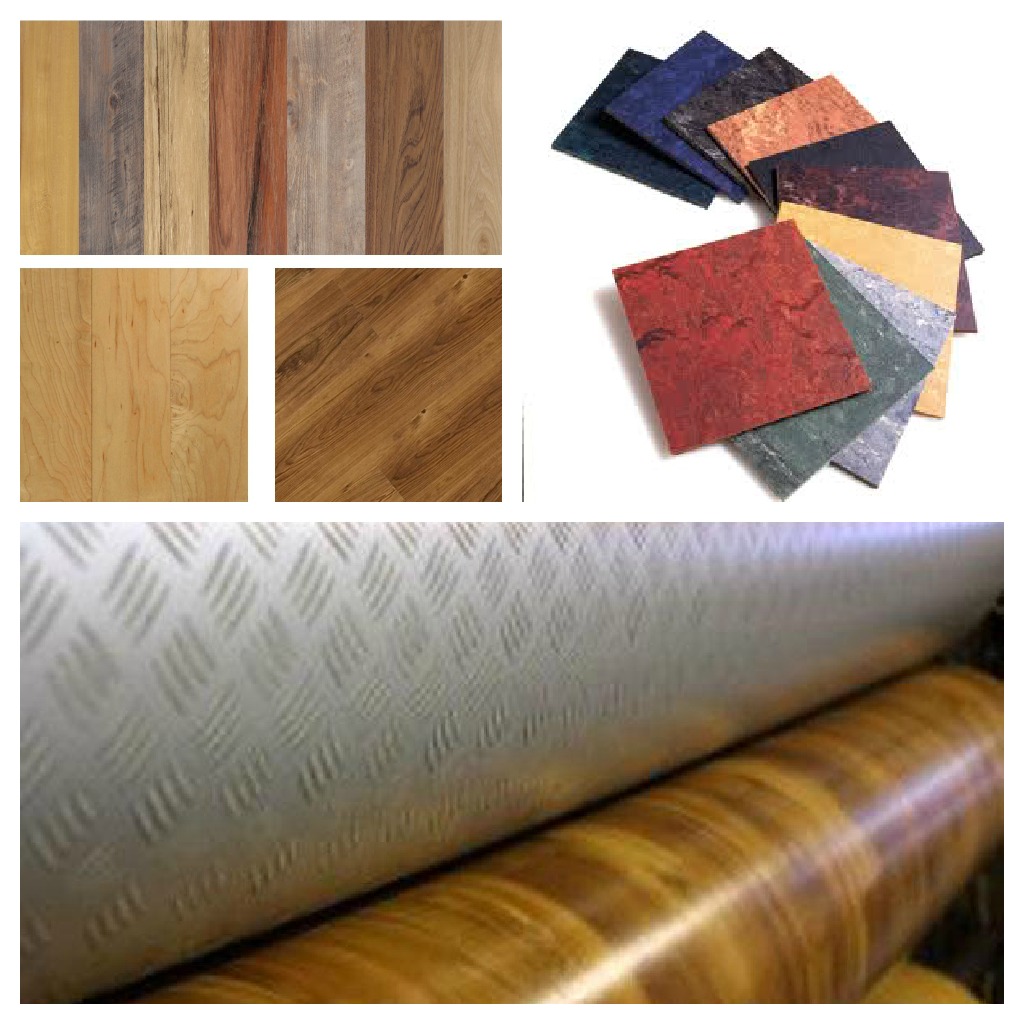
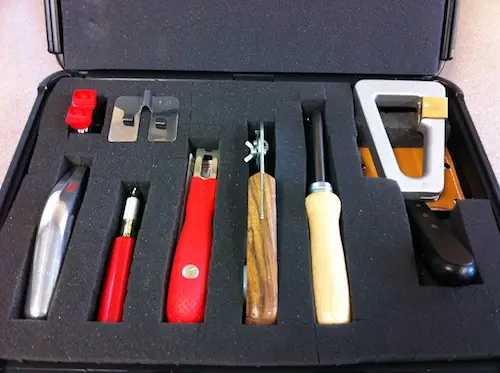 As it is with the quantity of the flooring products you need, tools do-it-yourselfers would need differ depending on the method of installation they intend to use.
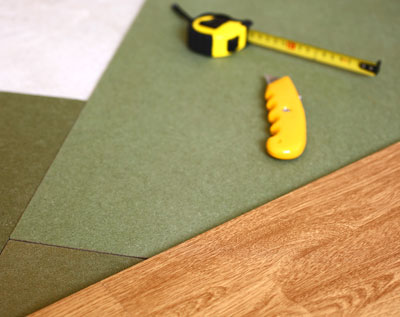
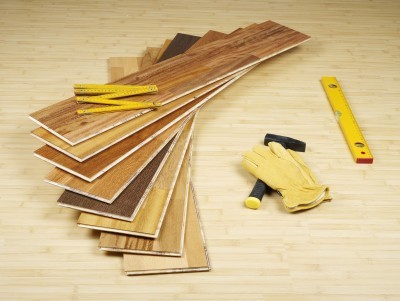 Whatever flooring product you choose, whether its laminate flooring, hardwood, porcelain and ceramic tiles, natural stones like granite, slate or marble, carpet tiles or other environmentally sound ones like glass, linoleum, bamboo or cork the most important thing is to make sure that the subfloor is prepared, protected from moisture and complete with the appropriate underlay or vapor barriers, recommended by the manufacturers of your product of choice.
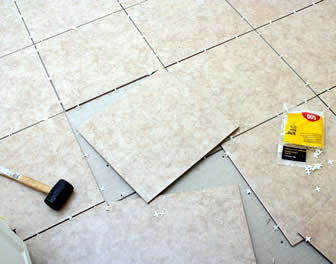 Speaking of tools, here are the ones needed in preparing the subfloor:
 Remember these criteria that should be met before porcelain or ceramic tile flooring is installed: the subfloor should be 1) uniform and level; 2) in appropriate thickness; and 3) in overall good condition. Before proceeding with the preparation, it won’t hurt to check out the manufacturer’s instructions to make sure you take all the necessary steps. Also check out the building codes in your area to avoid any inconvenience.
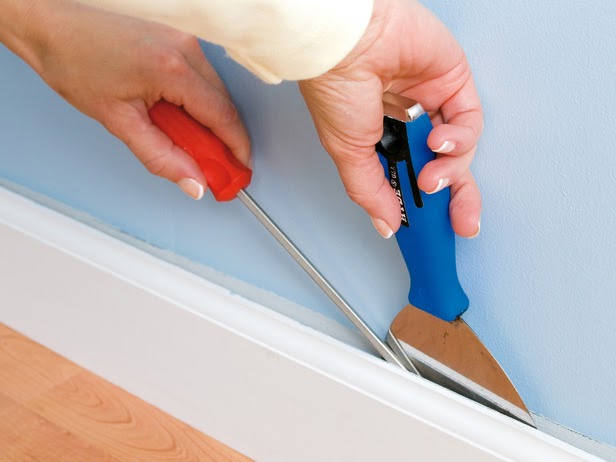 Another thing to consider is the resulting height of the flooring after installation. This will be crucial if you are planning to install the tile in the bathroom as the added elevation increases the chances of water spilling out. Keep in mind the height of furniture and other stuff as it is possible that the resulting floor will be more or less an inch higher.
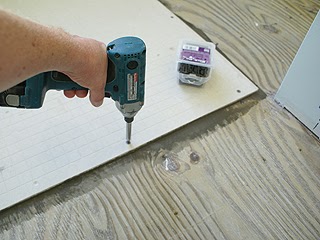
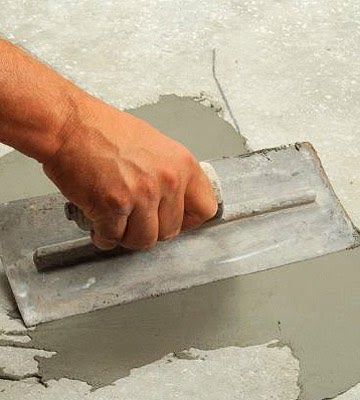 When the subfloor is level, we are now ready to install our backerboards that will serve as a foundation for our ceramic or porcelain tile flooring. Apply the thin-set mortar on the subfloor, make sure to spread them in sections and its best to begin doing so in a corner. Lay down the backerboard and secure it in place with using corrosion resistant screws.
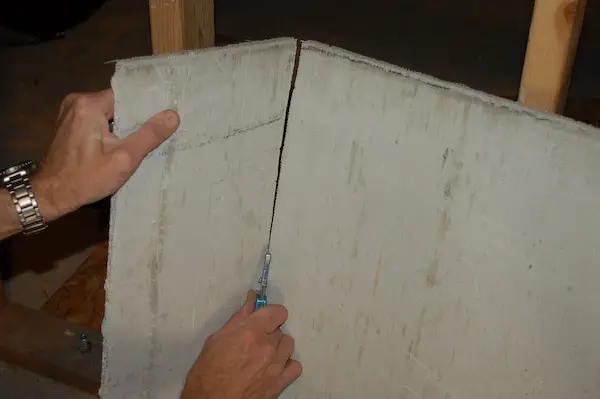
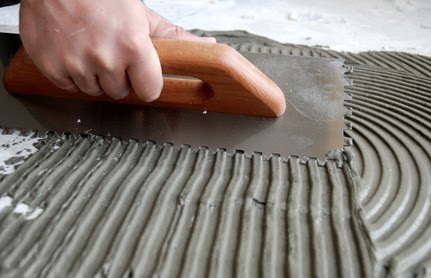 If you need to cut the board, simply score it with the utility knife and snap it. Be sure to cut it on the backside after it snaps to make sure you don’t damage the mesh.
 Continue with the thin-set application and backerboard layout until you have covered the entire room.
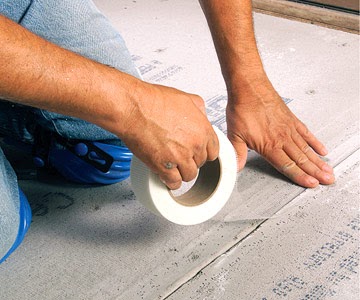 Cover the joints with cement board seam tape and apply mortar.
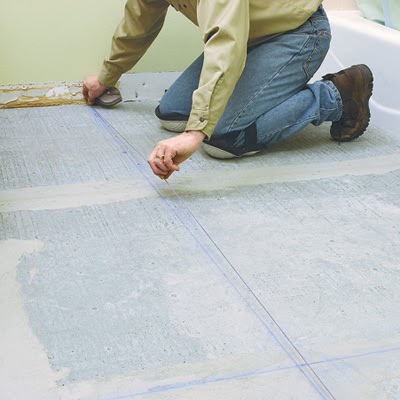 If the dry layout would leave a distance less than half the tile’s with at the end on one wall, move the layout by first adjusting the guidelines and leaving equal distance on each side.
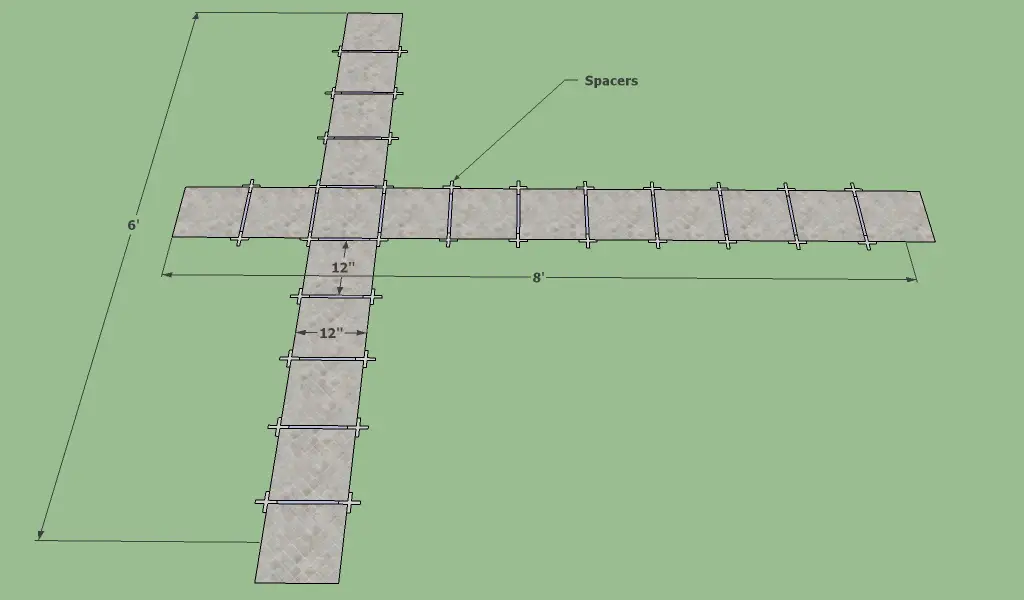 For larger areas, it is ideal to draw a grid of 3-foot squares across the room to make sure the layout will be even all throughout. Working in smaller section will make it more accurate and easier to make adjustments when needed.
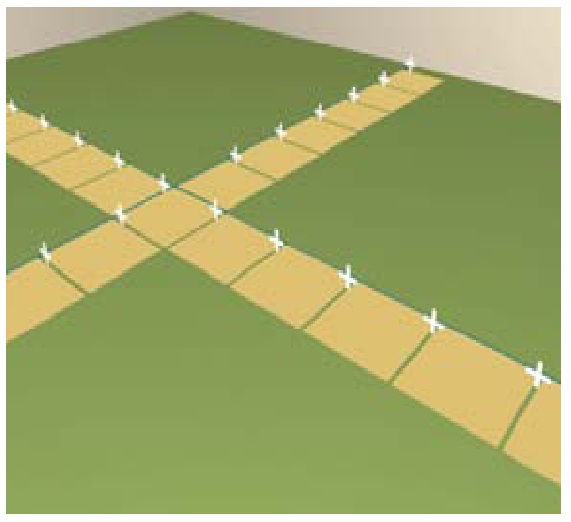 With the correct guidelines and a dry layout, we were able to see how the installation would look like. We are now ready to install the ceramic or porcelain tile flooring
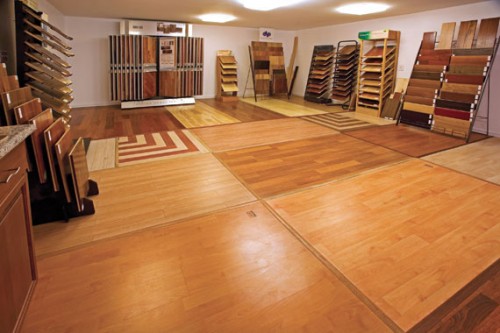 As it is with other flooring process, success depends on subfloor preparation and choosing the right flooring material. As we’ve mentioned earlier, linoleum has evolved into something not only trendier but also in form. We still have the classic linoleum sheets and the newer generation of linoleum tiles and floating ones.
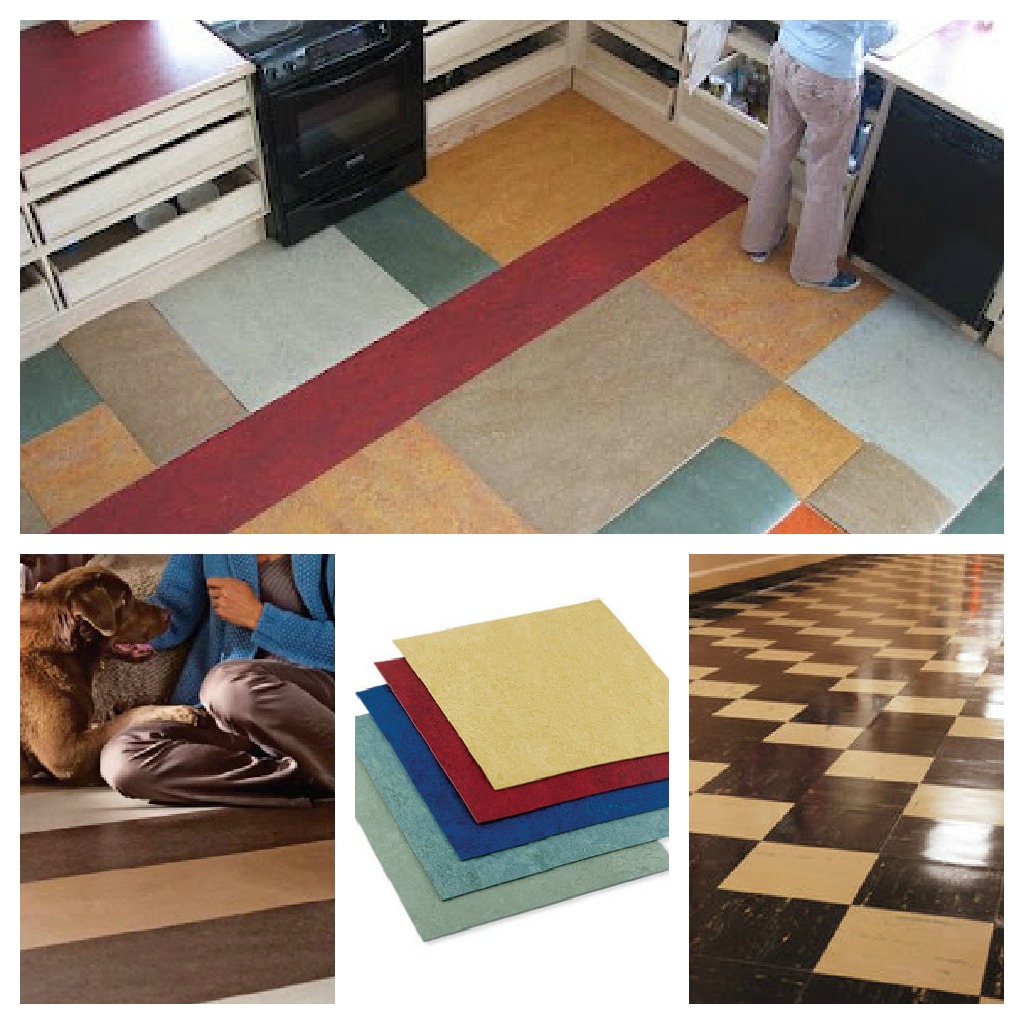 The tools needed will also depend on the type of installation the manufacturers recommend for different linoleum flooring products. Commonly used for installing linoleum sheets are:
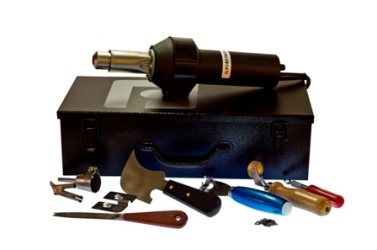 Finally, click and lock linoleum flooring would require the use of the following tools:
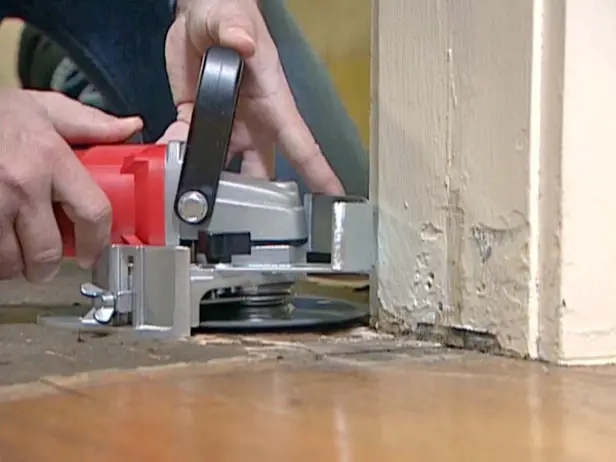
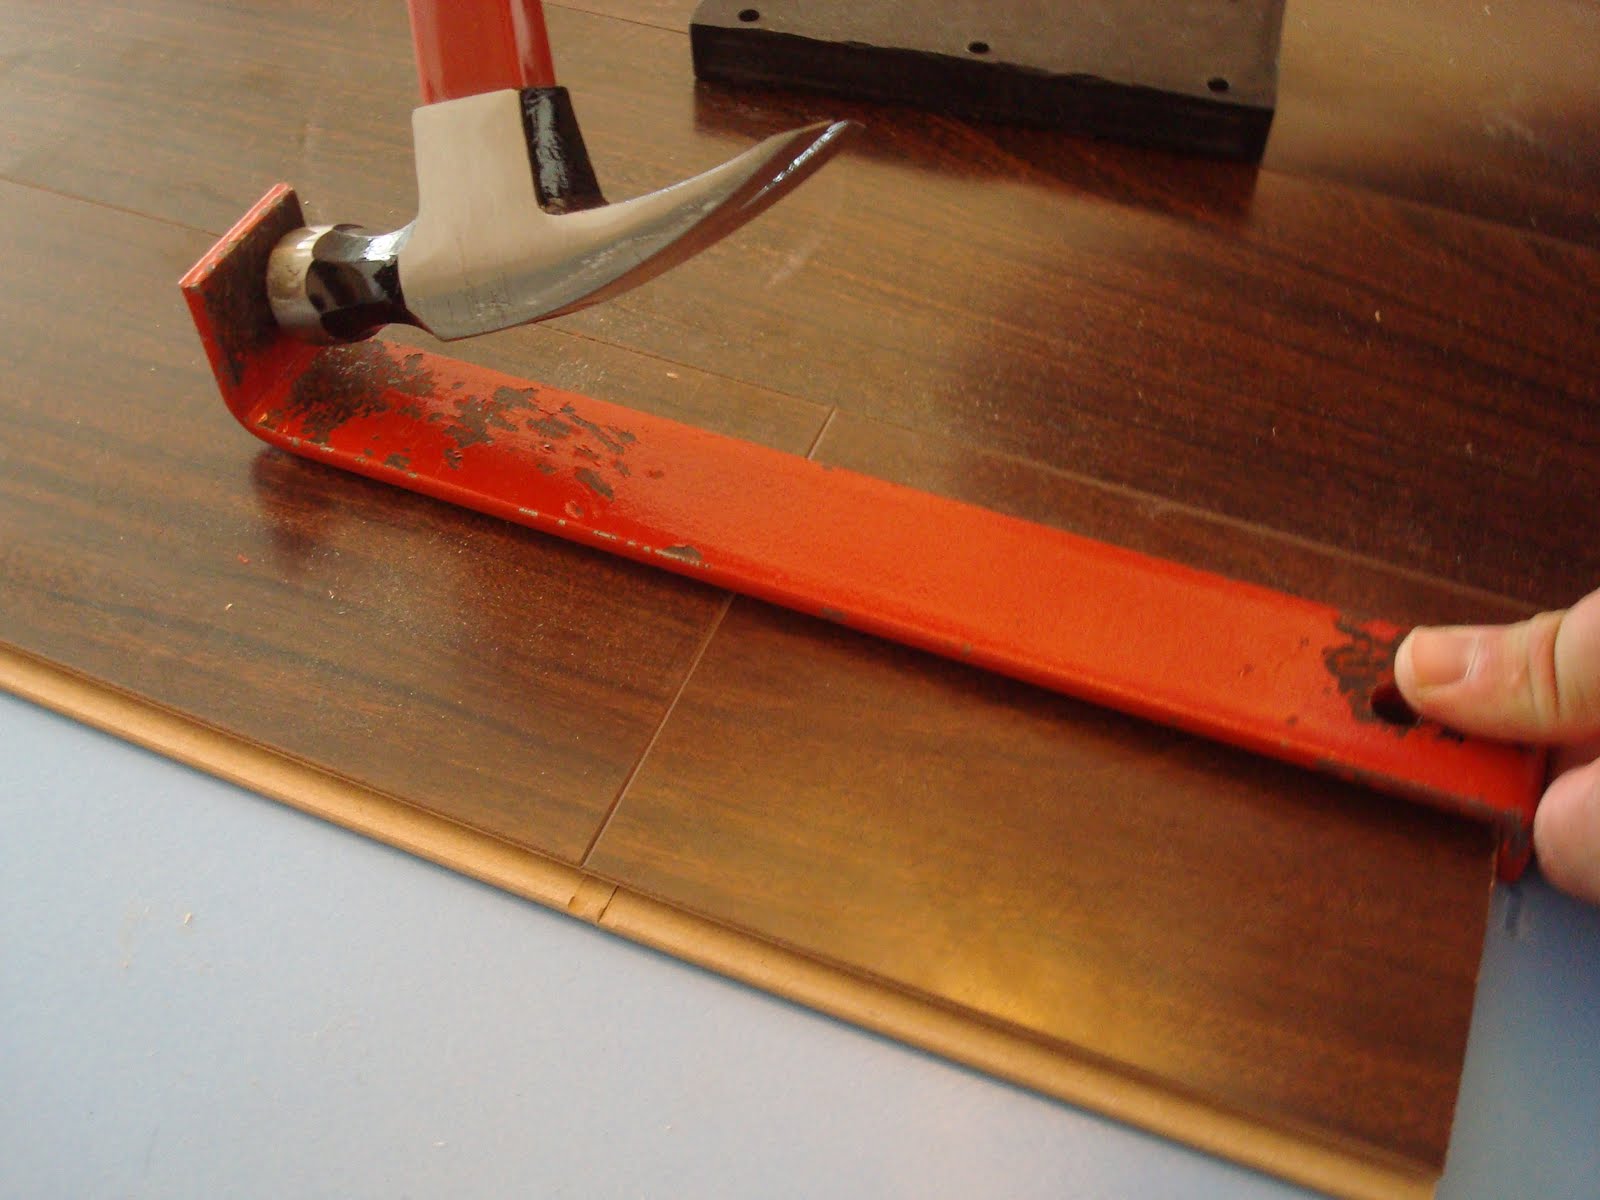 You may think that you’ve got everything you need and know absolutely everything you need to know about them and you’re probably about to go online or hit the nearest retailer in your area to get boxes and boxes of your perfect laminate flooring of choice…but you thought of something and stopped on your tracks: you realized you don’t know anyone who can install it and you’re not sure if you can do it.
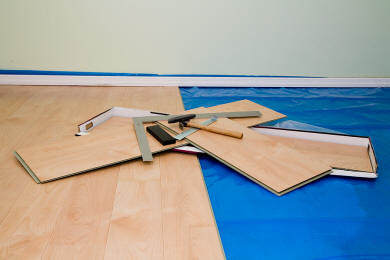 The next step is also critical. No matter what brand, with or without installation experience, one should always, always read the manufacturer’s installation instructions.
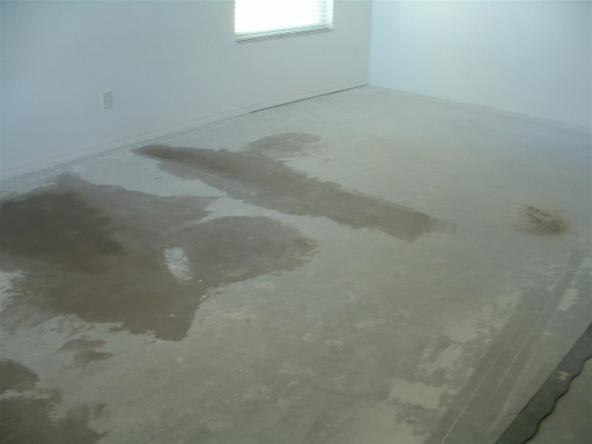 Don’t forget to measure the resulting flooring and make the necessary adjustments with your doors, trimmings, stairs and other transitions.
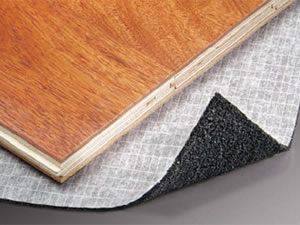 If you’re doing a major home makeover then ensure that all other jobs like carpentry and painting are all done before installing the laminate flooring to make sure that the surface are protected from unwanted scratches and stains. What’s the point of having a new floor when it’ll be less than perfect even before you get the chance to enjoy it?
 There you have it, the initial steps in preparing for a DIY laminate flooring installation. Watch out for part 2 for the step by step process and more tips.
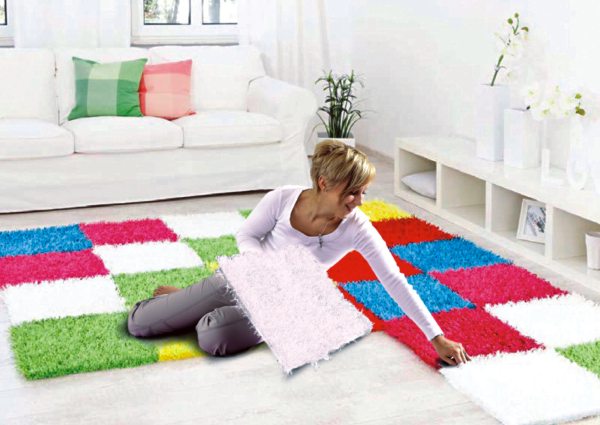 After preparing our subfloor, we are now ready to install our carpet tiles in an economical DIY fashion.
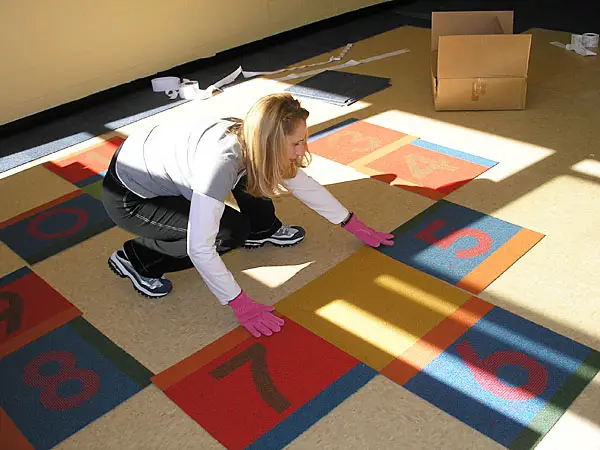
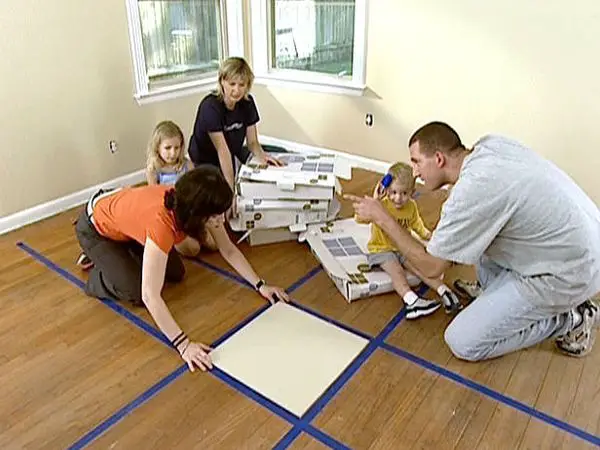 Using the tape measure, find the center of the room, snap a chalk line on the center of each wall to form 4 quadrants. This will make sure the dry layout of the carpet tiles will be straight and you can comfortable mix and match the tiles to form a certain pattern you like.
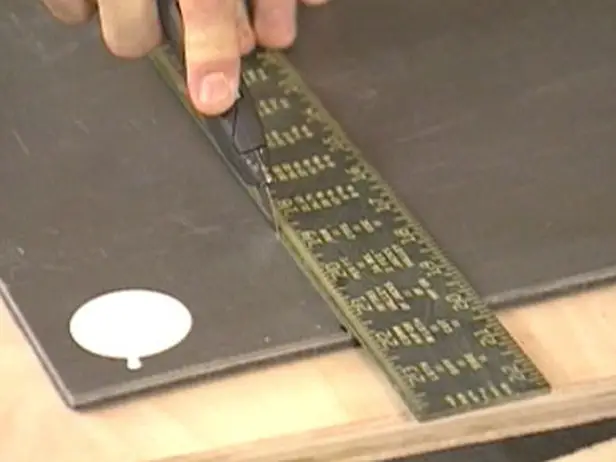 You may need to cut the tiles when you reach the edge of the room to make it fit, along corners or curves from permanent fixtures. To do this, make sure you have the correct measurements or shape and slowly cut the tile using a utility knife. For curves or other irregular shapes, using a pattern or paper template is also recommended.
 Perhaps the greatest selling point and the reason why more and more people prefer bamboo flooring is because it is both an environmentally friendly and highly sustainable material, however keep in mind that not all bamboo flooring are created equal. You may want to double check the manufacturing and delivery processes, if they comply with environmental standards.
 After the planks have been delivered, don’t get ahead of yourself and immediately install them. Get all the flooring materials in the room where they will be installed and lift them of the boxes or at least leave them open so that the planks can acclimate with the room’s natural conditions. The acclimation process is normally around 72 hours, but its best to see manufacturer’s instructions and follow that.
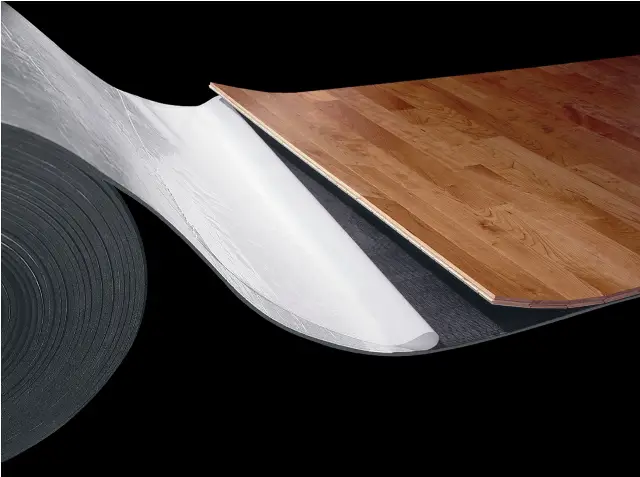 The level of the subfloor will affect not only the appearance of the bamboo flooring but also its durability. Its important to have a structurally sound subfloor to support the bamboo flooring. By structurally sound, we mean no squeaking floorboards or shaky joists. All repairs must be done before flooring planks are attached. The subfloor must be pristinely clean, thoroughly swept free from nails, staples or adhesive residue. Lastly and most important, the subfloor must be dry with a recommended room temperature of 60-70º and a humidity of about 40-60%.
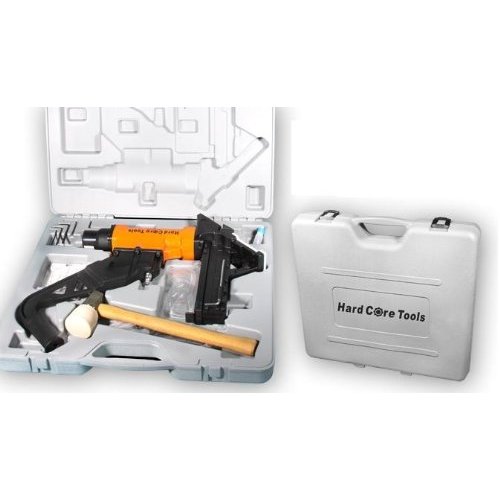
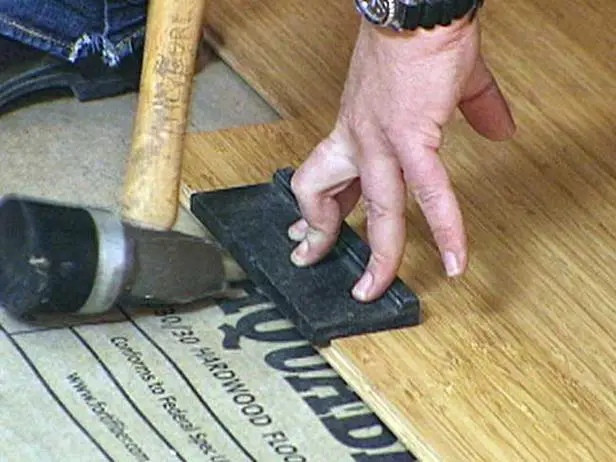
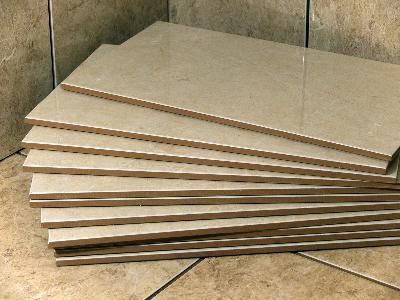 Tools and equipment needed to do the installation will depend on the ceramic or porcelain tile flooring product you intend to use. However, some of the common and basic materials are:
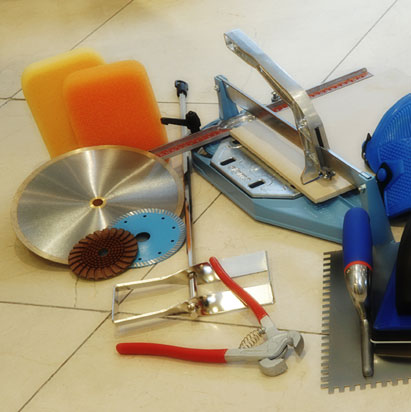
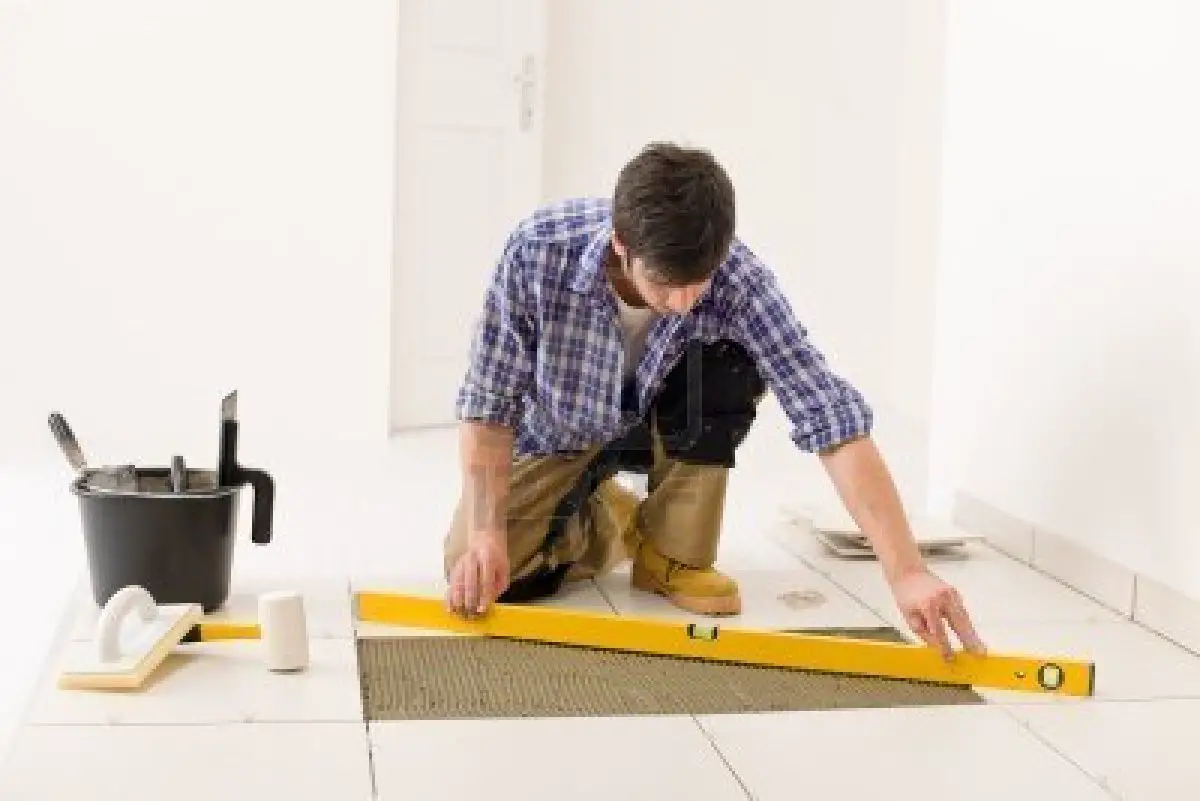
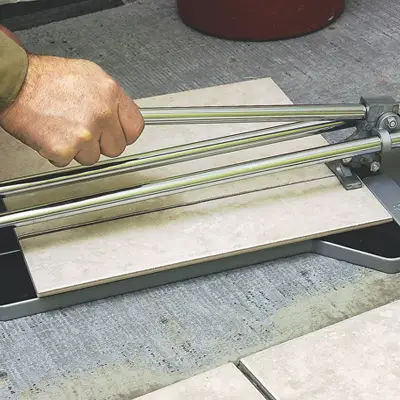
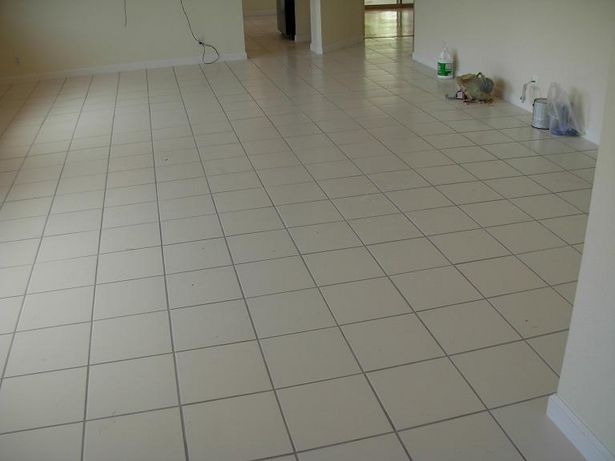
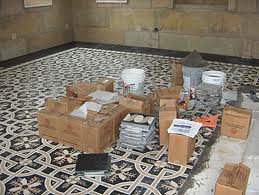 Following the reference lines we drew earlier, we’ll begin laying our porcelain or ceramic tiles in the center of the room working our way to the sides and edges where there is a greater chance of cutting the tiles. Also be sure to mix the tiles from different boxes to get a more random design.
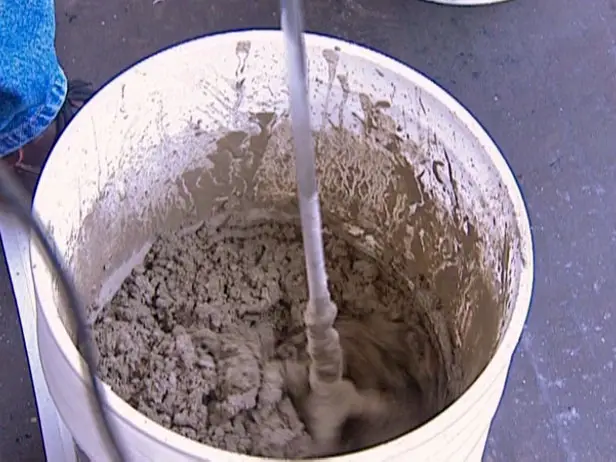
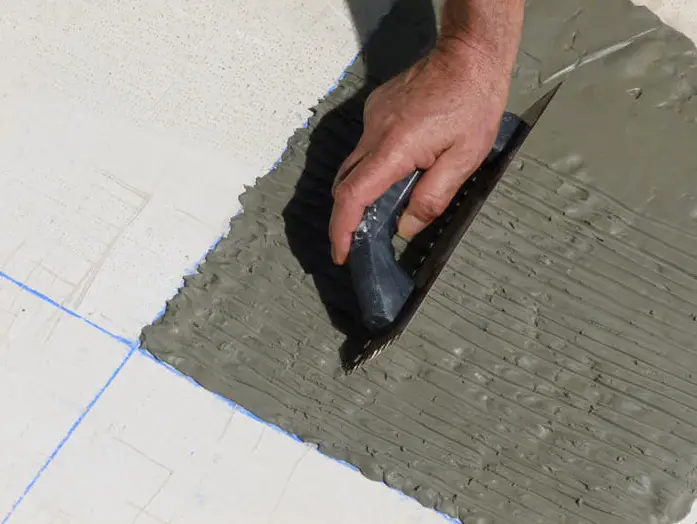
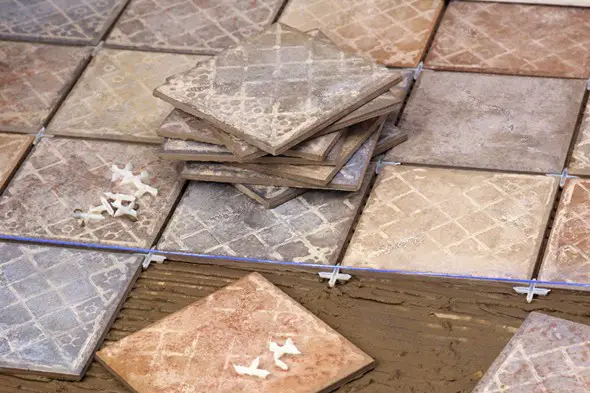
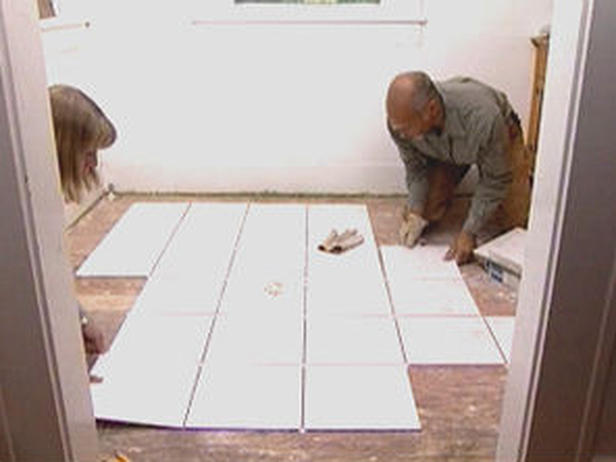
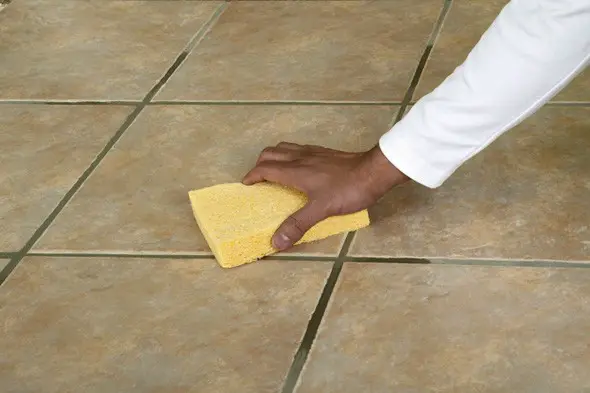
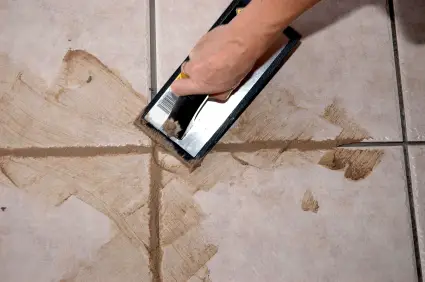
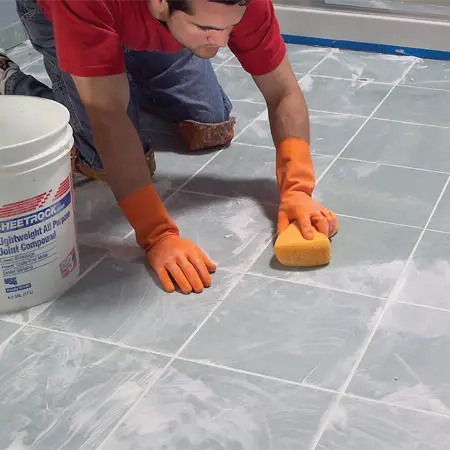
 After the thin-set mortar has finally dried, be sure to grout it up. For this you’ll need:
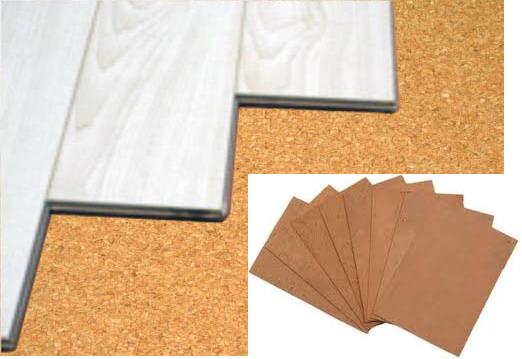
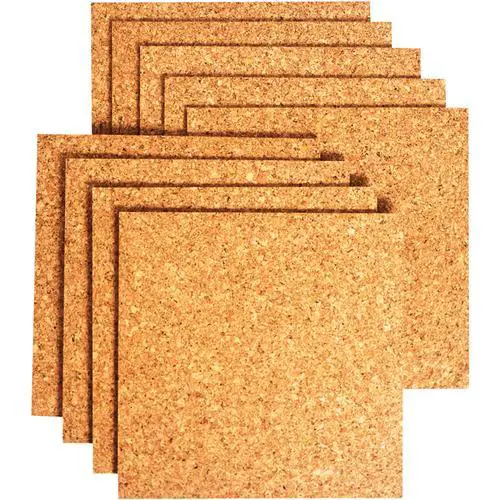 Cork flooring has managed to capture and maintain its share of the market for over a century now. This is not surprising as cork is one of the most beneficial flooring products available.
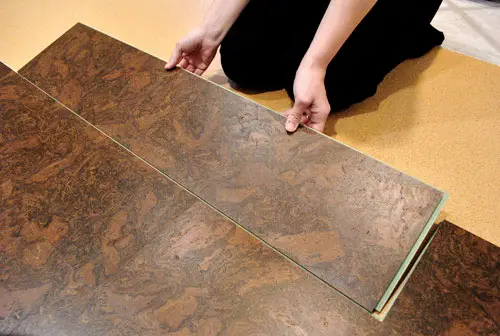
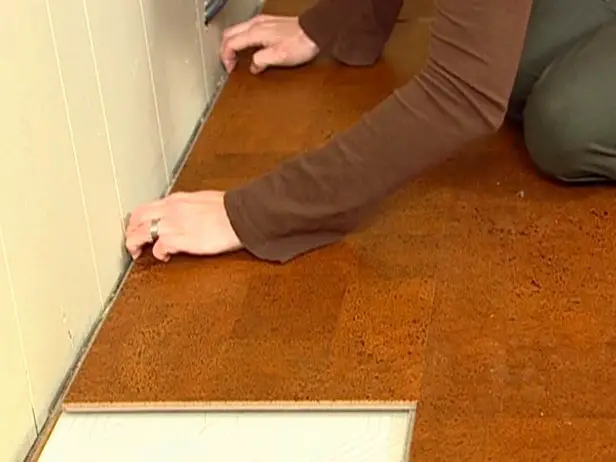
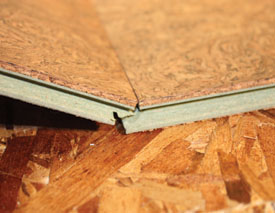
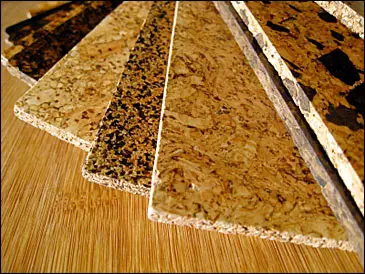 Below are some basic steps in installing your very own cork flooring in DIY fashion: