
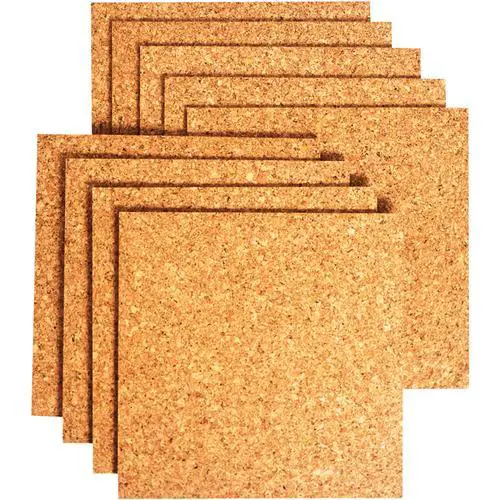
 Cork flooring has managed to capture and maintain its share of the market for over a century now. This is not surprising as cork is one of the most beneficial flooring products available.
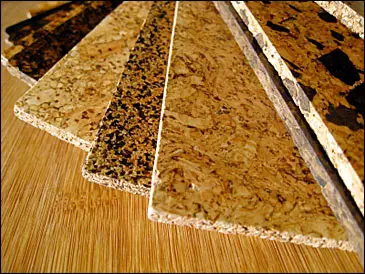
Some of its many benefits include: its warmth and comfort, sound suppression, hypoallergenic, its resilience and sustainability.
As we have been saying all throughout this series, to make sure you get everything right for your DIY flooring installation, always refer to manufacturer’s instructions. The steps listed here are general practices only and some steps may vary depending on specific cork flooring products.
 Below are some basic steps in installing your very own cork flooring in DIY fashion:
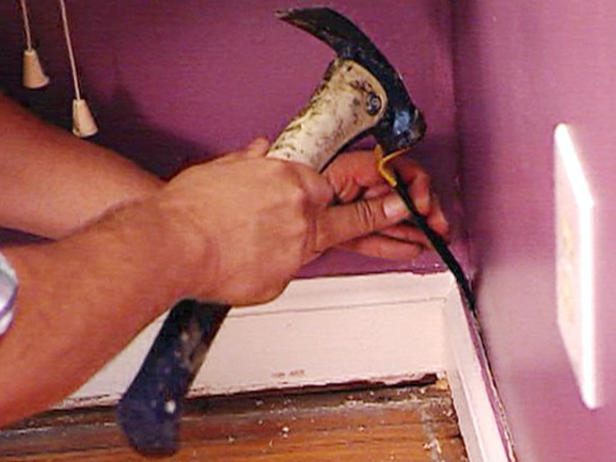
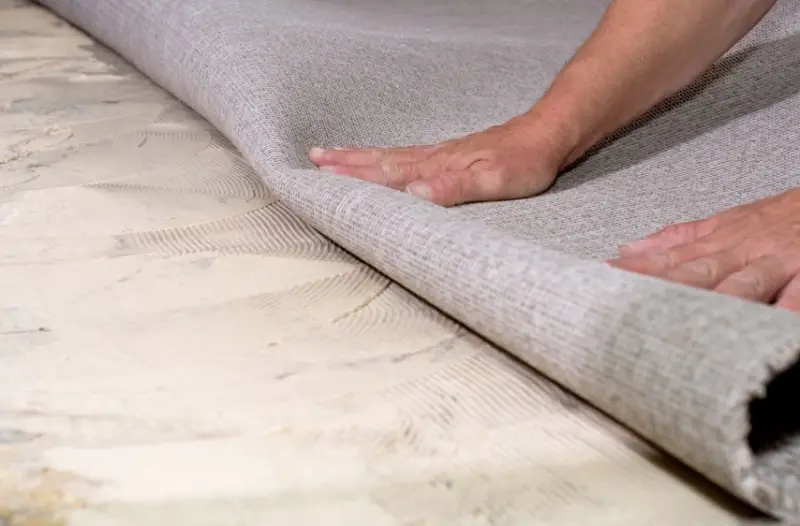
- Regardless of your flooring material of choice, the success of any DIY project rests with the proper preparation of the subfloor. Begin by removing all the baseboards, trims and mouldings. If you intend to reattach them after you’re done installing your new cork floors, be sure to remove them carefully leaving yourself reminders which belongs where by marking the spot where you removed each piece and the back of the baseboards too.
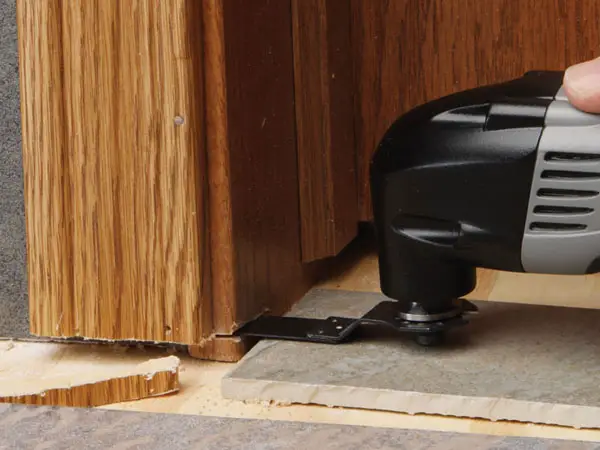
- Also prepare doors, doorways and jambs. You might need to saw off a part of the door casing and jamb to fit the cork flooring plank together with the underlayment. In some cases, the door itself would need to be removed and trimmed.
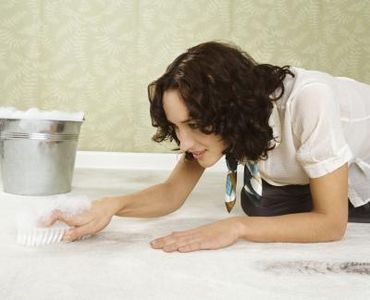
- Next is to remove old floor covering. If you plan to reuse the old flooring material, then again be cautious in pulling them off the subfloor. Think twice before putting them to trash, be creative and think of ways the old flooring can be repurposed. Also ensure that the subfloor is clean – free from dirt, debris, staples, nails and adhesive residue that may protrude and obscure your installation.
- Aside from thoroughly cleaning the subfloor, this is also the right time to check if the subfloor is free from damage and structurally sound to support your installation. Should there be loose or squeaking parts of the subfloor, immediately repair it.
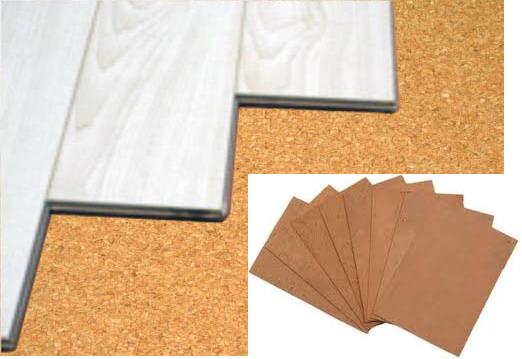
- Layout the underlayment, begin in one corner of the room working through door jams and air vents.
- Before laying out the planks, determine, where the light is coming from. Install the planks with the seams running parallel to the light to conceal their impact.
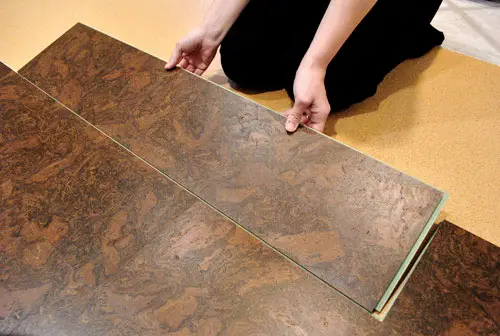
- To layout the cork flooring planks, begin in one corner. Measure the recommended allowance for the expansion gap and insert spacers.
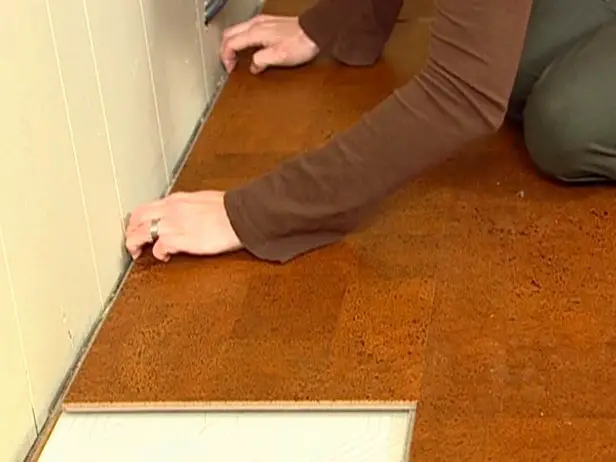
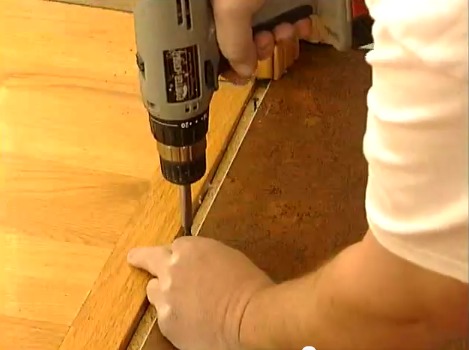
- It’s best to secure the first plank with screws temporarily to prevent it from slipping and ensure that we keep our installation straight.
- Make sure that the groove side is facing the wall.
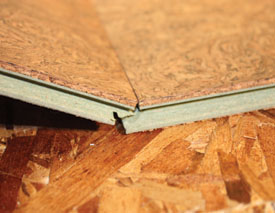
- In installing succeeding pieces, just tilt it in a 45º angle then slide it in until its tightly locked in place.
- When you reach the opposite end of the wall, you might need to cut the last plank in order to make it fit. Be sure to take correct measurements before cutting.
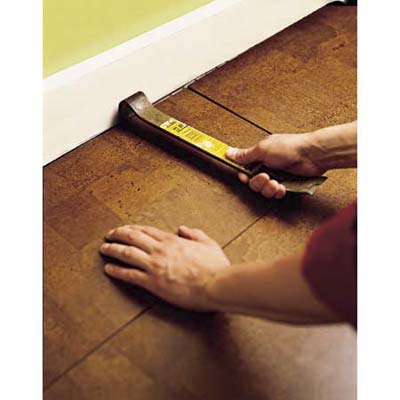
- To lock the last plank in the first row, you might need to use a pry bar.
- To keep the seams from being identical and to have that staggered look on your flooring, you can use other half of the last plank from the first row. In general, it is advised that planks from different boxes are mixed so that a unique pattern will be created.
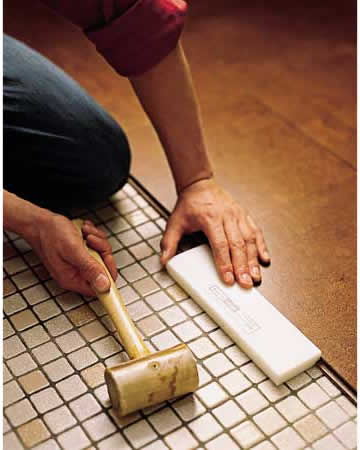
- Succeeding planks can be secured by giving it a light tap using a hammer and a tapping block. Be sure to keep in mind the expansion gap and place spacers between planks and the wall to keep the distance equal.
- Follow these steps and continue laying out the planks to the last row. Then secure the planks in the last row by again, using a pry bar.
- Finish off by removing the screws on the first plank and putting in the correct moulding or transition piece.
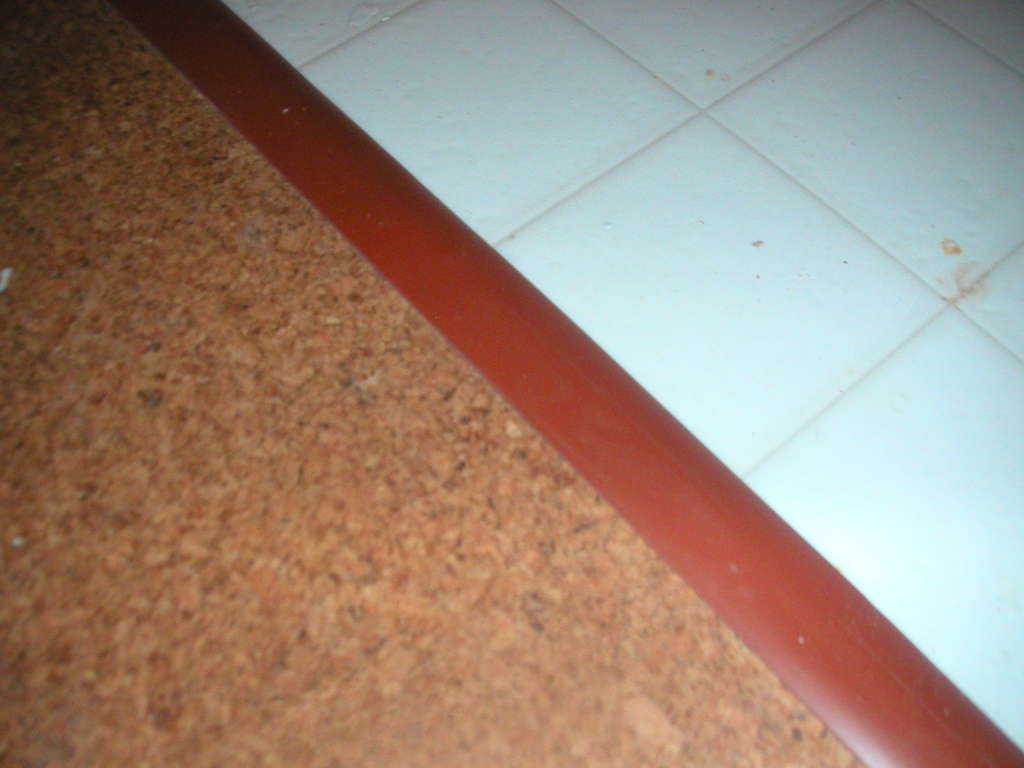
- Lastly re-install the baseboards and trims to cover up the expansion gap. Remember that they should be nailed to the wall and not the floor.
Cork is one of the most resilient flooring material available, with correct installation and proper care, you can keep your elegant cork flooring for generations to come.