
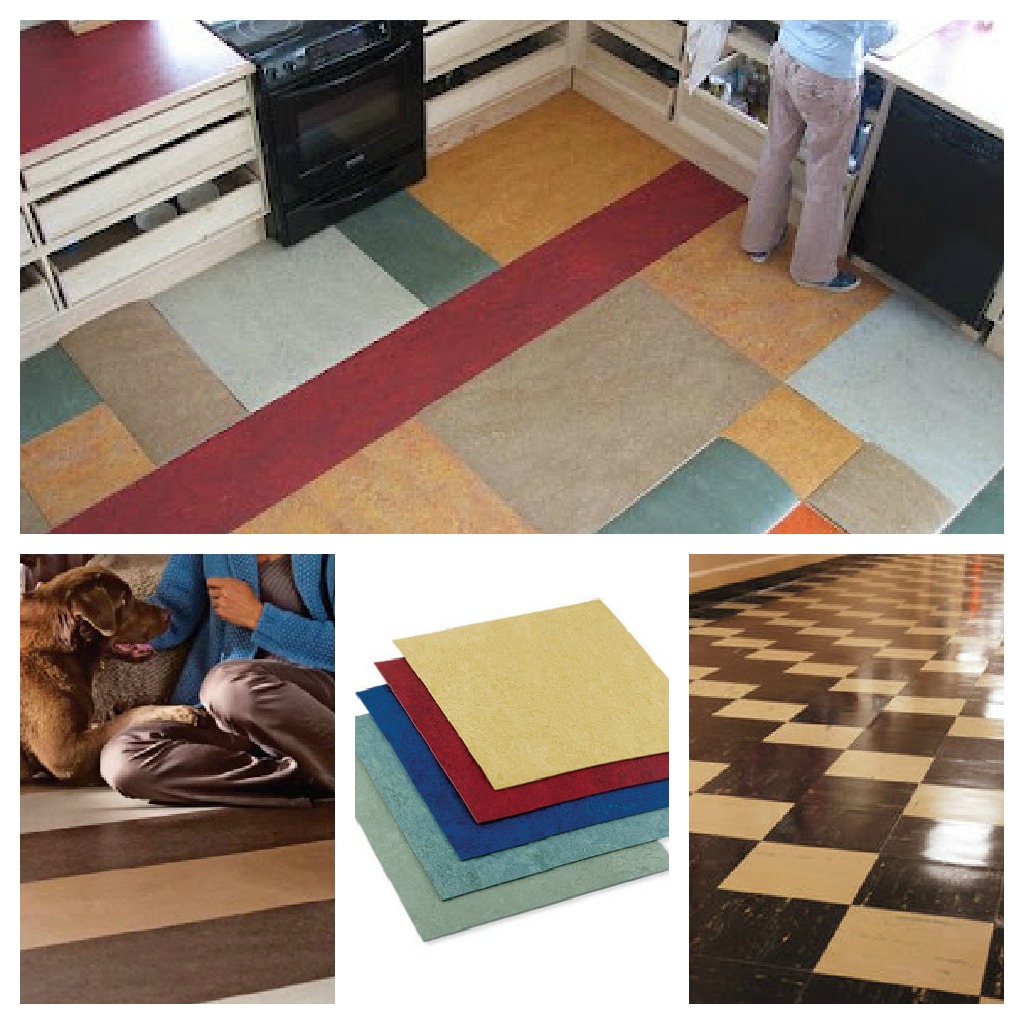
Linoleum flooring has made a comeback! Contrary to popular belief that they belong to some rundown buildings and establishments no longer used or homes that have not been lived in in ages, with the rise of consciousness for more environmentally sound flooring products, linoleum has received some well-deserved and overdue attention it has not seen in recent years.
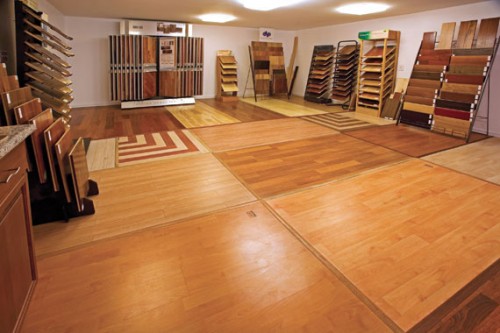 As it is with other flooring process, success depends on subfloor preparation and choosing the right flooring material. As we’ve mentioned earlier, linoleum has evolved into something not only trendier but also in form. We still have the classic linoleum sheets and the newer generation of linoleum tiles and floating ones.
It can be argued that linoleum is perhaps the greenest flooring product available in the market to date. It is manufactured from purely natural materials invented in the 1940s. These same materials and processes are still used today.
To continue with our DIY flooring installation, the next step is to identify the manner to install your new flooring. This of course will vary depending on the type of linoleum flooring you’d use. Sheet and linoleum tiles are usually installed using spread or full adhesive while floating linoleum normally uses the common click and lock technology.
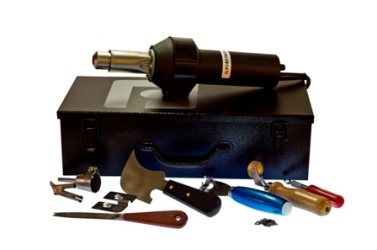
 The tools needed will also depend on the type of installation the manufacturers recommend for different linoleum flooring products. Commonly used for installing linoleum sheets are:
-
Carpenter’s square
-
Gloves
-
Masking tape
-
Measuring tape
-
Half–moon knife and guide plate
-
Pencil and/or felt–tipped pen
-
Respirator or mask
-
Scribers, snips and/or shears
-
Straight edge
-
Utility knife, edge trimmer and/or trimming knives (under, over, straight)
While linoleum tile installation would require the following:
-
100 lb roller and/or rolling pin
-
Chalk line
-
Floor pattern or craft paper
-
Full–spread adhesive
-
Notched trowel
-
Scissors
-
Seam–sealer kit or seam welder
-
Staple gun
 Finally, click and lock linoleum flooring would require the use of the following tools:
-
Hammer
-
Handsaw
-
Keyhole, jig or power saw
-
Tapping block
-
Tension iron or pry bar
-
Wedges
Subfloor Preparation
Before proceeding with site preparation, be sure to read the manufacturer’s instructions to make sure you are aware of any special steps you need to take before installation. Also check building codes before scratching the surface of your old flooring.
- Remove all furniture and equipment before the installation. If you’ll be using wood subfloors or an underlayment is required, make sure to account for the ending thickness of the new floor and be sure to trim door, door casings and door jambs.
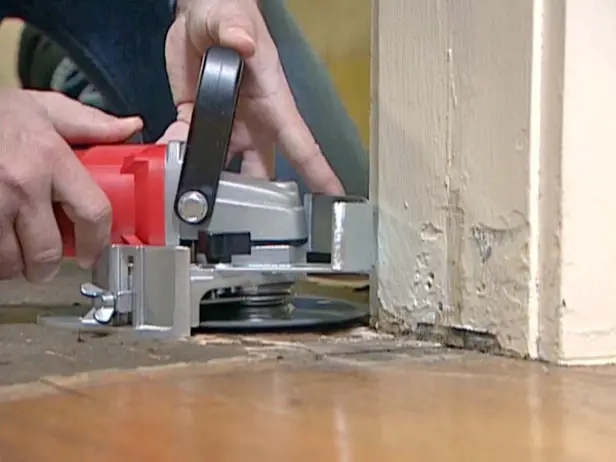
- You also need to remove wall trims and mouldings you can either reuse or discard them but you need them out of the way in order to properly install the new flooring.
- Remove old floor covering. If you plan on reusing the old flooring material, then carefully remove them and keep damage to a minimum.
- After removing the old flooring, thoroughly clean the subfloor and ensure that it is structurally sound, level and free from water or moisture.
- Some products might require installing plywood for underlayment, be sure to get an underlayment-grade plywood or a material specifically recommended for the product.
- If you’ll be installing the linoleum over concrete subfloor, carefully follow manufacturer’s directions on whether or not the moisture in the room is appropriate with the product you have and what to do to fix it if its not.
- The same is true for below-grade installation, this might require laying down a moisture barrier.
- Leveling concrete floors might require using grinders and a leveling compound, be sure to read and follow manufacturer’s instructions when using them.
- Lastly, always use safety and protective gear especially when handling tools and equipment.