
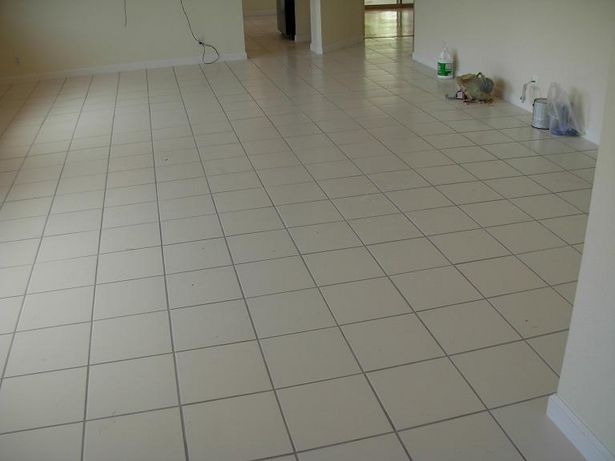
value of a home. More importantly, it is suitable to almost any kind of environmental conditions and would work well with other flooring solutions.
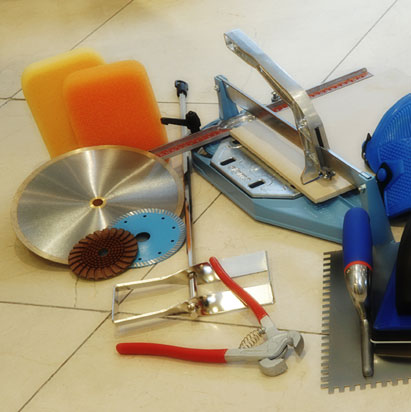
 Tools and equipment needed to do the installation will depend on the ceramic or porcelain tile flooring product you intend to use. However, some of the common and basic materials are:
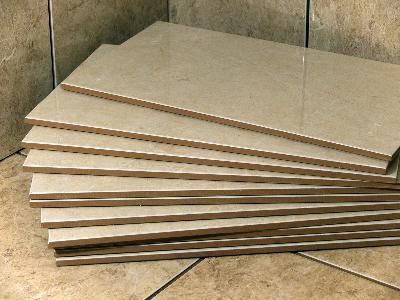
- flooring tiles, remember to add at least 10% allowance for mistakes/waste
- thinset mortar or mastic, as recommended for the product
- buckets and mixing paddle
- drill and drill bits
- notched trowel
- sponge
- tape measure
- pencil and square
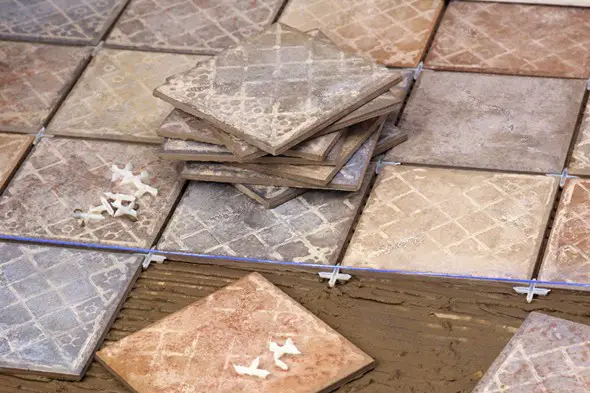
- tile spacers
- lever
- rubber mallet
- tile cutter or saw
- rubber work gloves
- kneepads
- safety glasses
- mouldings, transitions or tile metal strips as needed
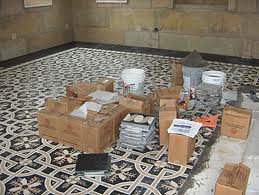
Before proceeding with the project, be sure that the subfloor have been prepared to perfection, meaning it is generally in good condition: leveled and is in the proper thickness. Make sure you check out the manufacturer’s instructions and the building codes in your area.
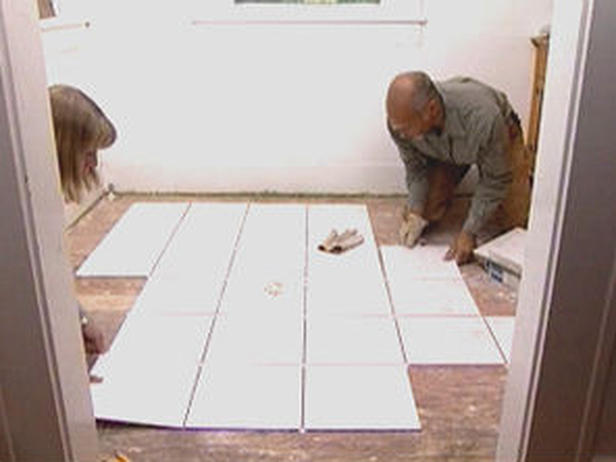
 Following the reference lines we drew earlier, we’ll begin laying our porcelain or ceramic tiles in the center of the room working our way to the sides and edges where there is a greater chance of cutting the tiles. Also be sure to mix the tiles from different boxes to get a more random design.
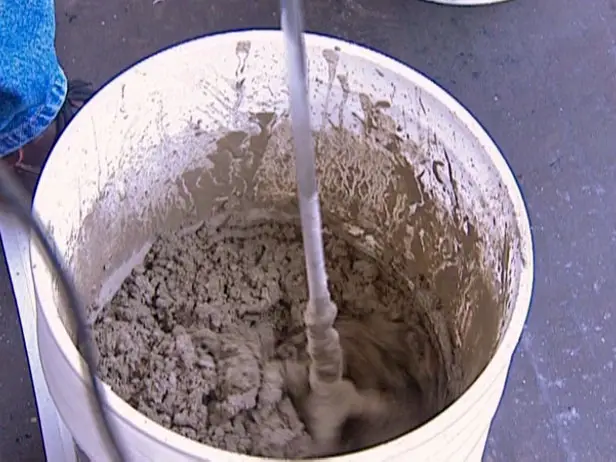
- Mix the thinset mortar in a bucket to the recommended consistency with our mixing paddle.
- In a cross section in the middle of the room, spread it over using a trowel, following our reference lines. Make sure to work in sections, 3 square feet is what’s normally recommended to make the installation more manageable.
- After the thin-set mortar has been spread, using the trowel’s notched side, comb through the mortar at a 45º angle. Ensure that the line remains straight as you comb through to make sure that the ceramic or porcelain tiles will rest evenly. Remove any excess and place it back to the bucket.

- Along the reference line, layout the first tile. Gently press and twist each tile firmly into the thin-set mortar, using tile spacers in between to make sure they are spaced evenly.
- Continue laying the tile and periodically lift them to make sure they are sticking. If not, apply a little amount of thinset mortar to the back of the ceramic or porcelain tile.
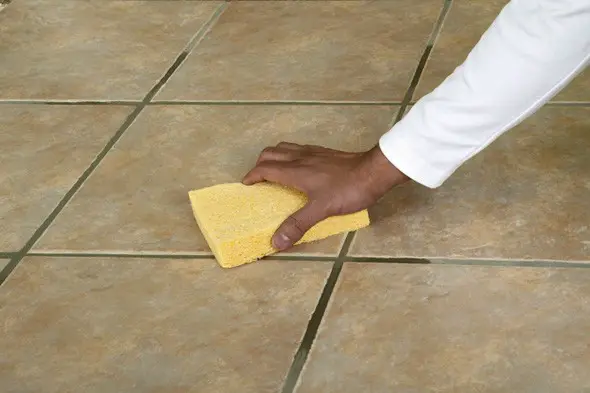
- Repeat the process until you have covered up most of the room, using a damp sponge to remove excess thinset on the surface of the tiles.
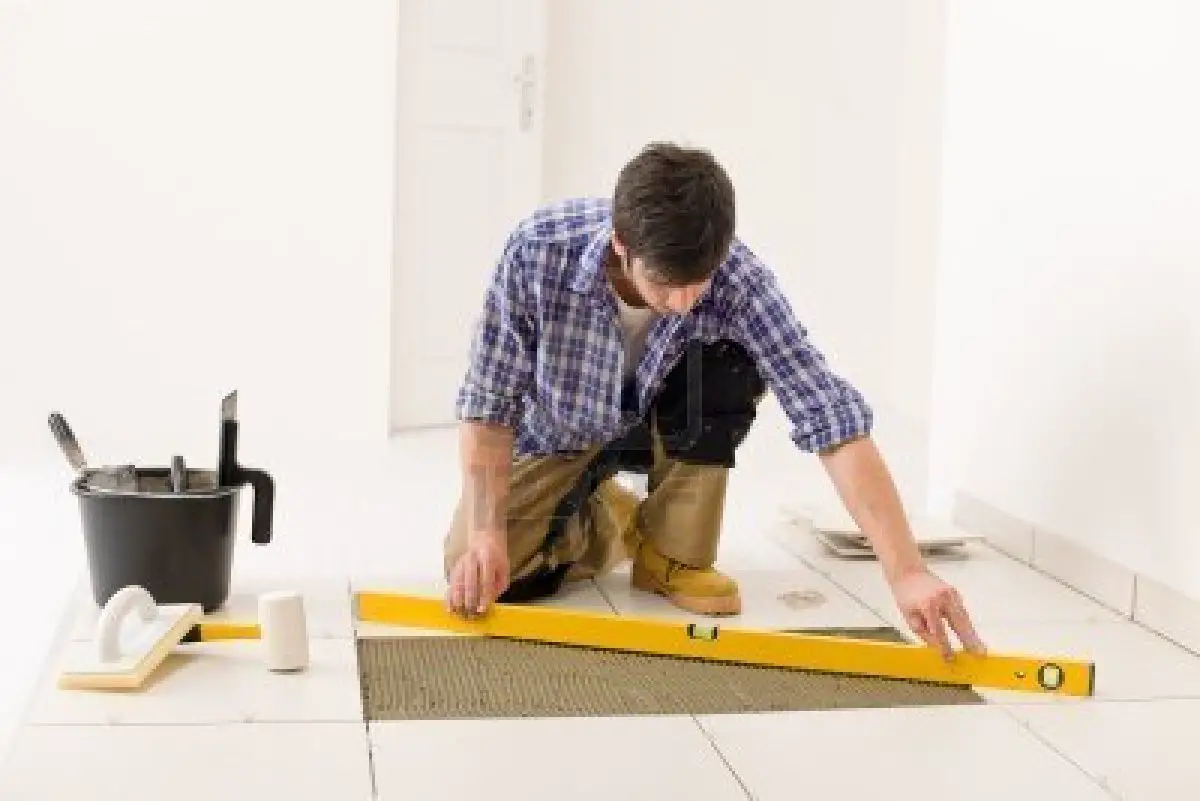
- After covering an entire section, be sure to check if the surface is even using a level bar. If some would have higher spots than others, gently tap on the porcelain or ceramic tile using a rubber mallet.
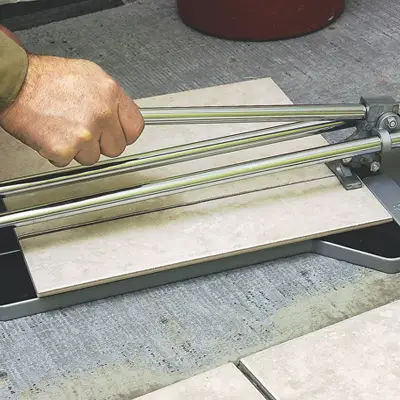
- For the edges, corners and door frames, we may have to cut the tiles using a tile cutter for small straight cuts or a tile saw.
- After all the tiles have been set, let the thinset mortar dry for at least 24 hours.
 After the thin-set mortar has finally dried, be sure to grout it up. For this you’ll need:
-
- tile grout and rubber float
- sponges
- tile grout sealer
- grout haze remover
- Following the manufacturer’s instructions, mix the grout to the recommended consistency.
- Apply the grout using the rubber grout float, pressing it into the joints. Then run it diagonally across the joints to get off excess grout.
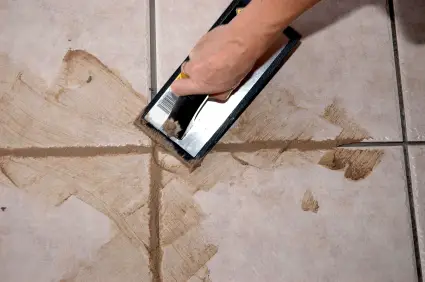
- After 20 minutes, wipe the surface of the tiles with a wet sponge and remove the residue with tile haze remover.
- Avoid heavy traffic on the floor for 72 hours to let let settled and cured.
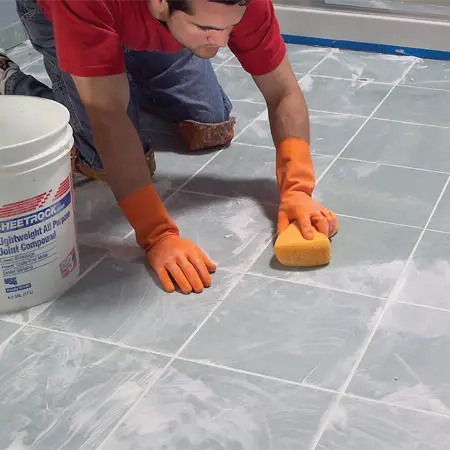
- Finally, apply grout sealer to the joints.
