
Resilient vinyl flooring is low on maintenance and costs just a fraction of granite and marble tiles but can look just as lovely. Also compared to natural stone tiles that will definitely require the advanced skills of a professional to install, vinyl flooring installation can be one great DIY project.
 Today, we continue with our DIY flooring installation series and we’ll give you some points to consider should you decide to go out, buy vinyl and make the installation a weekend project.
Let’s answer the basic questions first:
How much vinyl to buy?
Getting the exact measurements or perhaps the closest possible estimate of the size of the room you plan to install vinyl flooring on is perhaps the most important thing to accomplish in the entire project.
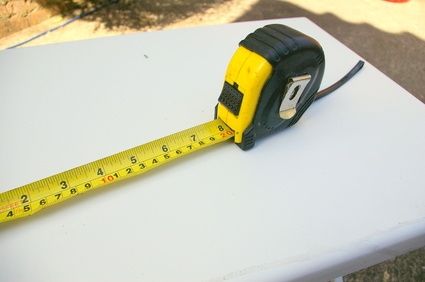 To do this, get the length and the width of the room then multiply the same to get the area of the room. Be sure to add at least 10 percent extra to have allowance for errors.
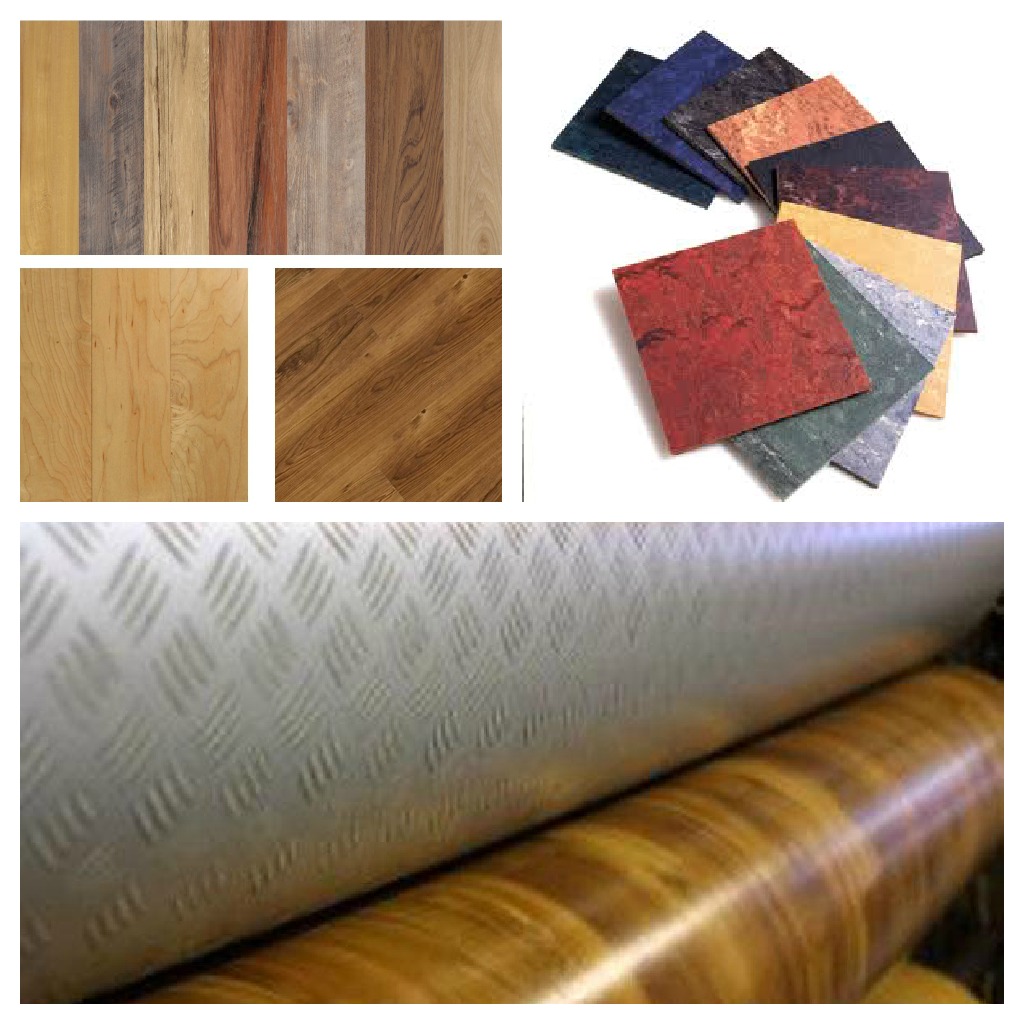
Measurement may slightly vary depending on the type of vinyl flooring product you’ll buy. There are different types of vinyl based flooring solutions available in the market – sheet, tile or planks.
What are the tools I need?
 As it is with the quantity of the flooring products you need, tools do-it-yourselfers would need differ depending on the method of installation they intend to use.
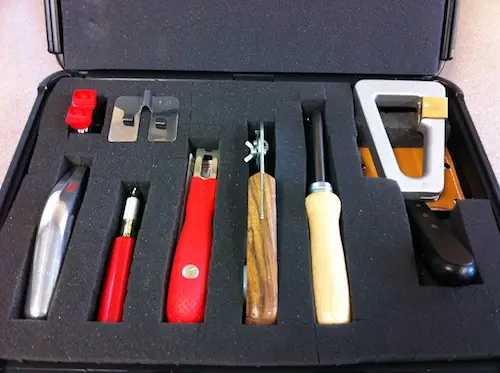
In general however, you will need the following:
- carpenter’s square
- gloves
- masking tape
- measuring tape
- pencil or felt-tipped pen
- shears or snips
- utility knife
There are 3 ways of installing vinyl flooring (depending of course on the type of vinyl flooring you’ll use):
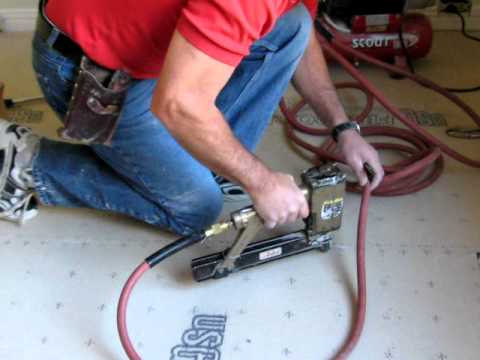
- Felt-Backed Vinyl Sheet – in this type of installation, vinyl flooring is installed either with spread adhesive, completely gluing it to the subfloor or by perimeter adhesive, securing the vinyl around the perimeter and seams. This type of installation requires the following tools:
- 100-pound roller/rolling pin
- floor pattern or craft paper
- full spread adhesive (as recommended by manufacturer)
- notched trowel
- pair of scissors
- seam sealer kit
- staple gun
- Vinyl Flooring Tiles and Planks – these can be installed in different ways: either secured to a floor with pre-applied adhesive (peel-and-stick) or tab, spray or also full spread adhesive. These types are normally installed with the following tools:
- chalk line
- manufacturer recommended adhesive (spray, full spread, tabs)
- notched trowel
- vinyl tile/plank cutter
- Fiberglass Vinyl Sheet – installed as a loose lay or floating floor. It can also be installed semi-loose lay – secured only in specific points or full spread. Tools and materials needed to install this type of vinyl are:
- acrylic double-sided tape or pressure sensitive adhesive
- floor pattern or craft paper
- notched trowel or paint roller
- scissors
How to prepare the subfloors?
- Remove any furnishings in the room, including floor trim mouldings or baseboards if any. Carefully remove them using a pry bar if you plan to re-install them later on.
- If you need to repair or lay down a subfloor-graded plywood or OSB board as subfloor aside from the recommended underlayment, be sure to remove and trim door(s), door jambs and casings to fit the flooring’s height adjustment.
- Make sure floor joists are sturdy. Repair and reinforce when needed.
- Also ensure that the subfloor’s surface is even.

- Check the moisture levels in the room and see if it is within the manufacturer’s recommended range. If not, be sure to see professional advice before proceeding with the project.
- Remove old flooring and clean the subfloor thoroughly. Make sure no traces of adhesive, wax, nails or dirt is left as this can affect the quality of our vinyl flooring.
- Let the vinyl flooring acclimate in the room. See manufacturer’s recommendations.
- Read manufacturer’s instructions and local building codes before starting with the project.