
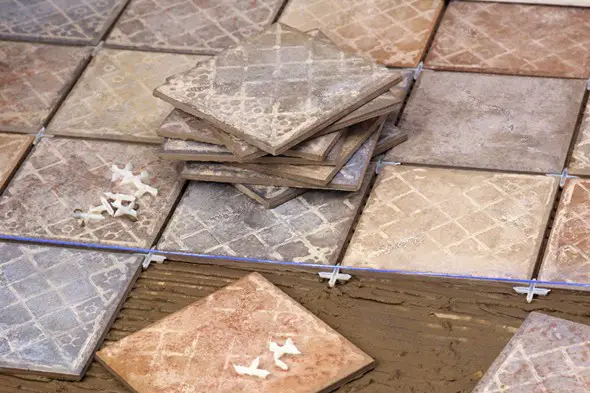
Recommended for high traffic areas, ceramic and porcelain tile flooring is a great addition to your home. An excellent flooring material since they handle moisture well, durable and also comes in various styles, sizes and colors that would complement, highlight and accentuate any place in your property.
Planning to install ceramic or porcelain tiles DIY? Read these basic steps in preparing for installation. Keep in mind this requires some skills and certain tools so better think twice if you’re really gonna do it or leave it to the more trained hands of flooring professionals.
 Speaking of tools, here are the ones needed in preparing the subfloor:
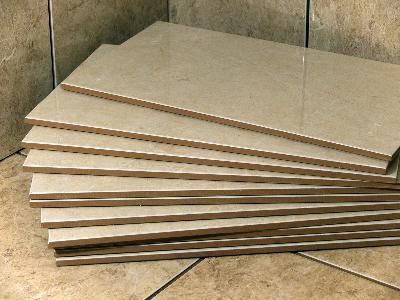
- cement backerboard (underlayment)
- polymer modified thin-set mortar
- notched trowel
- galvanized roofing nails or corrosion resistant screws
- drill and drill bits
- saw
- alkali-resistant cement board seam tape
- utility knife
- tape measure
- pencil
- chalk line and square
- knee pads, gloves and safety glasses
- patch and leveler
- tile spacers
- ceramic or porcelain flooring tiles
So how many ceramic or laminate flooring tiles do you need? To get an estimate measure the length and width of the room where you plan to install the flooring tiles multiply both to get the square footage you need. Finally, add 10-20 per cent more to cover for mistakes and replacements. Some stores have calculators included in their websites.
 Remember these criteria that should be met before porcelain or ceramic tile flooring is installed: the subfloor should be 1) uniform and level; 2) in appropriate thickness; and 3) in overall good condition. Before proceeding with the preparation, it won’t hurt to check out the manufacturer’s instructions to make sure you take all the necessary steps. Also check out the building codes in your area to avoid any inconvenience.
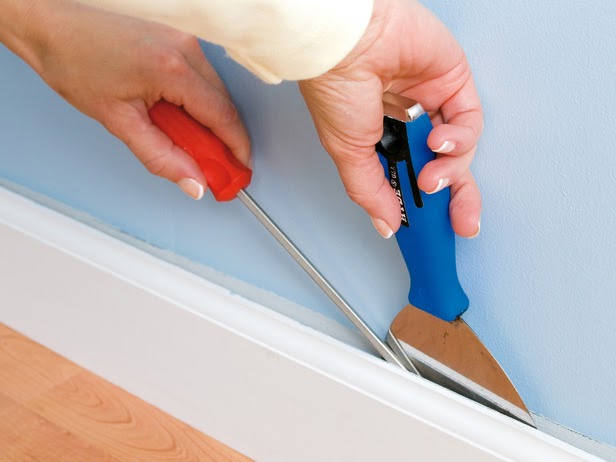
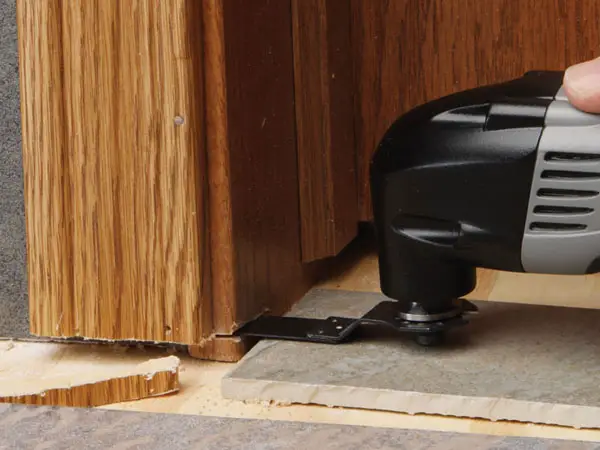
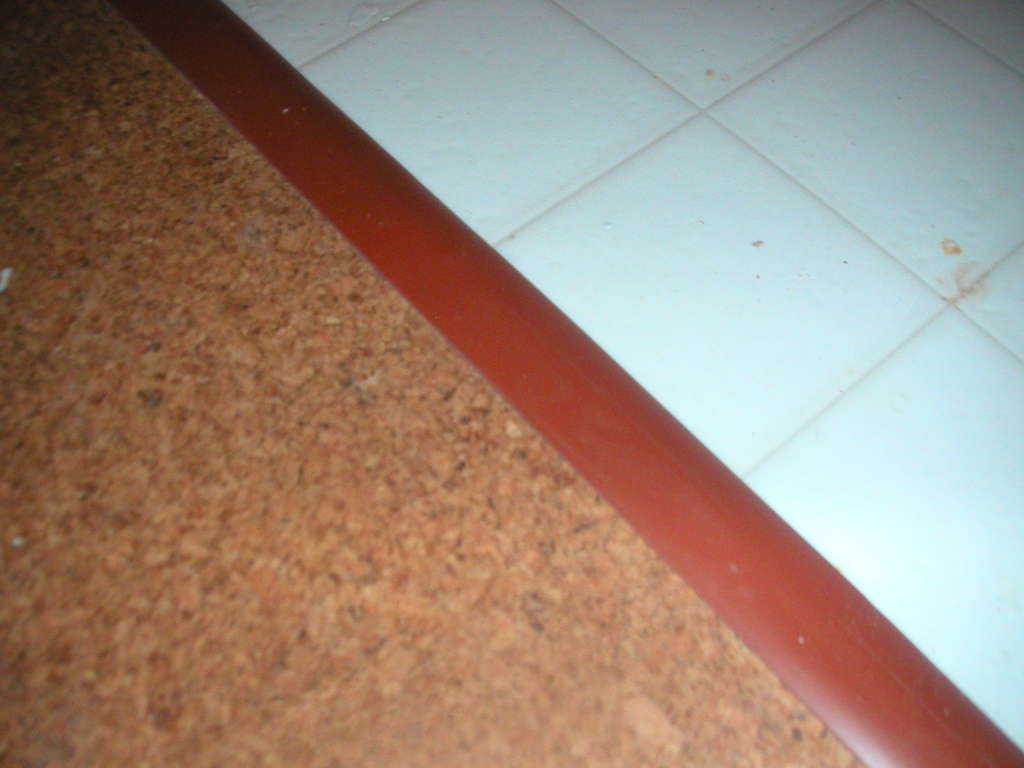
Next, checkout your subfloor. some materials, like vinyl are suitable for tile installation others however would have to be removed. Baseboards and trips would also need to be removed. Put the cement backerboard and a piece of tile against the door casing and mark their height. Clear out that space to make sure the flooring would fit. Be sure to cut the door too.
 Another thing to consider is the resulting height of the flooring after installation. This will be crucial if you are planning to install the tile in the bathroom as the added elevation increases the chances of water spilling out. Keep in mind the height of furniture and other stuff as it is possible that the resulting floor will be more or less an inch higher.
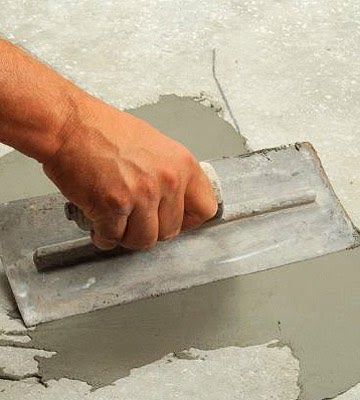
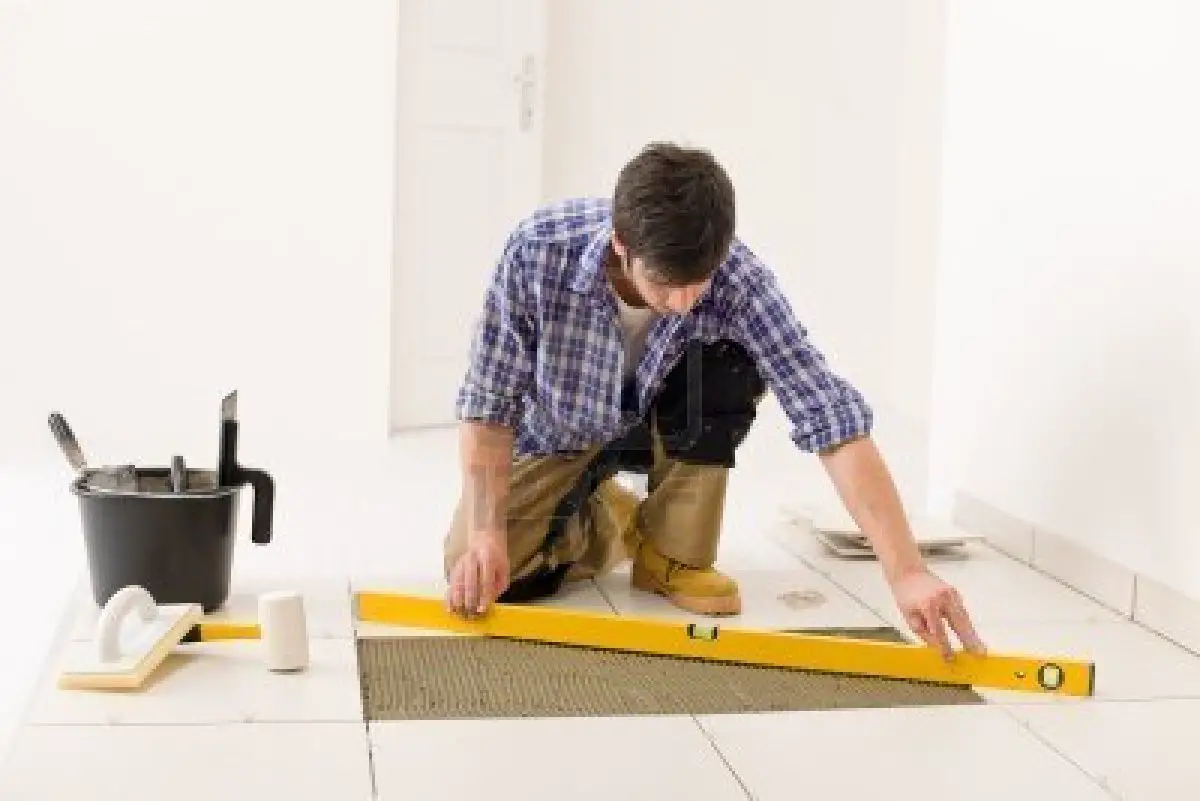
Check if the subfloor is level before laying down the backerboards to make sure tiles are protected from unnecessary pressure. Use the patch and leveler following product directions. Be sure to allow the right time for the leveling compound to cure. Another popular technique used to ensure that the subfloor is level is by screeding. This application was initially used for commercial installations but are now also widely used in homes. Here, when there are high spots, the rest of the flooring is then raised to make it level and even.
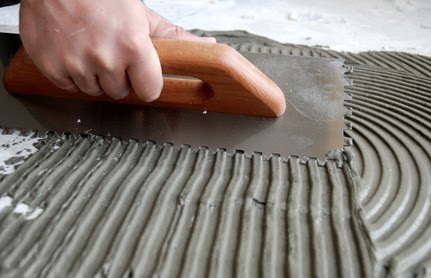
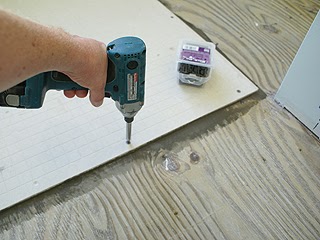
 When the subfloor is level, we are now ready to install our backerboards that will serve as a foundation for our ceramic or porcelain tile flooring. Apply the thin-set mortar on the subfloor, make sure to spread them in sections and its best to begin doing so in a corner. Lay down the backerboard and secure it in place with using corrosion resistant screws.
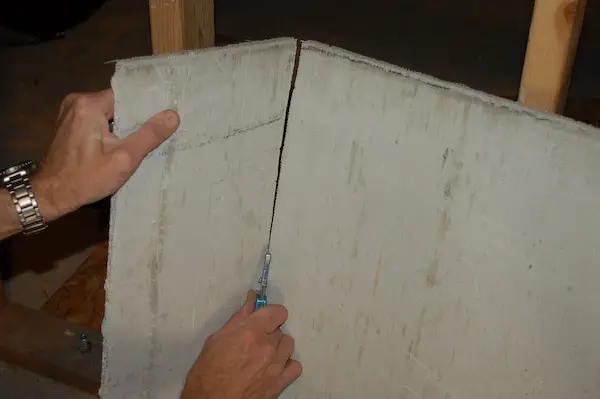
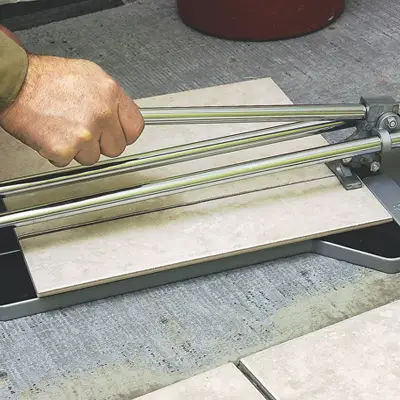
 If you need to cut the board, simply score it with the utility knife and snap it. Be sure to cut it on the backside after it snaps to make sure you don’t damage the mesh.
 Continue with the thin-set application and backerboard layout until you have covered the entire room.
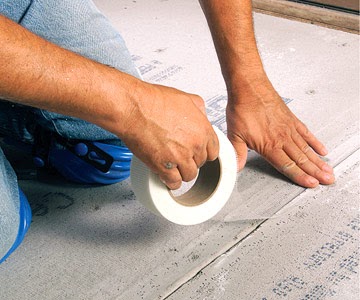 Cover the joints with cement board seam tape and apply mortar.
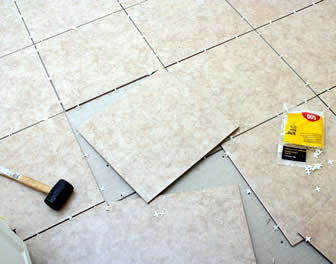
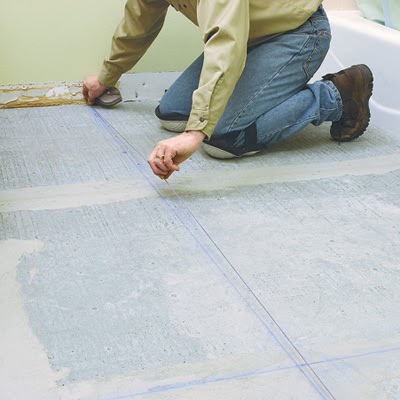
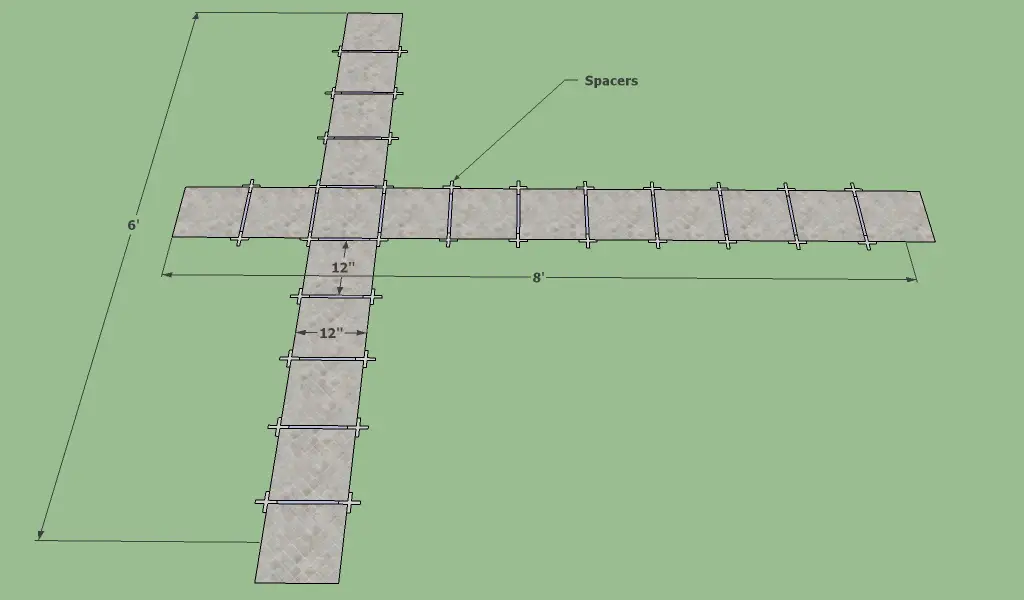
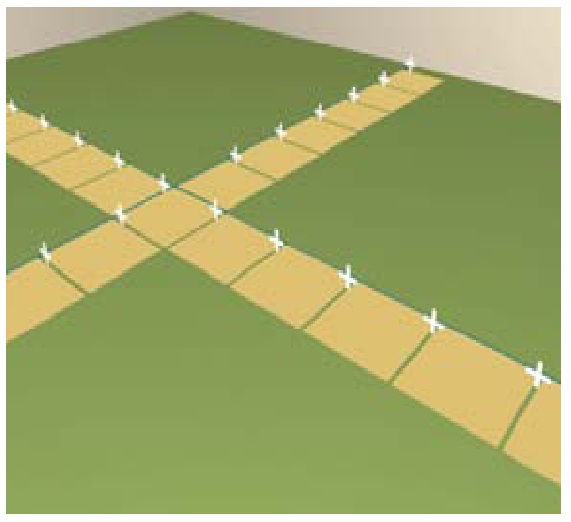
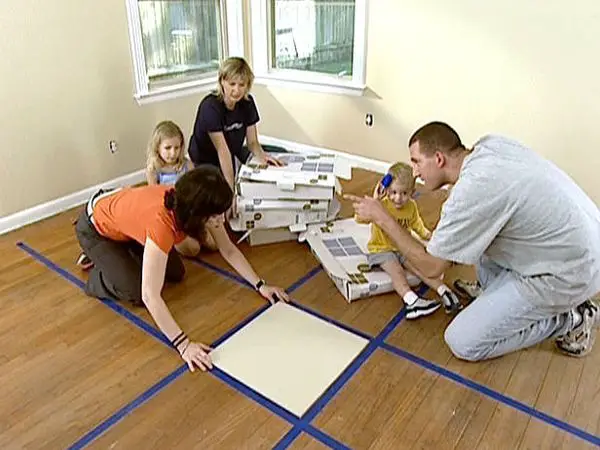
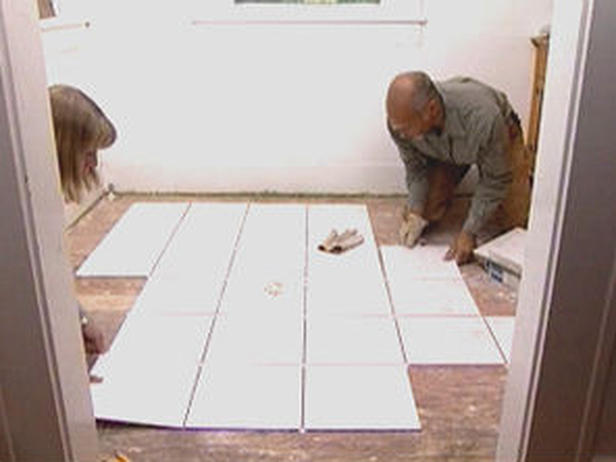
The next step is to mark our guidelines to ensure that the layout is square all throughout. To do this, mark the center of the 2 opposing walls in the room and snap a chalk line. Do the same for the adjacent walls to form a cross. Check if their intersection is square. This would be sufficient if the room is small. You can now layout the tiles, following the guidelines to see how they would fit, using tile spaces in between to make sure the distance is even. Don’t forget to leave the recommended expansion gap beside walls and cabinets. This is known as the dry layout.
 If the dry layout would leave a distance less than half the tile’s with at the end on one wall, move the layout by first adjusting the guidelines and leaving equal distance on each side.
 For larger areas, it is ideal to draw a grid of 3-foot squares across the room to make sure the layout will be even all throughout. Working in smaller section will make it more accurate and easier to make adjustments when needed.
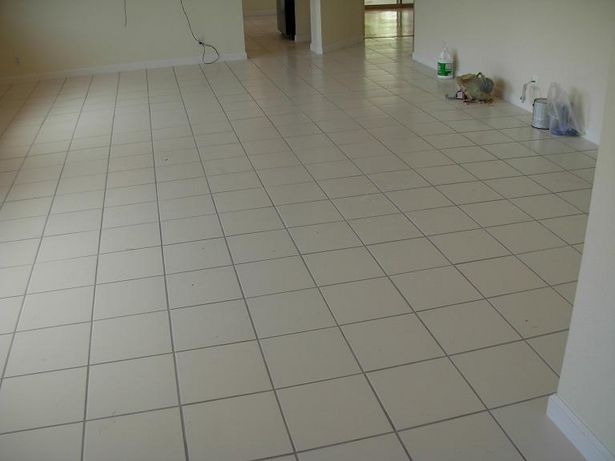
 With the correct guidelines and a dry layout, we were able to see how the installation would look like. We are now ready to install the ceramic or porcelain tile flooring
 As it is with other flooring process, success depends on subfloor preparation and choosing the right flooring material. As we’ve mentioned earlier, linoleum has evolved into something not only trendier but also in form. We still have the classic linoleum sheets and the newer generation of linoleum tiles and floating ones.
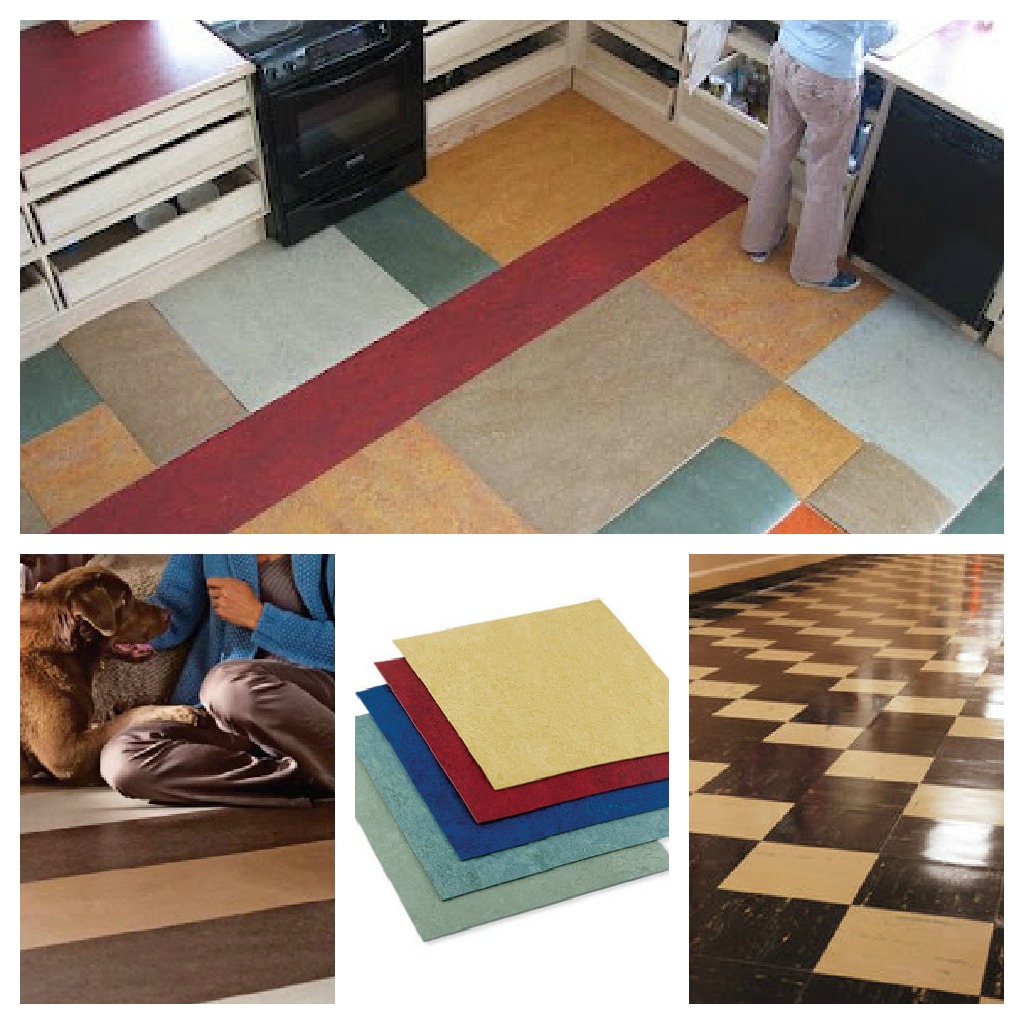 The tools needed will also depend on the type of installation the manufacturers recommend for different linoleum flooring products. Commonly used for installing linoleum sheets are:
 Finally, click and lock linoleum flooring would require the use of the following tools:
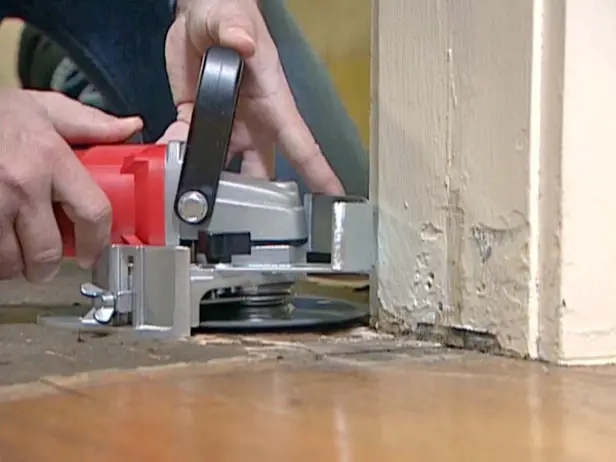
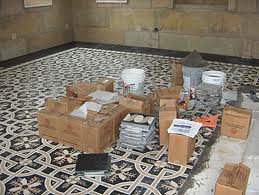
 You may think that you’ve got everything you need and know absolutely everything you need to know about them and you’re probably about to go online or hit the nearest retailer in your area to get boxes and boxes of your perfect laminate flooring of choice…but you thought of something and stopped on your tracks: you realized you don’t know anyone who can install it and you’re not sure if you can do it.
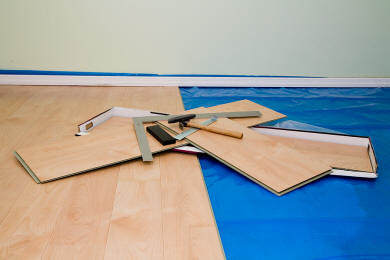 The next step is also critical. No matter what brand, with or without installation experience, one should always, always read the manufacturer’s installation instructions.
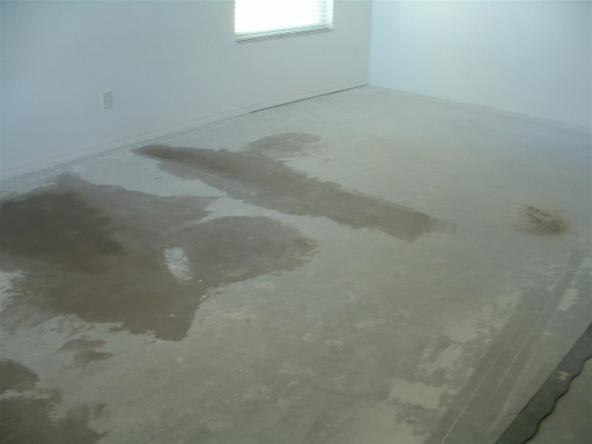 Don’t forget to measure the resulting flooring and make the necessary adjustments with your doors, trimmings, stairs and other transitions.
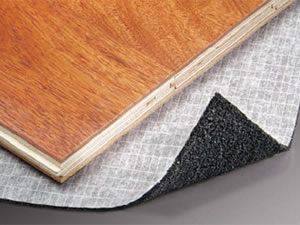 If you’re doing a major home makeover then ensure that all other jobs like carpentry and painting are all done before installing the laminate flooring to make sure that the surface are protected from unwanted scratches and stains. What’s the point of having a new floor when it’ll be less than perfect even before you get the chance to enjoy it?
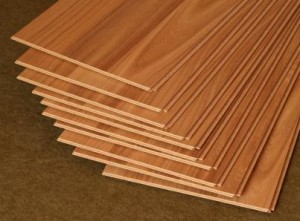 There you have it, the initial steps in preparing for a DIY laminate flooring installation. Watch out for part 2 for the step by step process and more tips.
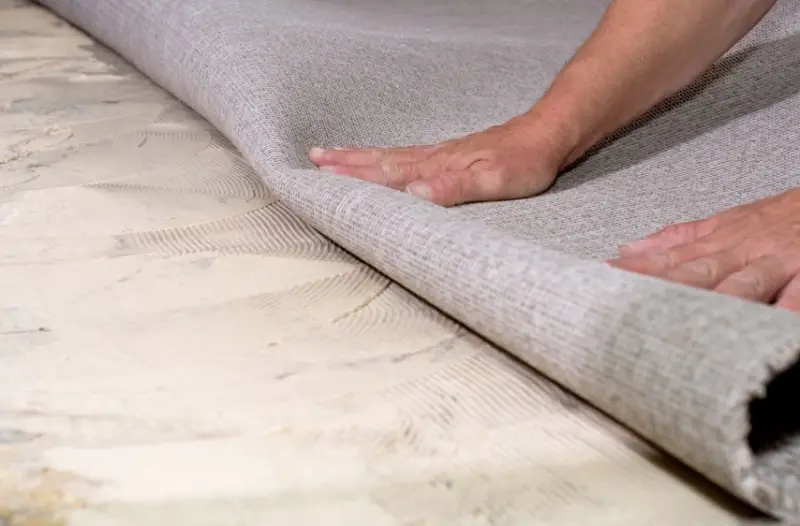
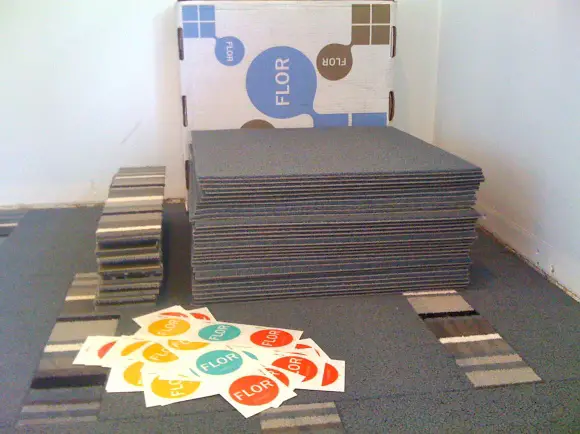
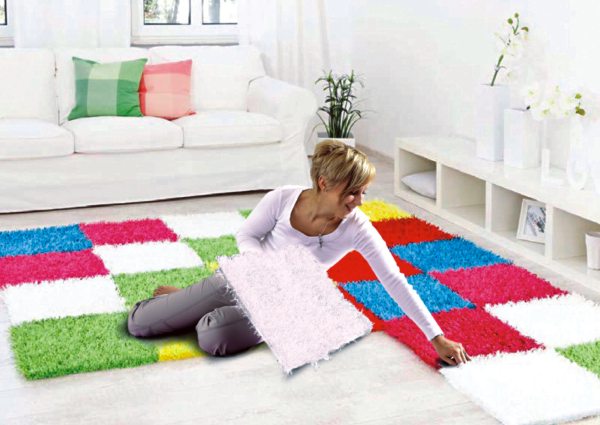 After preparing our subfloor, we are now ready to install our carpet tiles in an economical DIY fashion.
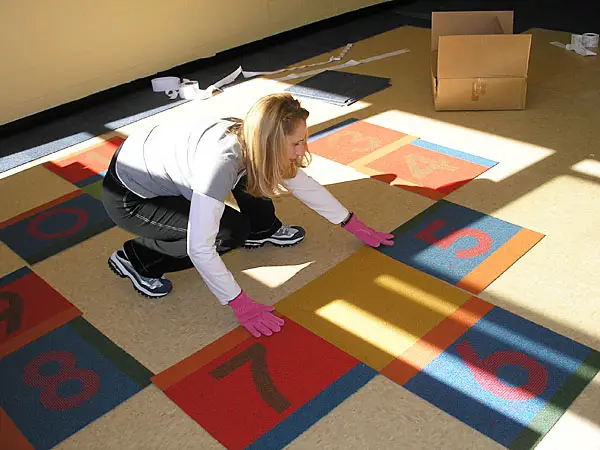
 Using the tape measure, find the center of the room, snap a chalk line on the center of each wall to form 4 quadrants. This will make sure the dry layout of the carpet tiles will be straight and you can comfortable mix and match the tiles to form a certain pattern you like.
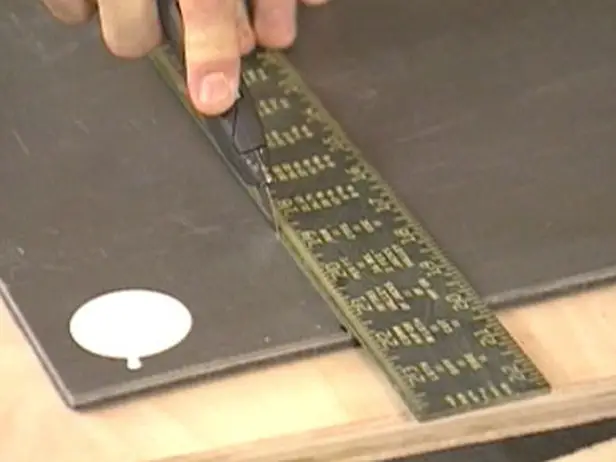 You may need to cut the tiles when you reach the edge of the room to make it fit, along corners or curves from permanent fixtures. To do this, make sure you have the correct measurements or shape and slowly cut the tile using a utility knife. For curves or other irregular shapes, using a pattern or paper template is also recommended.
 Perhaps the greatest selling point and the reason why more and more people prefer bamboo flooring is because it is both an environmentally friendly and highly sustainable material, however keep in mind that not all bamboo flooring are created equal. You may want to double check the manufacturing and delivery processes, if they comply with environmental standards.
 After the planks have been delivered, don’t get ahead of yourself and immediately install them. Get all the flooring materials in the room where they will be installed and lift them of the boxes or at least leave them open so that the planks can acclimate with the room’s natural conditions. The acclimation process is normally around 72 hours, but its best to see manufacturer’s instructions and follow that.
 The level of the subfloor will affect not only the appearance of the bamboo flooring but also its durability. Its important to have a structurally sound subfloor to support the bamboo flooring. By structurally sound, we mean no squeaking floorboards or shaky joists. All repairs must be done before flooring planks are attached. The subfloor must be pristinely clean, thoroughly swept free from nails, staples or adhesive residue. Lastly and most important, the subfloor must be dry with a recommended room temperature of 60-70º and a humidity of about 40-60%.
 Tools and equipment needed to do the installation will depend on the ceramic or porcelain tile flooring product you intend to use. However, some of the common and basic materials are:
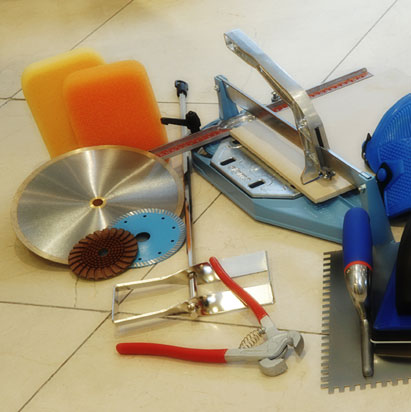
 Following the reference lines we drew earlier, we’ll begin laying our porcelain or ceramic tiles in the center of the room working our way to the sides and edges where there is a greater chance of cutting the tiles. Also be sure to mix the tiles from different boxes to get a more random design.
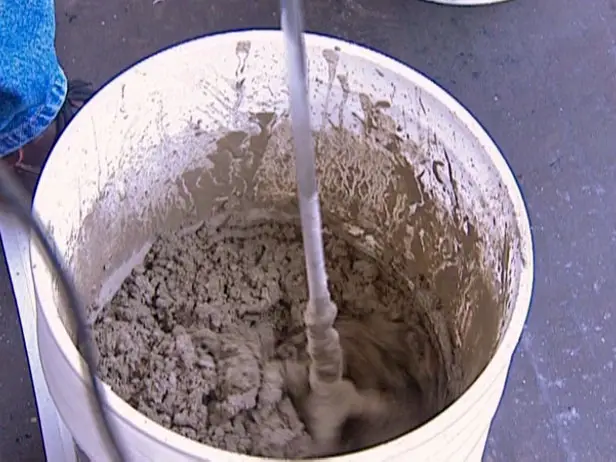

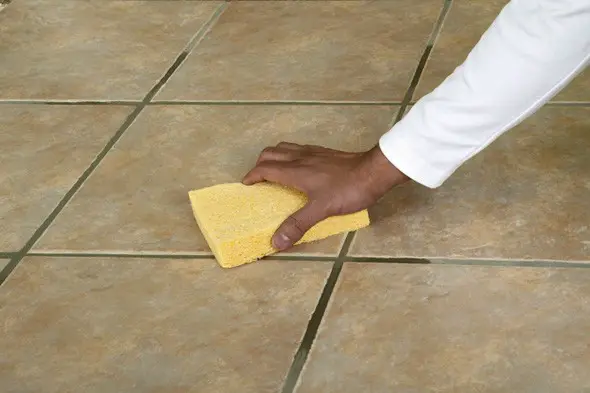
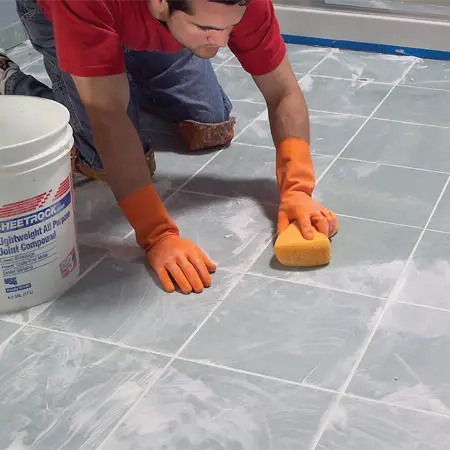
 After the thin-set mortar has finally dried, be sure to grout it up. For this you’ll need:
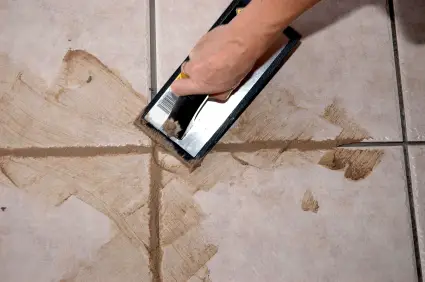
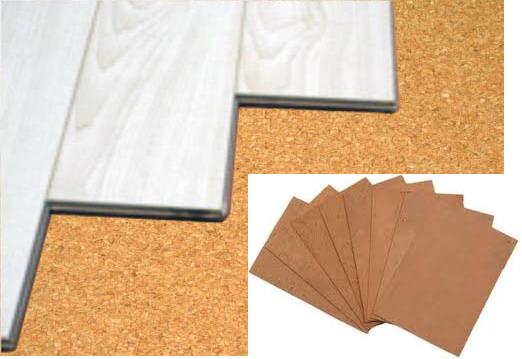
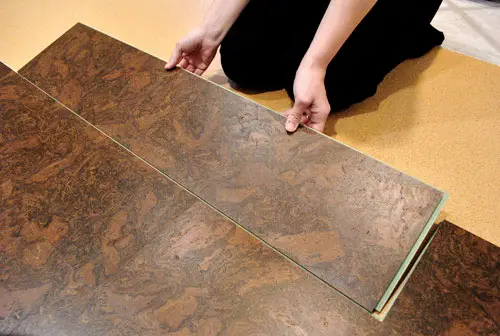
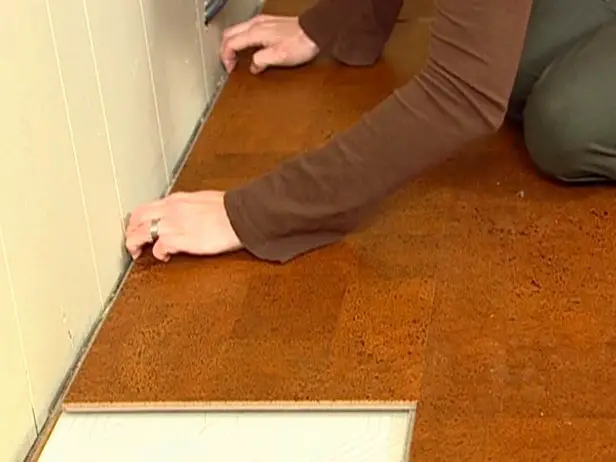
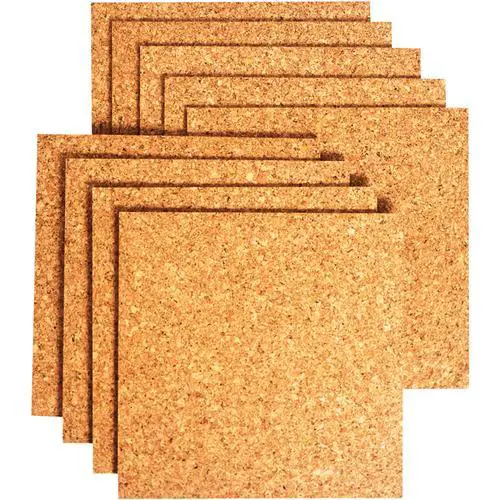 Cork flooring has managed to capture and maintain its share of the market for over a century now. This is not surprising as cork is one of the most beneficial flooring products available.
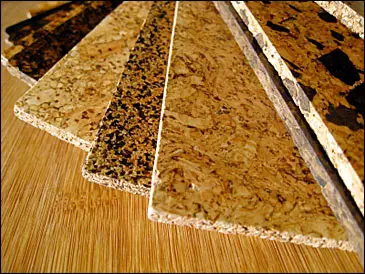 Below are some basic steps in installing your very own cork flooring in DIY fashion:
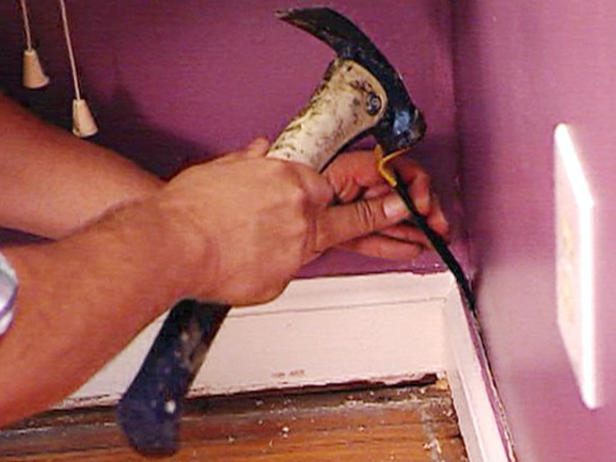

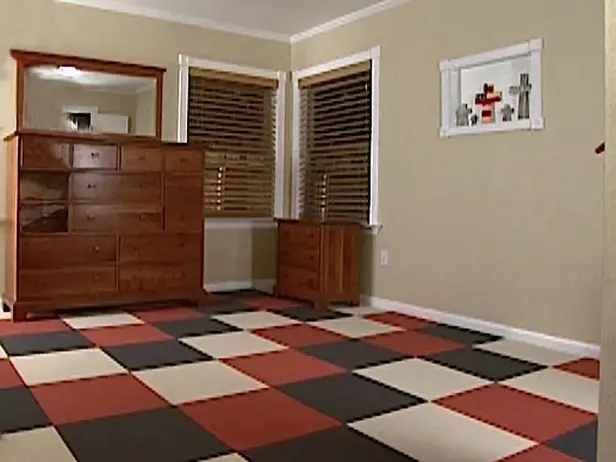 Comfortable and visually appealing, carpet tiles can add that needed oomph by giving instant warmth and comfort in the room or simply a splash of color. With the different colors and patterns available at a fraction of the cost of wall-to-wall carpeting, the possibilities of creating a cool and personalized space is simply limitless.
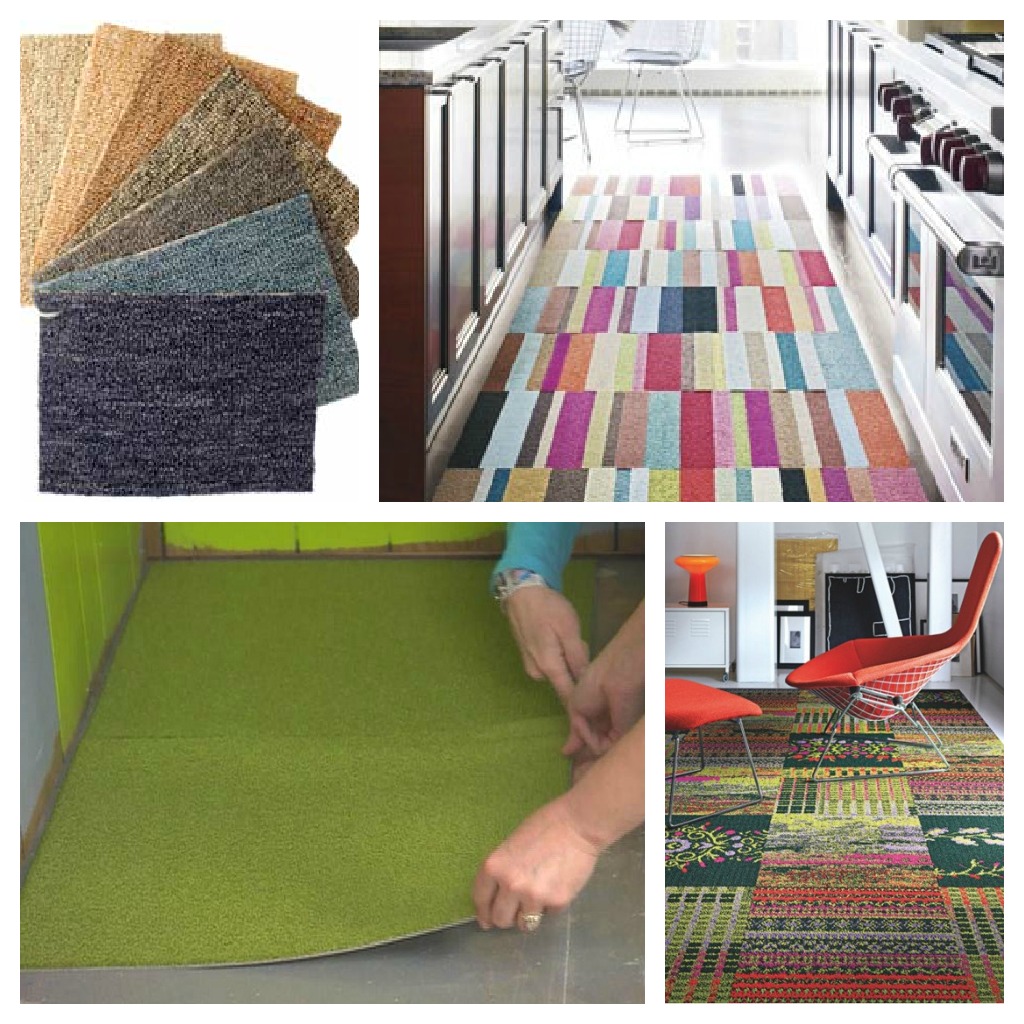
 Wood Subfloor
 Some things to consider in installing bamboo flooring planks are the longest wall in the room, the direction of the light to conceal seams impact as well as windows and entryways.
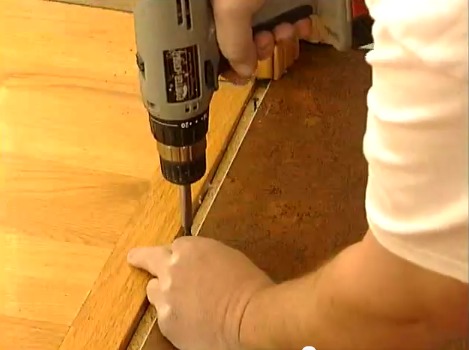
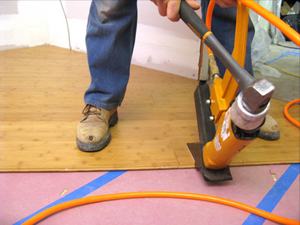 The challenge here would be the identification and marking or the flooring joists. Each piece of flooring should be nailed every 8 inches and within 2 inches of each end at a 45º angle.
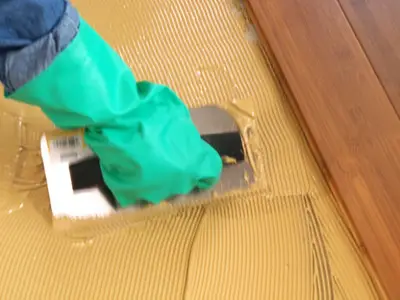 Some adhesive are available ready for use while some would have to be mixed. Be sure to follow manufacturer’s instructions and recommendations when mixing the adhesive from the amount of water required to the ideal consistency of the mixture and the appropriate trowel size.
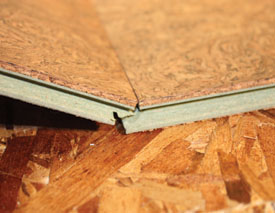
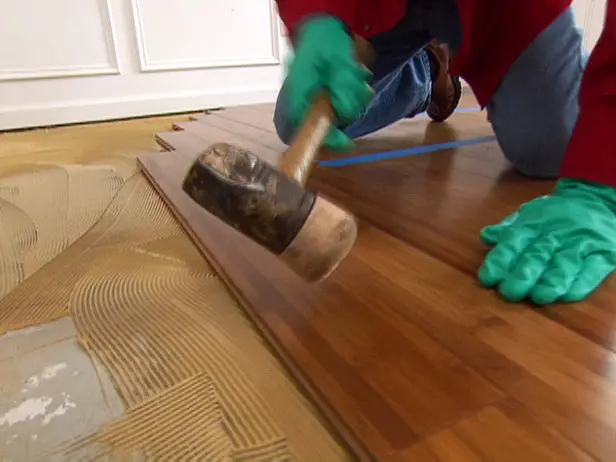 Begin on the side of the wall with the first plank’s grove facing the wall. Make sure that there is enough ventilation in the room and don’t forget the recommended expansion gap. If curing is allowed prior to laying out the planks on top of the adhesive, be sure to do just that.
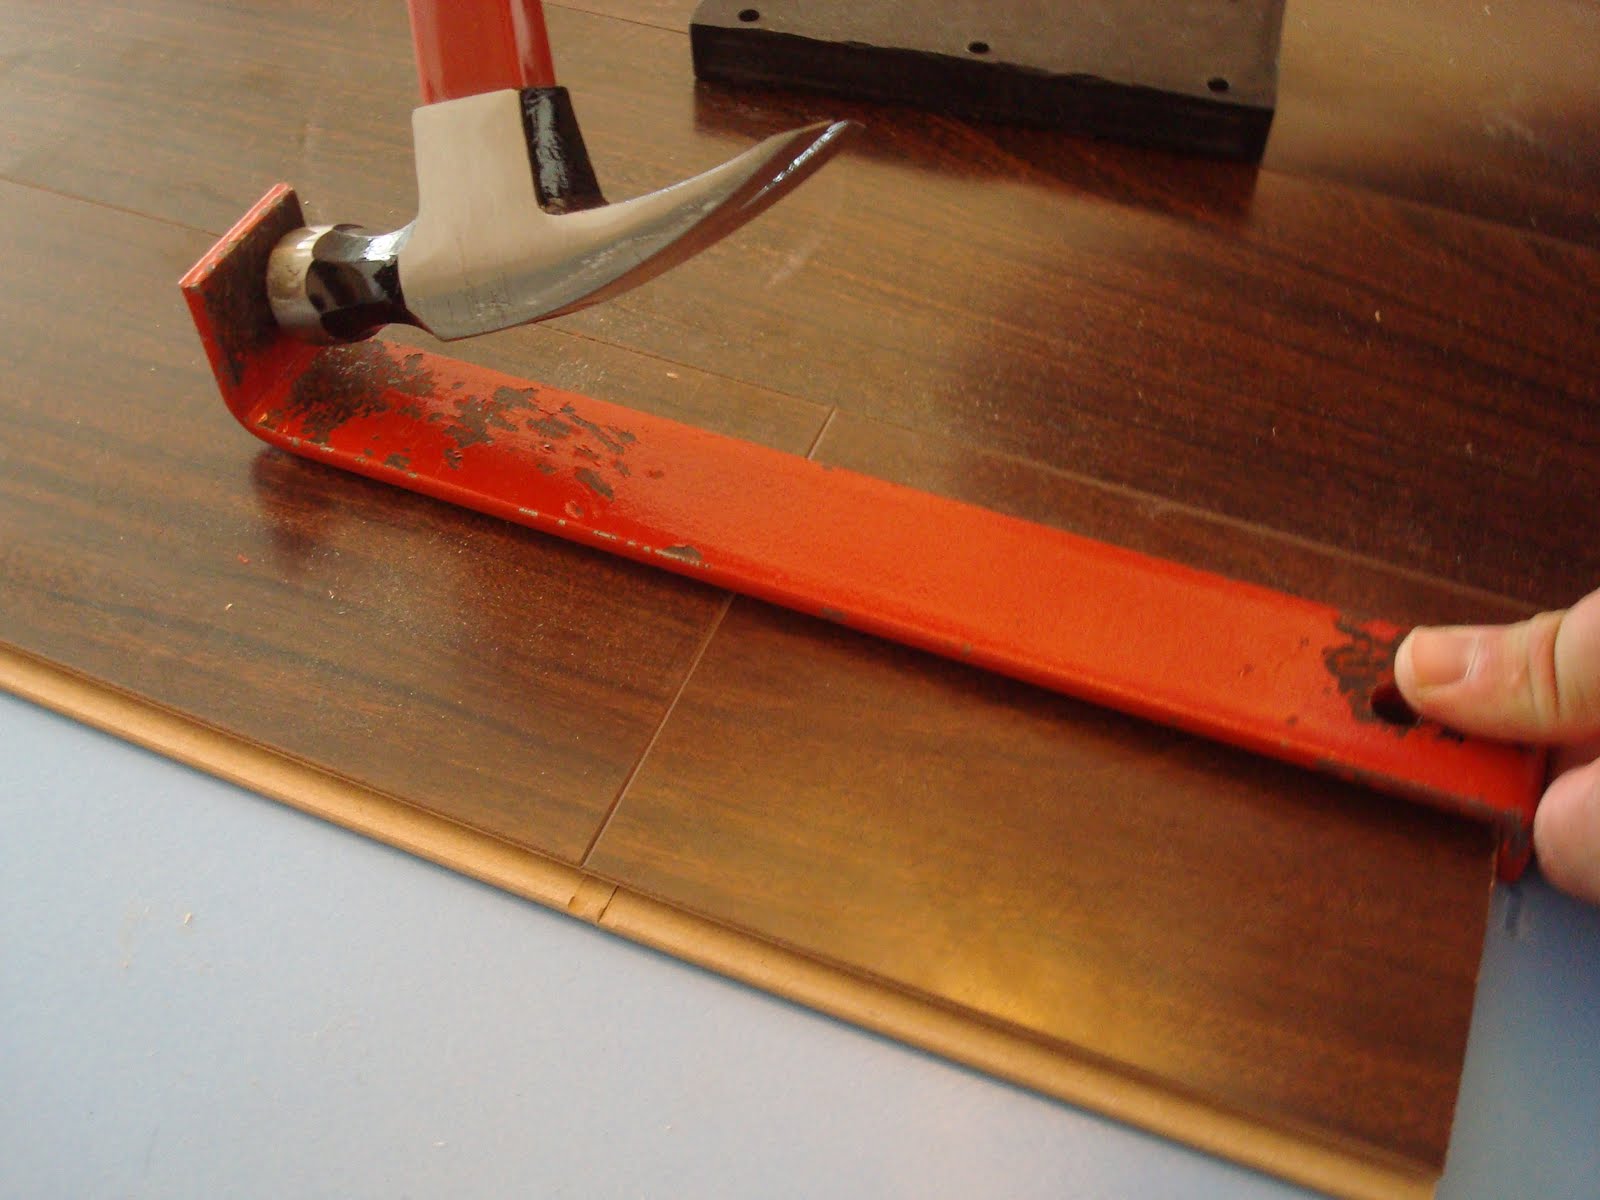
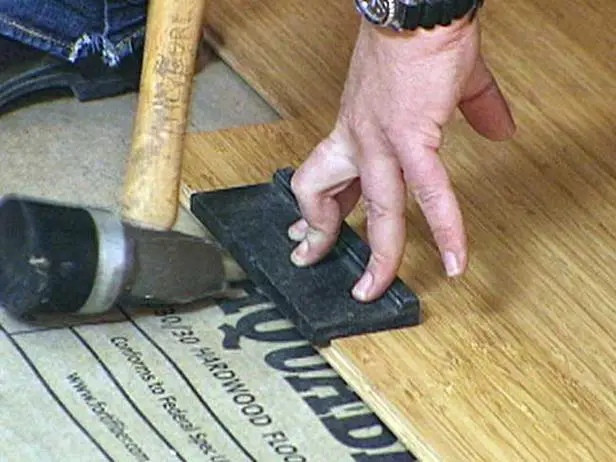
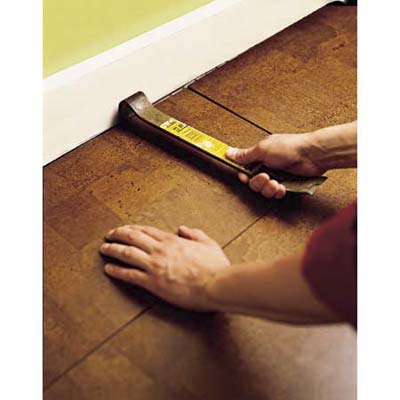
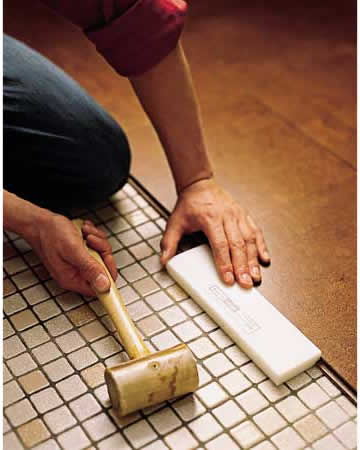
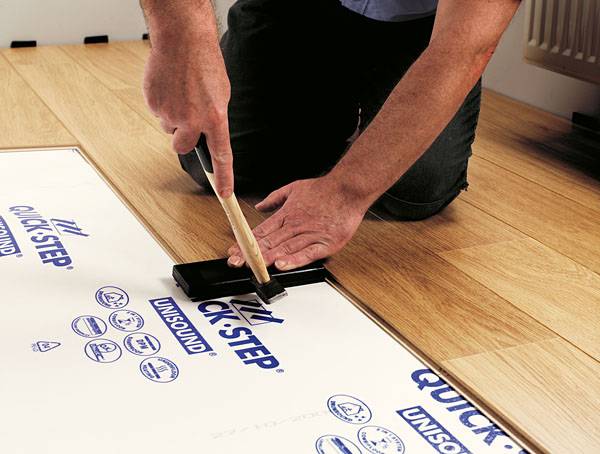 Begin on one side of the wall, groove facing the wall. Apply adhesive on the tongue and grooves successively. Lay subsequent rows of planks and use a tapping block to securely lock them. For the ends of each row, use a pry bar for a needed push.
 risalafurniture.ae
 www.kingswell.com.au
 shutterstock.com