
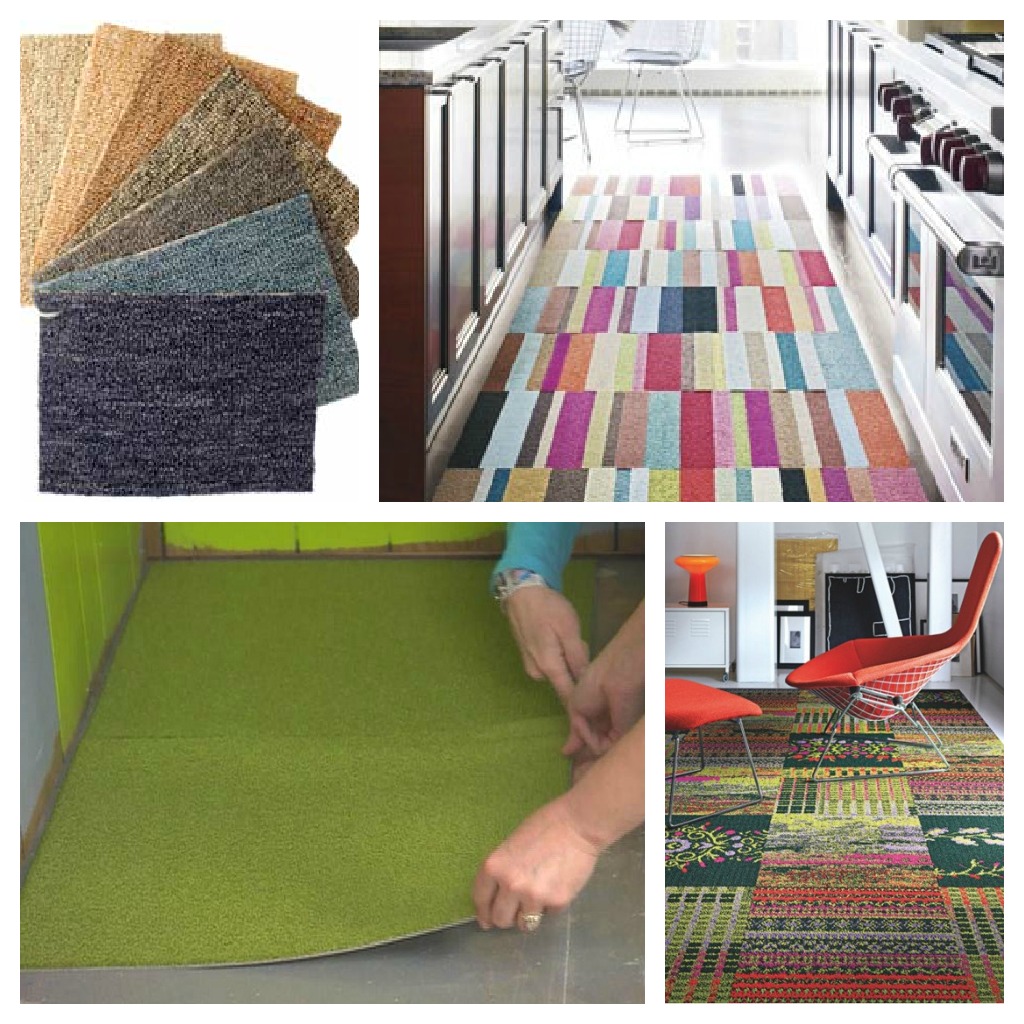
Carpet tiles are not only cheaper compared to other flooring materials. They are also more versatile and easier to install, keep and maintain. Moreover, they give you more room for creativity as you can create simple patterns like checkerboards or add inlets, mix and match patterns and colors and all that stuff.
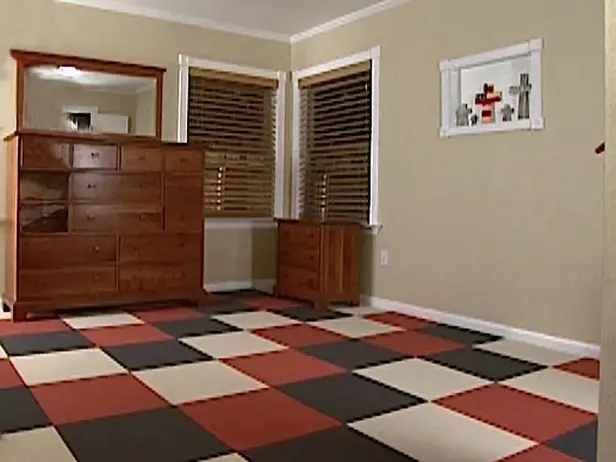 Comfortable and visually appealing, carpet tiles can add that needed oomph by giving instant warmth and comfort in the room or simply a splash of color. With the different colors and patterns available at a fraction of the cost of wall-to-wall carpeting, the possibilities of creating a cool and personalized space is simply limitless.
How much to buy and how much time?
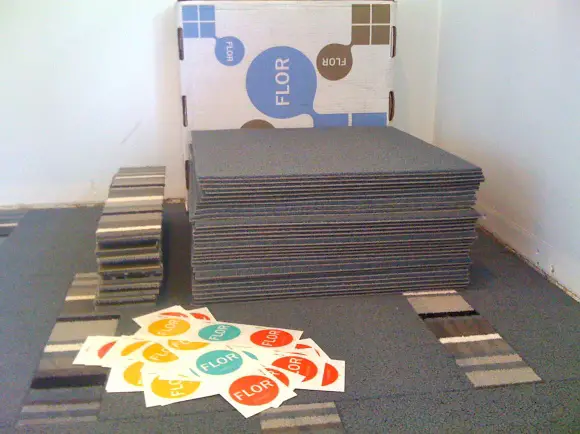
In order to determine how much flooring material you’ll need, in this case how many carpet tiles. Take your tape measure and get the length and width of the rooms you plan to put the carpet tiles on. Once you have them, multiply both to get the actual square footage of the room, don’t forget to add an extra 5-10 per cent to accommodate errors and have spares for future repair or replacements.
If you’re planning to create a pattern more complicated than checkerboards, then you might consider seeking advice from your local stores as their flooring professionals can offer you with a more accurate estimate and perhaps suggest a pattern or design better suited to your needs or purpose.
What’s the time for? It’s for acclimation. Yes, just like wood-based flooring, carpet tiles also need to get acclimated to the place where it’ll be installed. At the very least, this calls for 24 hours.
Preparing Subfloors
The success of any flooring installation whether done by a DIY enthusiast or flooring experts depends largely on preparing an important component of the flooring process: the subfloor. Subfloor preparation steps vary depending on the flooring you want to install, the subfloor type and its location.
Concrete Subfloors
- If the concrete subfloor is a new one, be sure to allow sufficient time for the concrete to cure before installing carpet tiles. The recommended waiting time is about 90 days.
- For the cracks, fill them with concrete caulk. For deep, tiny cracks, use a caulk gun to make sure all gaps and spaces are filled out.
- Be sure that the surface of the subfloor is level. Use a level bar to check if the subfloor is even and a grinder to trim high spaces. For low surfaces, you can apply a levelling compound mixed according to manufacturer’s instructions. Let it set and dry according to manufacturer’s instructions then check again to make sure that its even.
- Sweep or vacuum the floor thoroughly, removing all dirt all traces of residue from previous flooring, if this installation is an upgrade or replacement. If you have enough time to let it dry, you can also wash and wipe the subfloor to perfection.
- Depending on your carpet tile of choice, it might be necessary to use a concrete sealer on the subfloor prior to installation. Follow manufacturer’s instructions and set it to dry.
 Wood Subfloor
- Since wood is more prone to damage than concrete, be sure to thoroughly examine the subfloor for damage. Any warping or sheeting might require repairs or replacements. Its also important to check flooring joists as the soundness of the subfloor’s structure will contribute to the overall success of your DIY carpet tiles installation.
- Again, check if the subfloor is level. Sand o plane as needed.
- For low spaces, use prescribed latex levelling compound and apply following manufacturer’s instructions.
- Vacuum, sweep and wipe to remove all traces of dirt and grime and scrape off any stubborn residues.