
Well maintained and cared for hardwood flooring is one great asset in any home. It’s natural beauty is timeless and its endurance has been known to stand the test of time. Whether you are in a new home considering the benefits of hardwood floors or in an old house that came with hardwood flooring that is scratched, faded and worn in every sense of the word, don’t worry. Hardwood flooring is well loved because of another great quality: it can be stained back to its former glory and shine as it it were brand new.
Yes, staining hardwood floors may seem a complicated process but its something that can be done DIY with appropriate preparation and some amount of time. Here are some simple steps you can follow:
www.hardwoodfloorsindianapolis.com
-
Repair before you restore. All obvious defects – boards to be replaced, subfloor repairs, chips and holes should all be taken care off before proceeding any further with the project. Holes should be stuffed with putties or fillers, also see our earlier post about hardwood repair for some hints and tips.
-
Clean and clear. Ensure that the surface of the hardwood floor to be stained is clean and clear. By this we mean that all the old floor coverings have been removed. The repair residues have also been cleared together with dusts and all.
-
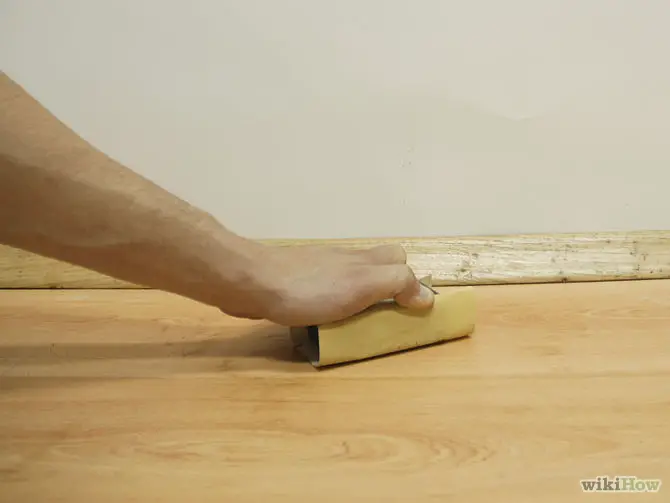
Sand it up. This can be done using a sanding machine or by hand. Remember to sand in the the direction of the wood grains. Use this step to make sure minor defects like small bumps and uneven surfaces. Be mindful of the time spent on an area if you are sanding with a machine, be sure you are in control in order to prevent making more uneven surfaces. If sanding by hand, be sure to use 3 different grits of sandpaper: 30, 60 and 80 are the recommended ones. Work your way from one end of the room to another.
-
Clean again. After sanding clean the floor again. Be sure to remove all the debris. If you are sanding by hand, it is recommended to vacuum with every change of sandpaper. Aside from vacuum and sweeping you can also use a wet mop to lift the debris off since water will raise the grains. Be sure to do this quickly and do not let the water sit on the surface long enough for the hardwood surface to absorb it. Finish up by allowing the floor to dry and making one last pass by wiping the floors with mineral spirits and a soft cotton cloth to pick up remaining debris.
-
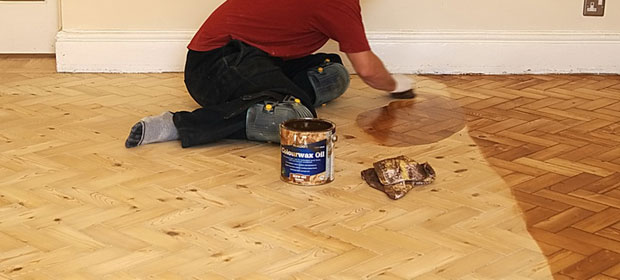
Condition the wood. For best results, use this as a base coat. Check out local retailers for those recommended for the type of hardwood flooring you have. If they offer some free on site checks so they can make better recommendations for the products and services you might need. If you already have found one, apply following manufacturer instructions. General practice is using a 4-inch paint brush when you apply this in the perimeter then use a synthetic applicator to spread the conditioner across the room and allow to dry for 2 hours.
-
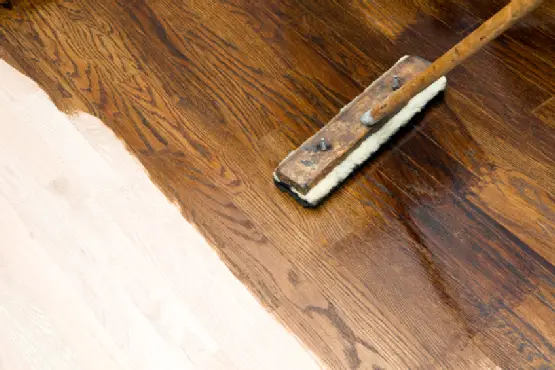
Bring in the stain. Following manufacturer instructions, apply the stain using a brush or a rag. Remember, your strokes should go with the natural grains of the wood. Let it penetrate according to directions and be sure to remove any excess before they dry using a rag. Allow sufficient time to dry.
gaylordhardwoodflooring.com
-
Second staining. For darker, better and even more dramatic effect, you might want to apply a second coating of the stain to the hardwood floors. Ensure that the first coat is well-dried before proceeding with the second coat. Apply the second coat evenly and again go in the direction of the wood grain. Leave to dry.
-
Protect with polyurethane. Once the stain have been dried, apply a coat of water-based polyurethane with a clean paint brush. This will help protect and preserve your newly-stained hardwood flooring. Allow to dry for 2 hours or so.
-
Finish and polish it up. When the first coat of polyurethane have dried, lightly sand the surface. Doing so will allow the second coat to adhere to it. After sanding, wipe it clear with a tack cloth before applying the second coat and allow to dry overnight.