In preparing your concrete subfloor for DIY hardwood flooring installation, keep in mind the same categories in preparing wood subfloors still apply. Before installing hardwood flooring planks, be sure that the concrete subfloor is: clean, dry, leveled and structurally sound.
 Again, it wouldn’t hurt to read manufacturer’s instructions for the flooring product before you begin preparation so that you’ll know immediately if there are specific requirements you need to achieve or comply with. At the same time, also check the local building codes in your area to avoid inconvenience.
Below is a list of common tools and equipment used in preparing concrete subfloors for hardwood flooring installation:

- hammer and pry bar
- concrete grinder
- long level and tape measure
- levelling compound and bucket
- back saw or circular saw
- moisture test kit for concrete
- vapor barrier
- pencil
- chalk line and chalk
- safety glasses
- dust mask
- hand gloves
- knee pads
Follow these steps to prepare concrete subfloor for DIY hardwood flooring installation:
- Using the hammer and pry bar, remove baseboards to accommodate expansion gaps for the new flooring.

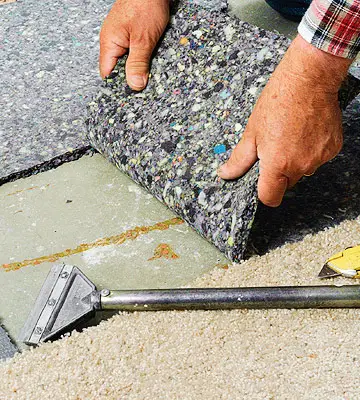
- Remove old floor covering. Should you have plans to re-use the old flooring, carefully remove it to avoid damage.

- After the old flooring has been removed also discard any old sheets or barriers and get rid of adhesive residue, dust, wax or any other debris on top of the concrete subfloor. Remember the subfloor must be clean.

- Check clearance on door casings, door jambs and doorways. Get the resulting height by placing a hardwood plank on top of the underlayment and adding 1/16th of an inch as allowance for expansion. If the new flooring will not fit underneath the door, take down the door and cut off about ⅛ inches off it.

- Using the long level and tape measure, check if the subfloor is even.

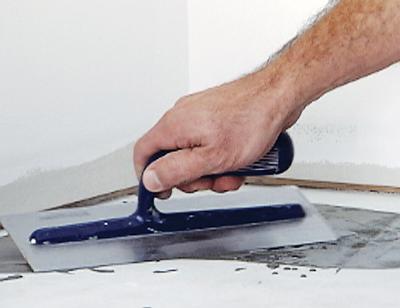
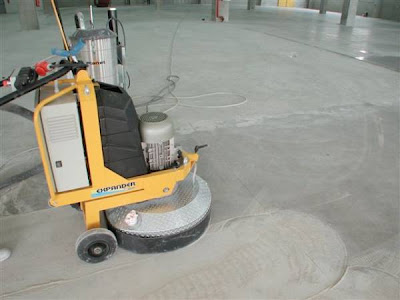
- If the floor is not leveled, use the leveling compound and trowel to fill the low spots and the grinder to even out humps on the concrete subfloor.

- If you’re planning a glue-down application for the flooring, make sure that the concrete’s surface is free from glue, oil, sealant or other debris. If you’re worried that too much grinding would make the floor uneven, the rule of thumb is that the variance should not be more than 3/16 of an inch within a span of 10 feet.

- Also check to amount of moisture on the subfloor to see if it is within the manufacturer’s recommended levels. If its off, get professional advice.
- Always put a vapor barrier on concrete subfloors especially if you’re planning to install wood-based flooring products. Also check manufacturer’s instructions if an underlayment is necessary. Underlays add more stability and sound absorption, however some hardwood flooring planks already have pre-attached underpads.

- Lastly to ensure that the planks will be laid down straight, draw guidelines by locating the center of the room and drawing an intersecting line there using the chalk line. Then draw parallel lines along from the center toward the wall and marking the point where the expansion gap begins and then drawing a line on the sides.
 That should get us ready to install your hardwood flooring on a concrete subfloor.

