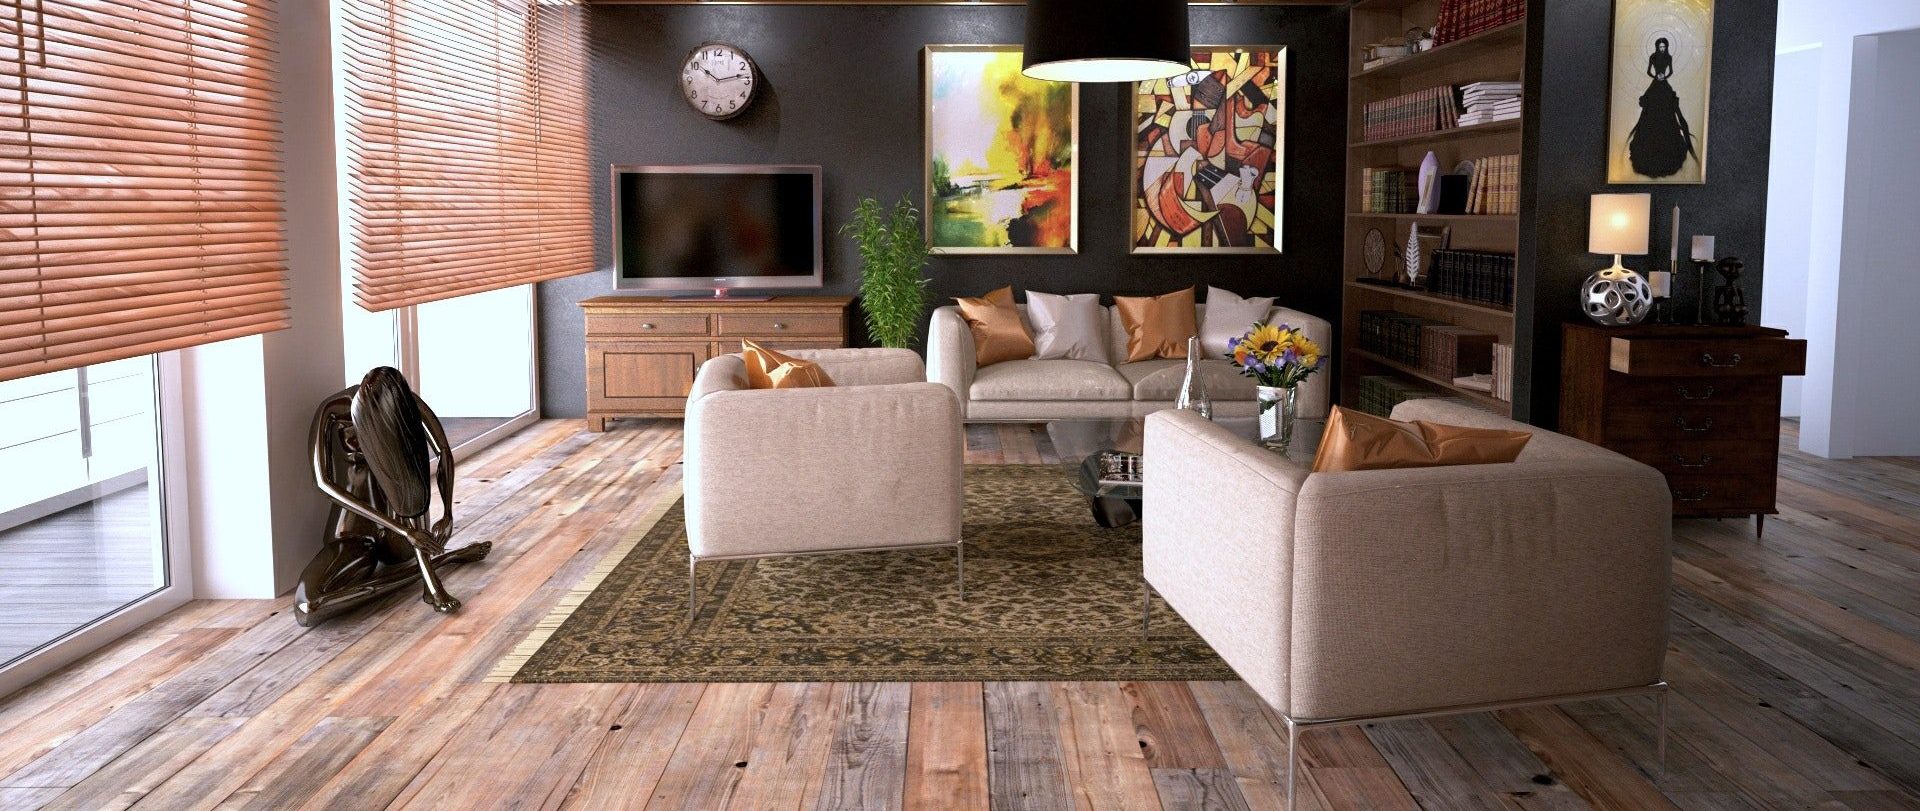
Typically manageable, carpet tiles are easy to install and even easier to maintain. Since modern carpet tiles are meant to be installed without the need to use adhesives, when a particular tile gets damaged or stained, it can easily be removed to be washed or in cases of permanent stains or damage, replaced.
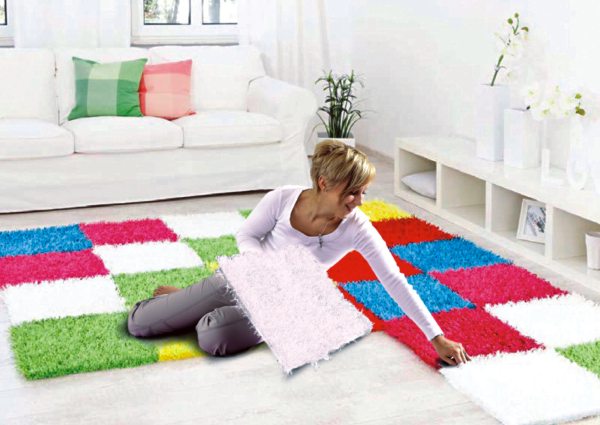 After preparing our subfloor, we are now ready to install our carpet tiles in an economical DIY fashion.
To make sure you get everything right, a plan and having the right tools can’t possibly hurt and would most likely save you time and energy, especially if you decided to undertake the installation yourself.
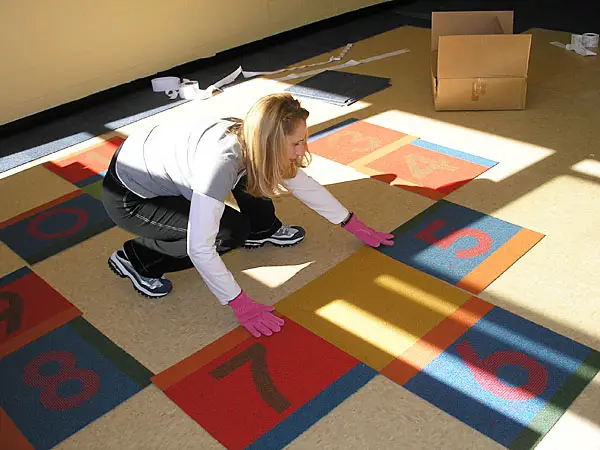
The basic tools you’ll need for this installation project are:
- carpet tiles
- recommended adhesive, if any
- utility knife
- straight hedge
- tape measure
- chalk line
- pencil
After the carpet tiles have been delivered, allow some time for it to acclimate for at least 24 hours before using them as the tiles could either contract or expand depending on the room temperature.
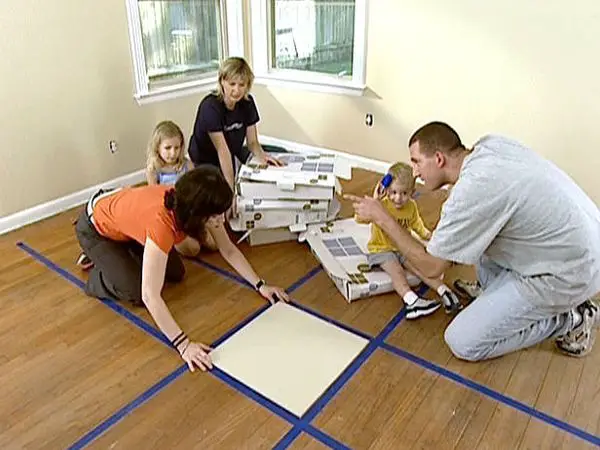 Using the tape measure, find the center of the room, snap a chalk line on the center of each wall to form 4 quadrants. This will make sure the dry layout of the carpet tiles will be straight and you can comfortable mix and match the tiles to form a certain pattern you like.
Once you have the pattern or design you wanted for the room, you can now securely lay down the tiles, either by locking them together or using adhesive, as directed by manufacturers.
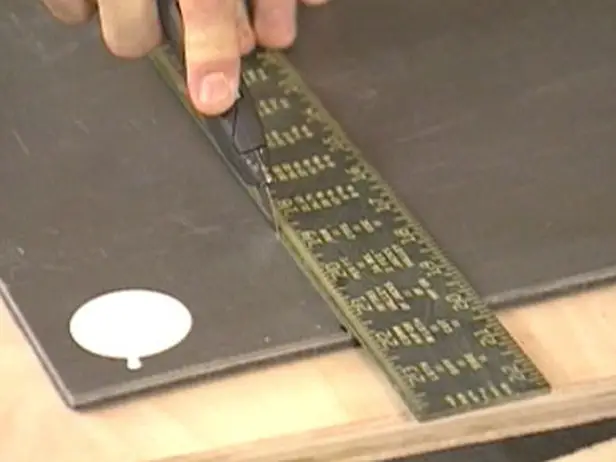 You may need to cut the tiles when you reach the edge of the room to make it fit, along corners or curves from permanent fixtures. To do this, make sure you have the correct measurements or shape and slowly cut the tile using a utility knife. For curves or other irregular shapes, using a pattern or paper template is also recommended.
Finish up by covering the edges using baseboards or trims and installing appropriate transition pieces whenever necessary.

