After you have made the essential preparation for your subfloors, its now time to learn more about installing your new vinyl flooring. Continue reading for some pointers on our DIY flooring series.

Before you go right ahead and spread and cut your vinyl plank or sheet flooring, be sure to plan the layout correctly. It is ideal to draw a sketch of the room to make sure you identify every corner you wish to cover. This is also highly advised if you intend to create a pattern on the room. Adding extra inches here and there for cutting and and trimming. This is best done using craft paper as a pattern.
After you’ve laid out the craft paper and created a pattern, it is now easier to identify where and how much to cut from our vinyl flooring material. Also don’t forget to check the flooring manufacturer’s recommendations. While it is generally okay to install vinyl over flooring concrete or wood subfloors, they might need some preparation or perhaps installing an underlayment is necessary.
Again, the type of vinyl flooring you would use would largely determine the installation process.

For vinyl sheet flooring, you would need to temporarily tape the sheet on one side while working oh the rest of the sides – laying and cutting out the material before spreading out the adhesive either for full or perimeter adhesion.

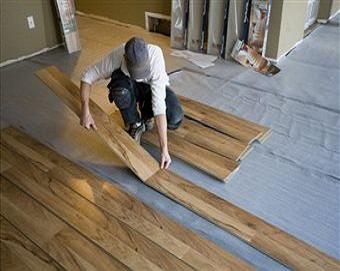
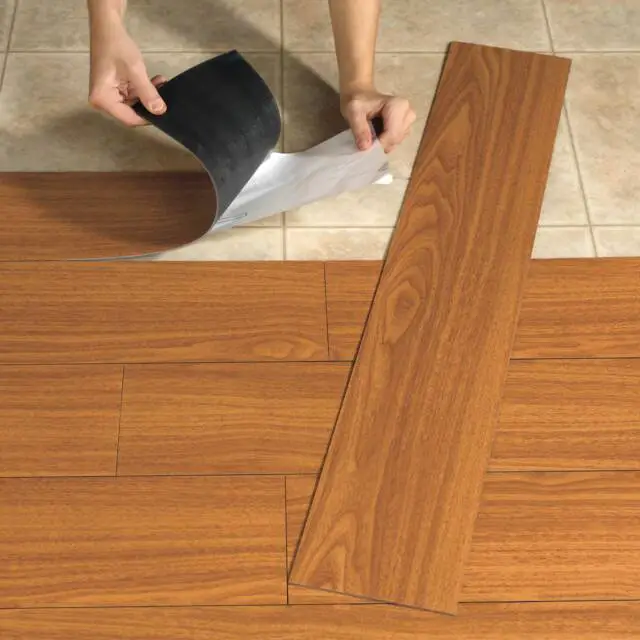
Some vinyl sheet flooring on the other hand requires only limited adhesive as some have the standard tongue and groove that helps it get locked in place immediately while some are those peel back and stick kind, making it more secure and convenient.


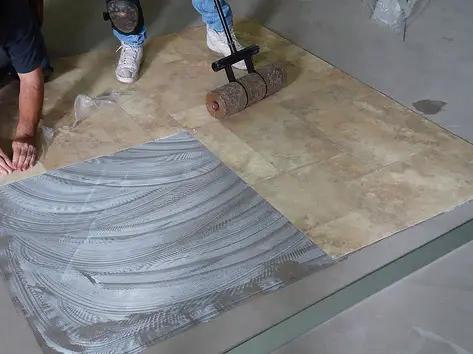
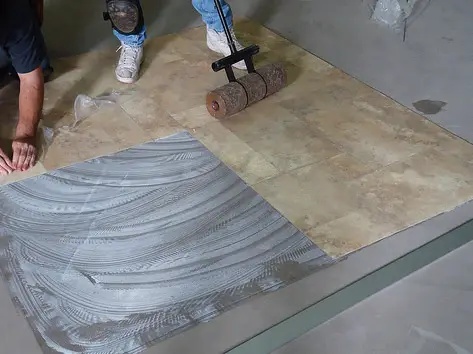
Lastly, some vinyl flooring tiles are groutable so you would have to use spacers on them, just like ceramic tiles and probably rent a caulk gun to fill them up, especially if you’re planning to install them in places which gets exposed to either moisture or water.
One thing to remember especially if you’re gonna use groutable vinyl flooring tiles is to keep it clean and clean up quickly as some grouting product tend to dry up fast.

