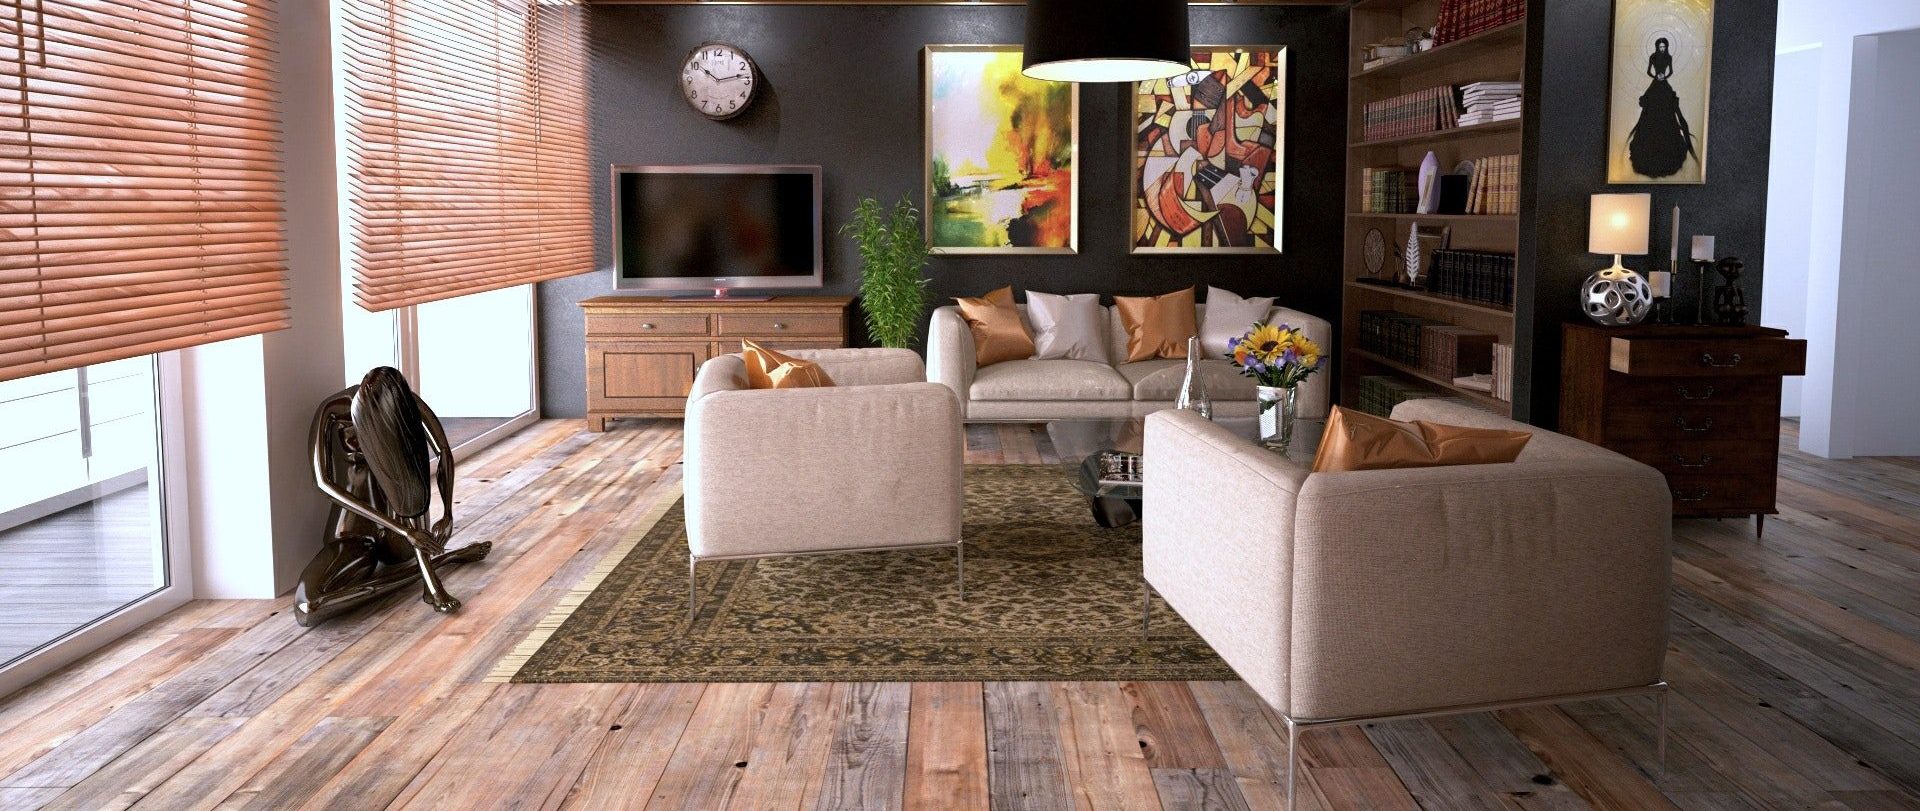
Done preparing the subfloor, we’ll now proceed to installing out linoleum flooring. First things first, don’t forget to let your linoleum flooring product acclimate to the natural conditions of the room for at least 24 hours.
Continue reading this newest installment on our DIY flooring series and check out if linoleum flooring installation is one project you’d like to do-it-yourself, while it won’t necessarily add value to your home, it can make the living space more functional and more appealing.
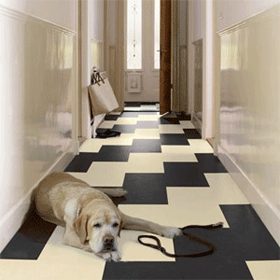
Installation will vary depending on the type of linoleum flooring you’re going to use and their respective manufacturers’ instructions.
Linoleum Sheet
For linoleum sheet flooring, If its a simple square or rectangular room, just simply get the room’s area and have an allowance of at least 3 inches on each side. However, if the room’s shape is irregular or has multiple obstacles or stable features and immobile furnishings, the same technique in installing vinyl sheet flooring can be applied here: create a sketch of the room and a pattern using craft paper. The seams, should ideally be located in low traffic areas.
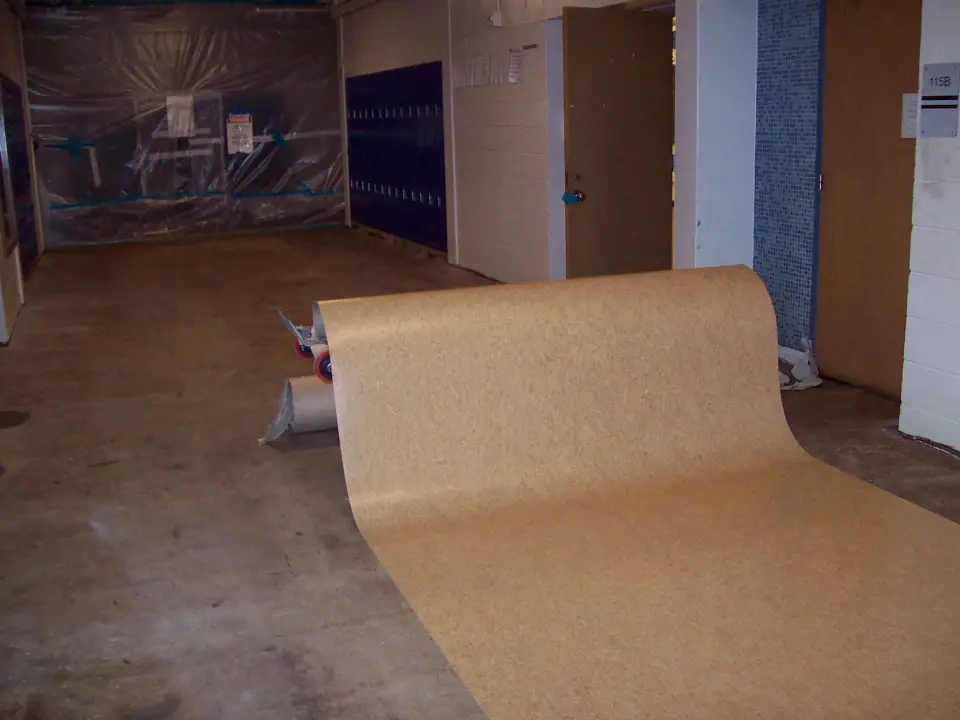
Using a utility knife, carefully cut the sheet according to your pattern, keeping in mind the measurements to make sure that the cut will be a precise fit. Dry lay the linoleum on the floor, also be mindful of the design or pattern you chose – they, of course should match. Seams should have the matching design and should overlap at least one inch. Tape the seams together to hold them temporarily as you continue with the dry layout.
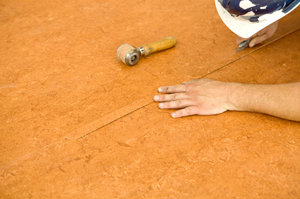
After you’ve spread the entire layout throughout the room, be sure that each side or edge is temporarily held down by tape. You can now proceed to applying adhesive as directed by the manufacturer. Apply pressure using a roller as directed, though this is commonly done by beginning in the center and going to the sides. Seal seams with manufacturer-recommended sealant. Remove visible tapes that were used to secure the linoleum.
Finally, wait for at least 24 hours or as directed before putting furniture back and resuming traffic in the area.
Linoleum Tiles
One thing to remember here is our earlier post on installing ceramic and porcelain tiles. This is especially true if you plan to create a pattern or arrange the linoleum tiles to form a specific design. Be sure to get the center of the room and dry fit the tiles.

To find the center of the room, measure the opposing width of each wall and divide by 2 to get the center. After you’ve found and marked the center, snap a chalk line along. Be sure to check if the lines have a perfect 90º angle using a carpenter’s square. If not, be sure to make the necessary corrections.
Dry lay the tiles, make sure it is perfectly aligned with the chalk line. Arrange each tile to achieve the desired design or pattern. Apply adhesive as recommended and directed by the manufacturer. You can work your way from the center to the side of each wall. Be sure to take correct measurements and cut the linoleum tiles when necessary.
Before the adhesive’s completely dry, roll over tiles with a heavy roller to make sure they lay flat. It also won’t hurt to check if the tiles are leveled as adhesive or other foreign material might cause unwanted humps and bumps on your new floor.
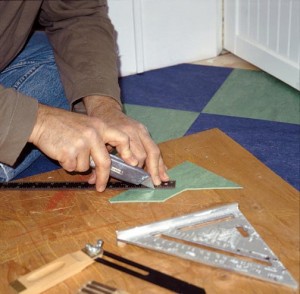
Lastly, re-attach all trimmings, mouldings and baseboards to the walls to cover the edge of the tiles. Also check if there is a need to keep an allowance for expansion as this may vary depending on the product you use and the manufacturer’s instructions.
Glueless Linoleums
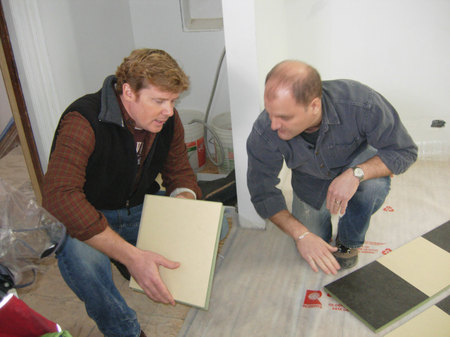
Be sure to clean the surface of the subfloor, measure the room and mark the each side of the wall for the expansion gap, as recommended by the manufacturer. It’s better if you can snap a chalk line here as your guide or reference.

Just like typical laminate or hardwood flooring boards, lay down the glueless linoleum with the tongue facing the wall, just dry lay them and don’t lock them together yet.
For the first row, saw off the tongue facing the wall before locking it together with the rest of the glueless linoleum boards. Cut boards as needed.

