Moving on with our DIY hardwood flooring installation project the next important step is to prepare the site for installation. While the key element is keeping surfaces clean and free from dust and debris, preparation in general will depend solely on the type of subfloor where hardwood flooring planks will be installed.

Generally, we’ll be making preparations for nailed-down installation. Also, to make the project suitable for DIY enthusiasts, it’s best to choose prefinished hardwood flooring material so that there would be no need to coat up your brand new flooring after installation.
For maximum performance and longevity of any type of flooring, it’s very important to secure the stability of the subfloor and proper preparation. This begins with identifying the type of subfloor the property has and clearing and cleaning it up. However a quick reminder before you jump right in, be sure to read the manufacturer’s instruction for your new hardwood flooring product so that you’ll be aware if there are special instructions in preparing the subfloor, recommended underlays or vapor barrier, humidity and moisture limits.
As a universal guideline, be sure to meet these 4 criteria before installing hardwood flooring whether it’s over concrete, wood or vinyl subfloors: the subfloor must be clean, leveled, dry and sturdy.
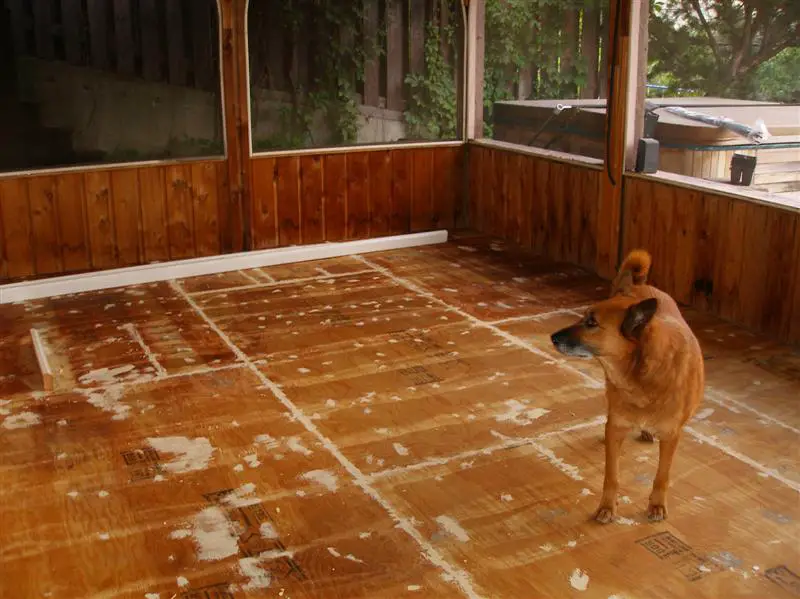
Wooden Subfloors
Basic tools in preparing wooden subfloors are:
- sander
- long level bar
- tape measure
- shop vac
- levelling compound
- circular saw
- drill and drill bits
- screws
- hammer and pry bar
- pencil
- moisture test kit or moisture meter
- vapor barrier
- utility knife
- chalk line
- safety glasses
- work gloves
- dust mask
- knee pads
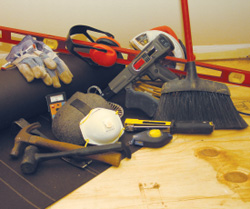
The tools list is not a complete list as the same may vary depending on the manufacturer’s instructions.
The basic steps in preparing wooden subfloors for hardwood flooring installation are:
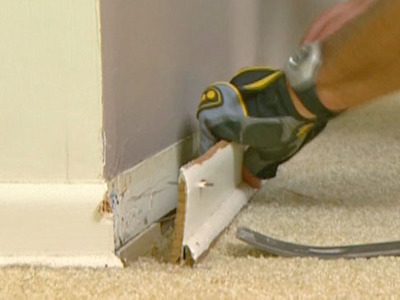
- First, remove old flooring material and baseboards carefully if you intend to use the materials again.
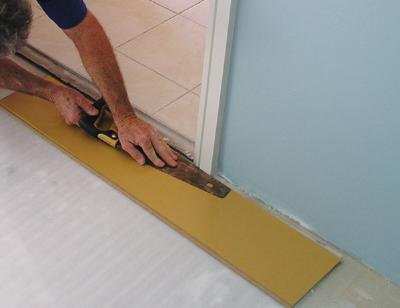
- Check doorways and door jambs or casing for clearance. If the height of the flooring won’t fit underneath, cut the resulting height of the flooring plus the expansion gap, usually 1/16 of an inch. The resulting height simply refers to the hardwood flooring board or plank with the underlay and vapor barrier, whichever the manufacturer requires. Mark the height on the door jambs or casing with a pencil and cut out the same using a miter saw or a hand saw. If the resulting floor will not fit underneath the door, remove the door and cut of ⅛ inches for it with a circular saw.
- If you’re planning a glue-down installation, be sure to sand the subfloor to remove debris from wax, old flooring glue residue or any type of coating that might affect traction. The same will also level down the subfloor’s surface. Otherwise, if the new flooring will be nailed down, then its okay to leave wax or coat on top of the subfloor as long as its sanded to be evened out.

- Use the long level bar and measuring tape to check if the floor is even. Sand out elevation and humps and apply levelling compound to low spots following manufacturer’s instructions and recommendations.

- Determine moisturization rate on the subfloor using a moisture test kit to identify if the subfloor is within the recommended limits for the product. If its not within the allowed or recommended range, be sure to consult with flooring professionals.

- Lay down vapor barrier and underlayment. Be sure that they overlap and secure the same with a stapler. Be sure to check with the manufacturer’s instructions as some products already have pre-attached underpads.

- Be sure that the subfloor is sturdy enough to support the hardwood flooring to be installed. Replace damaged boards and be sure to secure squeaky boards to the floor joists.

- The new flooring should be laid perpendicular to the floor joists. Should you choose to have it installed in the opposite direction, be sure to reinforce the subfloor.
- To make sure that our installation will remain straight, we better draw guidelines by marking the center of each wall and drawing a line across. Then from that line measure another line leaving behind the expansion gap. Next measure from that point parallel to the other end of the room to form a guideline from the starting wall.
There you have it, the wood subfloor is now ready for hardwood flooring installation.
Watch out for our next post for concrete subfloor preparation.

