Hardwood flooring, there’s nothing quite like it. Visually appealing with a distinct warmth, they add value that is not easily matched. After you’ve prepped up your wooden subfloor, we are now ready to install hardwood flooring DIY style.
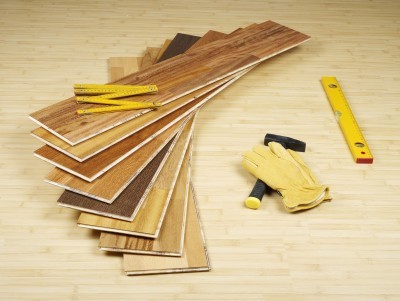 Again, don’t forget to check the manufacturer’s instructions before doing anything. Be sure to have the complete tools, some of which were mentioned earlier.
Since this is a wooden subfloor, the installation will be a nailed-down one. Follow the steps below:
- Lay the first row of flooring planks along the guidelines we made earlier leaving space for the expansion gap and with the tongue side facing the room. The guidelines will assure that we layout the planks straight all throughout. If the wall is not straight and will obscure our layout early on, be sure to cut the hardwood flooring planks before laying them down.
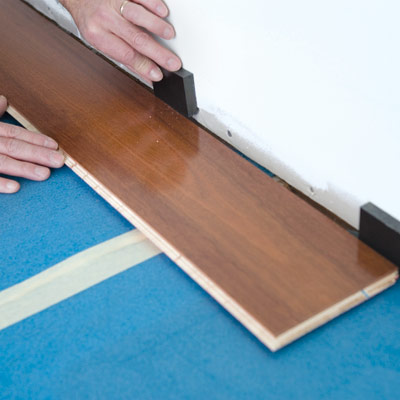
- Place spacers between the plank and the walls to keep the expansion gap steady. Be sure to place them no more than one foot apart for consistency.
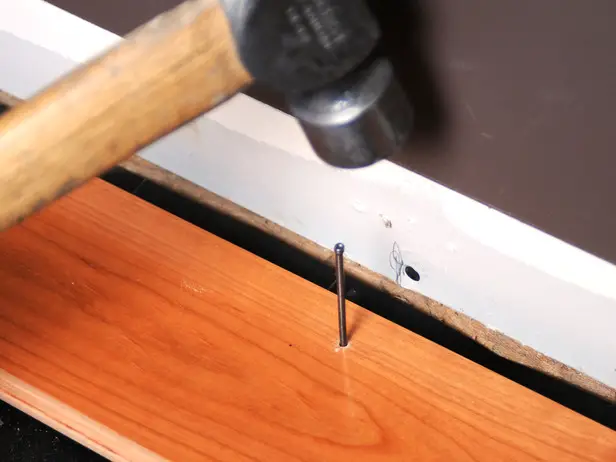
- The first up to the fourth row, depending on the width of hardwood planks, will have to be face-nailed. For this process, be sure to pre-drill holes on the planks using the hardwood flooring manufacturer’s recommended bits. Be sure to drill holes every six inch along the flooring material.
As a precaution, it would be best to wear safety glasses while you work on this project.
- Hammer the nails on the pre-drilled holes and finish it off using the nail set. Go back on the nail holes later and apply wood putty of the same shade as the flooring material to conceal them.
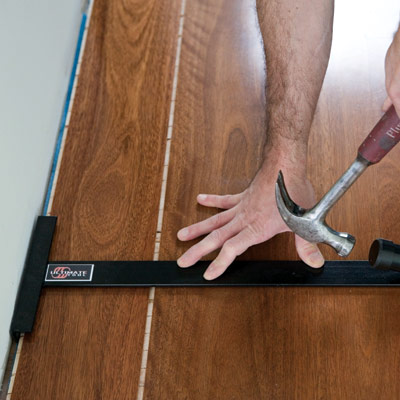
- Lock the groove second row of planks to the first row’s tongues. Secure the fit by hammering the planks using a tapping block to prevent damage.
- Stagger the hardwood flooring planks. This simply means mixing planks from different boxes and making sure that each plank’s edges does not meet and would have at least a 6-inch distance. This does not only provide a visually pleasing characteristic to the finished flooring but also stability. You can begin on the first row by cutting the first plank and be sure to keep the other half as it can be used on the other end or on a separate row.

- You would need to face nail rows until the pneumatic nailer can fit, this is usually on the fourth or fifth row. Be sure that the blind nailer have a protective covering underneath to protect hardwood planks from damage.

- Continue to stagger flooring and be sure to cut them to accommodate obstructions like vents and door casings.
- As you get near the opposite end of the room, you won’t be able to use the pneumatic nailer anymore, so the remaining rows of flooring would have to be face-nailed again. Follow the procedure we did earlier.
- For the last row, you might need to cut the plank lengthwise to make it fit. Be sure to take the correct measurements and cut it accordingly. Use a piece of wood and a pry bar to lock lock it in place before nailing. If its less than 1 inch in length, you can simply add glue to the tongue before locking it down.
- Remove the spacers and cut excess underlayments.
- Attach appropriate mouldings and transitions following manufacturer’s instructions.
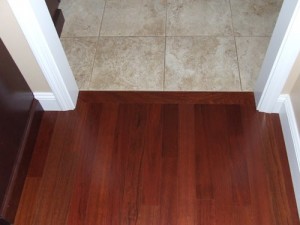
- Then install baseboards to conceal the expansion gaps. Be sure to attach them to the wall and not the floor.
 There you have it, DIY hardwood flooring on a wood subfloor. Be sure to keep excess planks for future repairs and be sure to care for hardwood flooring to enjoy its rewarding comfort for years and years ahead.

