Hardwood flooring over concrete subfloor? Then, that was something one would hardly consider a good mix. Nowadays however, this is not only possible but has also become very popular in recent home improvement and design.
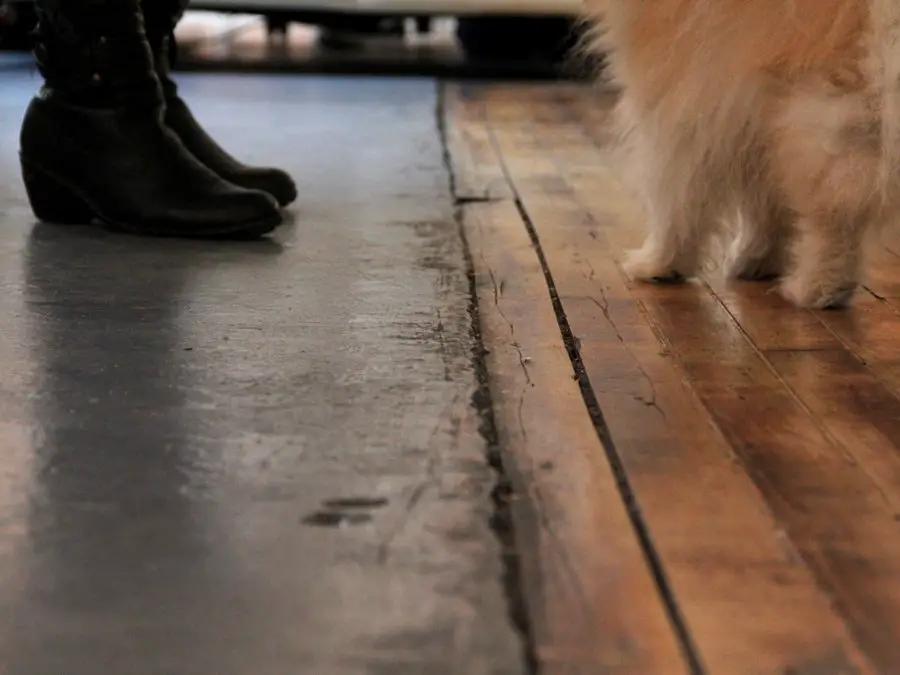 Yes, with the right preparation, cheap concrete subfloors are not just for basements anymore and it can work all throughout the house.
There are several ways to install hardwood flooring planks on a concrete subfloor but the key objective is to make sure that the subfloor is even, dry and the hardwood flooring is protected from moisture that can cause unwanted warping and damage. This will obviously require some significant amount of experience and skill as well as tools that will vary depending on the type of installation you’ll choose or which is recommended for the particular hardwood flooring you bought. Be perfectly honest if this is beyond your DIY prowess, then better leave it to professional hands.
Again, prior to making any move, its best to check the manufacturer’s instructions first. Also consider the subfloor’s condition. If its a new slab, be sure to observe the appropriate drying or curing period required.
Joists. Face nailing flooring planks to the joists is perhaps one of the oldest ways of installing hardwood flooring. The joists ensure that the flooring material is not directly touching the surface of the concrete subfloor.
 Before installing the flooring planks, be sure to that the joists are in good condition and structurally sound as it will support the weight of the hardwood flooring and everything above it.
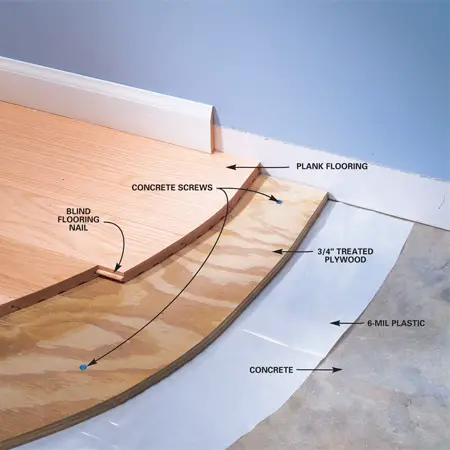
Sleepers. Another older method is something that looks like the joist installation. The illustration below best describes the process. Sleepers or 2’x4’ pressure treated slats are attached to the water-membrane protected concrete subfloor which is covered with a ¾” treated plywood where the hardwood planks would be installed. The main difference is that instead of nailing hardwood flooring planks directly over the wooden joists, they would be attached to the plywood instead allowing the woods some breathing space.
 Treated Plywood. Over the last 30 years, using treated plywood has been a popular way to install hardwood flooring over concrete slab sub flooring. No, we don’t directly put the ¾” treated plywood over the bare concrete subfloor of course. We need to lay down underlayments first and ensure that the subfloor is free from moisture.
 One more thing to keep in mind using the 3 methods we mentioned earlier is that they would significantly raise the height of the resulting floor. So if you are renovating a room or this is an entirely new project, you might want to check the doorways and furniture.
Glued. Here, manufacturer’s recommended adhesive is applied on the underlayment along the longest wall where the first plank will be laid down. Place the first row of hardwood flooring planks, firmly pressing each one as you go.
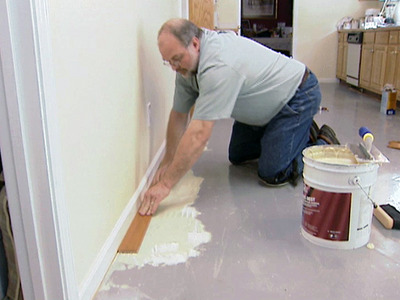 Continue doing so and be sure to stagger each flooring plank choosing hardwood flooring products from different boxes for a unique pattern. Apply builder’s tape on the planks so that they will be pulled tight and dry well. Doing this would also prevent them from slipping or being misplaced. Remember to allot space for the expansion gap.
 Floating Floors. To demystify, floating floors are called as such for the simple reason that the hardwood flooring installed is not directly attached to the subfloor. Recent advances in manufacturing flooring boards and planks have given way to precision cutting, more accurately that the latest generation of hardwood, both engineered and solid and other wood-based flooring products like cork, bamboo and laminate have pristine click-lock technology enabling glueless locking.
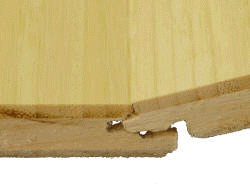 In the earlier days, of course glue was applied not to the subfloor but to the tongue and groove to secure each plank. These days though, that is seen less and less.
No matter what type of installation you plan to have on your concrete subfloor, be sure to follow the basics like:
- Ensuring that the subfloor is dry with the recommended water/moisture barrier or sound proofing underlayment in place.
- Make allowance for the recommended expansion gap and lay the first row straight so that the rest of the rows will go smoothly.
- Stagger the flooring planks, allowing at least a 6 inch distance on each plank’s end to strengthen installation.
- Consider the height of the resulting floor to accommodate doorways and door casings as well as furnishings and vents.
- Weather nailed or glued down, follow recommended adhesives or distance between the nails.
- Attach transitions or mouldings as directed and keep in mind that baseboards should be attached to the walls and not the floor.
 To maintain the beauty of your hardwood flooring, be sure to clean it regularly and make sure repairs are done correctly.

